Unleashing the Power of .NET: Overcoming Windows 10’s Framework 3.5 Installation Hurdles
July 2025: Enhance your computer’s performance and eliminate errors with this cutting-edge optimization software. Download it at this link
- Click here to download and install the optimization software.
- Initiate a comprehensive system scan.
- Allow the software to automatically fix and repair your system.
Resolving Error Codes when Installing .NET Framework 3.5
If you’re experiencing error codes when installing . NET Framework 3. 5 on Windows 10, there are a few steps you can take to resolve the issue. First, make sure you have an active internet connection. Then, try using the DISM tool to repair any installation errors. You can also try changing the Group Policy settings or modifying the registry.
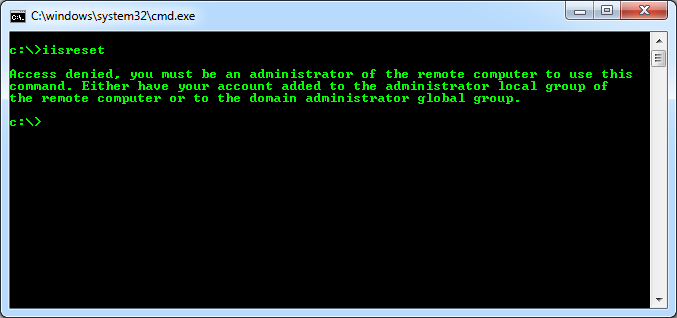
If these methods don’t work, you can try installing . NET Framework 3. 5 from an alternate source or using the Windows Update feature. If you’re still having trouble, it may be best to contact your system administrator for further assistance.
Methods for Installing .NET Framework 3.5 on Windows Server
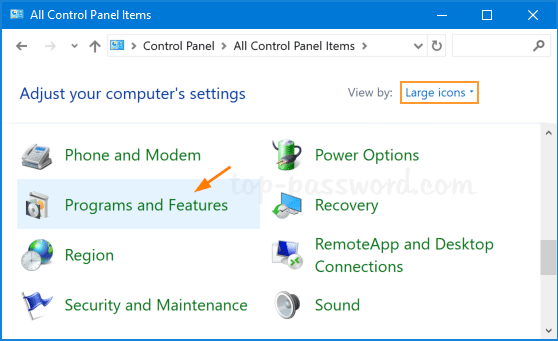
- Press the Windows key and search for “Control Panel”.
- Click on “Programs” or “Programs and Features”.
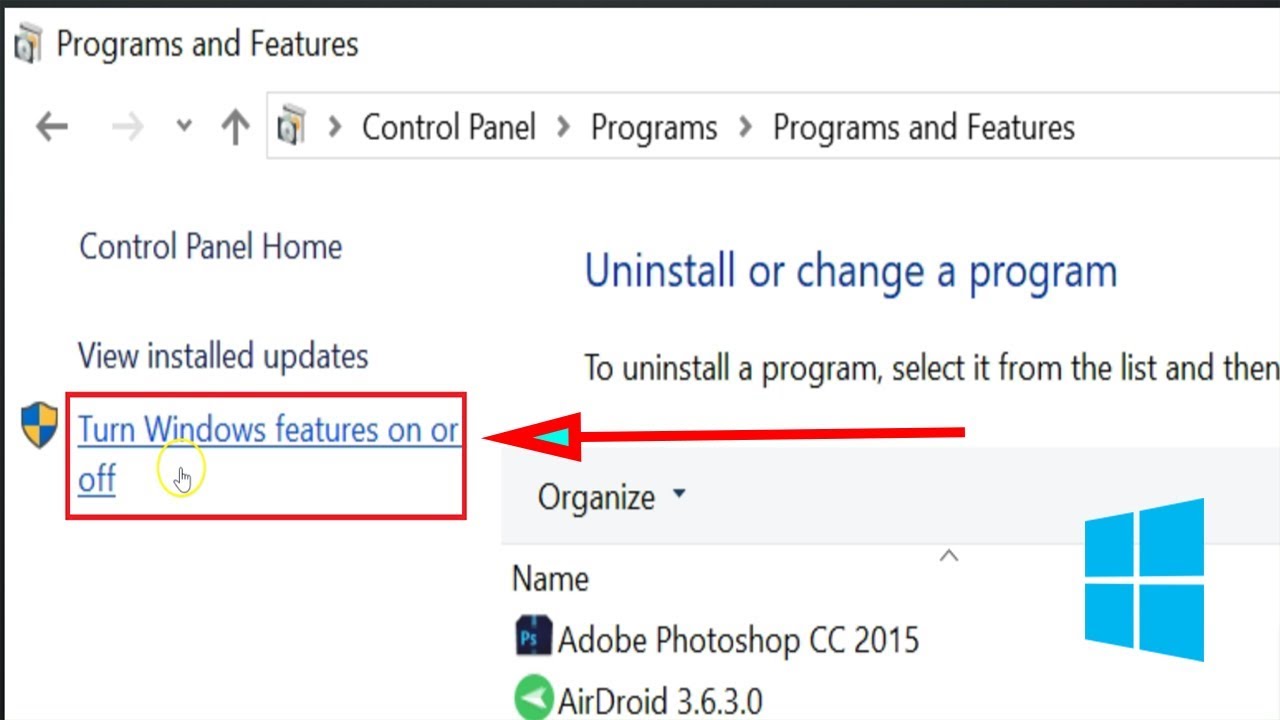
- Click on “Turn Windows features on or off”.
- Check the box next to “.NET Framework 3.5 (includes .NET 2.0 and 3.0)”.
- Click “OK” to start the installation process.
- Follow the on-screen instructions to complete the installation.

Method 2: Using Command Prompt
- Press the Windows key and search for “Command Prompt”.
- Right-click on “Command Prompt” and select “Run as administrator”.
- In the command prompt window, type the following command and press Enter: dism /online /enable-feature /featurename:NetFX3 /all /source:<path_to_windows_installation_files> /LimitAccess
- Replace <path_to_windows_installation_files> with the path to the Windows installation files, such as a mounted ISO or a network share.
- Wait for the command to execute and complete the installation process.
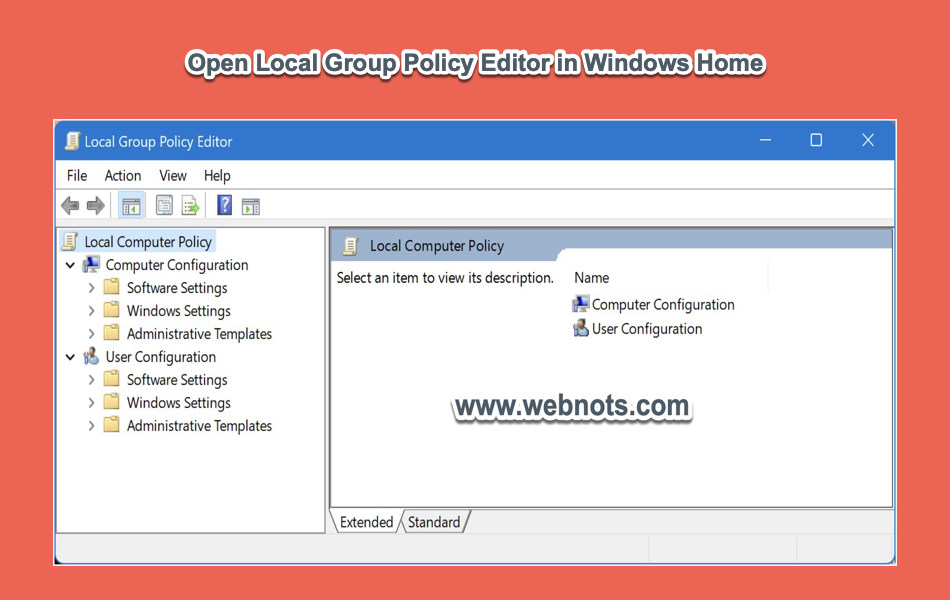
Method 3: Using Group Policy Editor
- Press the Windows key and search for “Group Policy Editor”.
- Click on “Edit group policy” to open the Group Policy Editor.
- Navigate to “Computer Configuration” > “Administrative Templates” > “System”.
- Double-click on “Specify settings for optional component installation and component repair”.
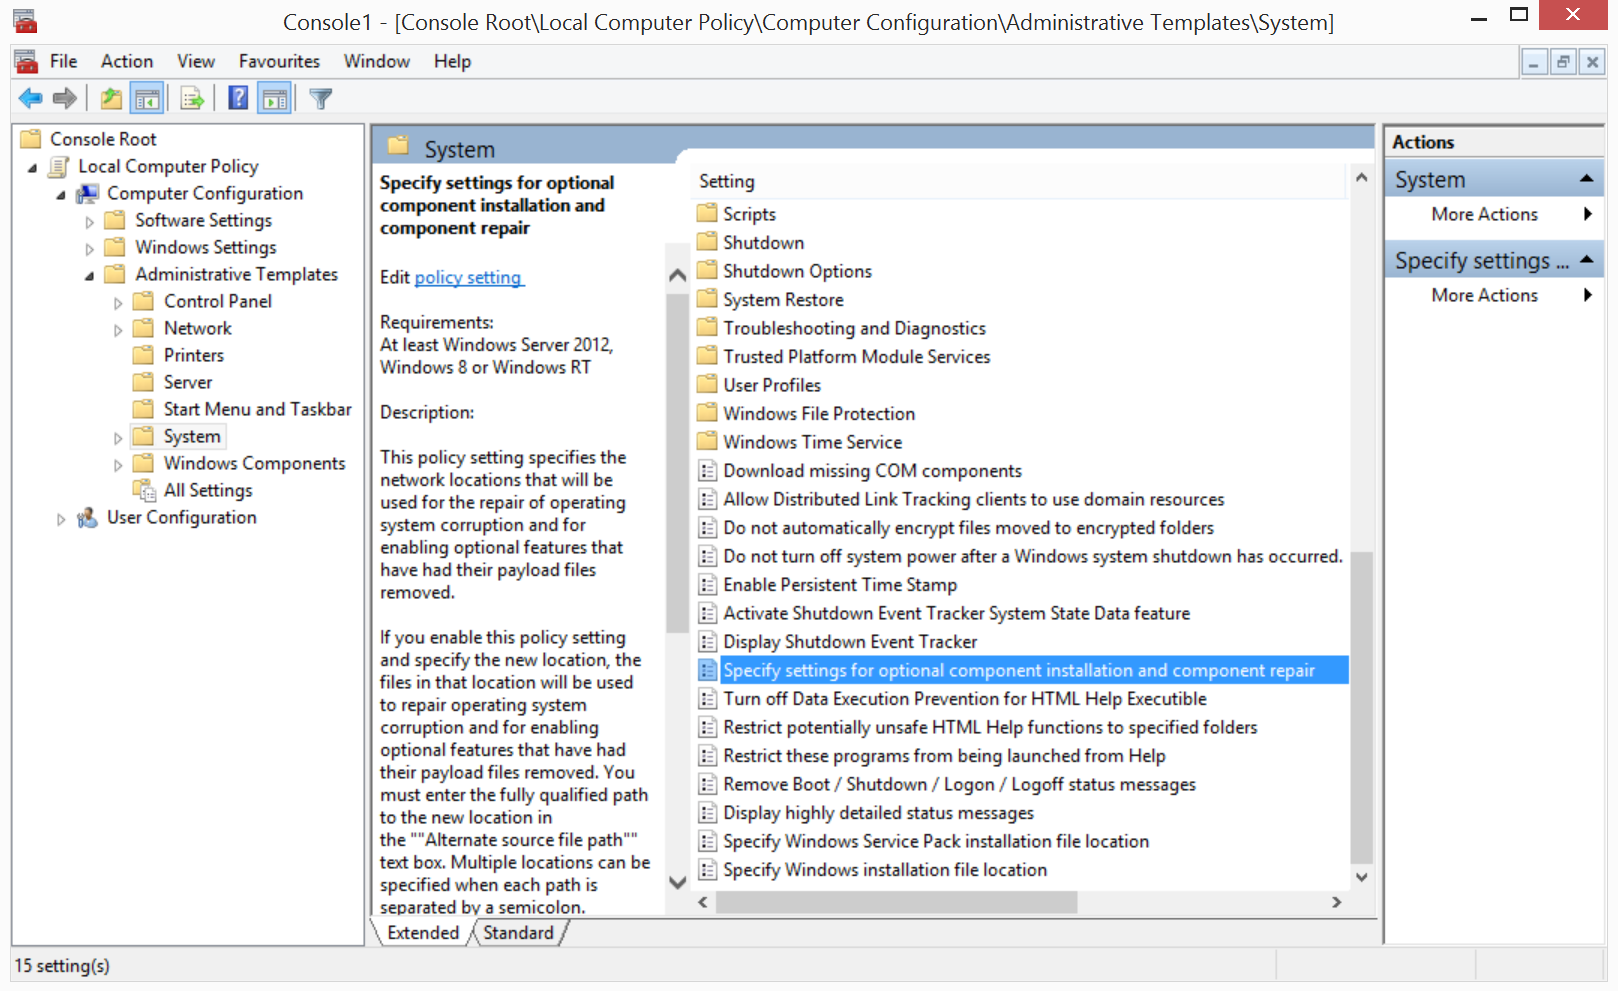
- Select the “Enabled” option.
- Check the box next to “Download repair content and optional features directly from Windows Update instead of Windows Server Update Services (WSUS)”.

- Click “OK” to save the changes.
- Press the Windows key and search for “Command Prompt”.
- Right-click on “Command Prompt” and select “Run as administrator”.
- In the command prompt window, type the following command and press Enter: gpupdate /force
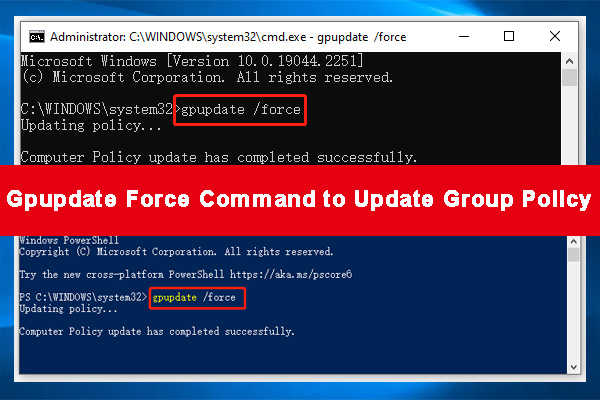
- Wait for the command to execute and update the Group Policy settings.
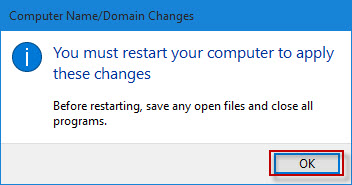
- Restart your computer.
Additionally, if any DLL files required for the installation have gone missing or become corrupt, Fortect can automatically fix the issue. While we cannot guarantee that Fortect will solve every installation issue, it can address common causes and restore your system to a healthier state.

Troubleshooting Installation Errors for .NET Framework 3.5
If you’re experiencing installation errors while trying to install or enable .NET Framework 3.5 on Windows 10, here are some steps you can take to fix the issue:
1. Check your internet connection: Make sure you have a stable internet connection, as the installation requires downloading files from the Microsoft website.
2. Use the default installation method: The easiest way to install .NET Framework 3.5 is through the default method. Open the Control Panel, go to “Programs” and then “Turn Windows features on or off”. Check the box for “.NET Framework 3.5 (includes .NET 2.0 and 3.0)” and click “OK”.
3. Try DISM command: Open Command Prompt as an administrator and enter the following command: dism /online /enable-feature /featurename:NetFx3 /all /source:<path-to-alternate-source>. Replace “<path-to-alternate-source>” with the path to the alternate source, such as the installation media or a network share.
4. Use optionalfeatures.exe: Press “Win + R” to open the Run dialog box, enter “optionalfeatures.exe” and click “OK”. In the Windows Features dialog box, check the box for “.NET Framework 3.5 (includes .NET 2.0 and 3.0)” and click “OK”.
5. Apply Windows updates: Make sure your Windows 10 is up to date by installing the latest cumulative updates and any available KB updates related to .NET Framework.
If you’re still encountering errors, it may be best to consult with your system administrator or contact Microsoft support for further assistance.
Enabling and Installing .NET Framework 3.5 on Windows 10
To enable and install .NET Framework 3.5 on Windows 10, follow these steps:
1. Press the Windows key and type “Control Panel” to open it.
2. In the Control Panel, click on “Programs” and then “Turn Windows features on or off.”
3. Check the box next to “.NET Framework 3.5 (includes .NET 2.0 and 3.0)” and click “OK.”
4. If prompted, insert your Windows installation media or specify a network location.
5. Wait for the installation to complete.
6. Restart your computer.
If you encounter the error codes 0x800F0906, 0x800F081F, or 0x800F0907, try the following resolutions:
1. Make sure your computer is connected to the internet.
2. If you have a DAKTRONICS or other third-party software installed, contact their support for assistance.
3. If you’re using a Windows Home edition, try changing the Group Policy setting.
4. Modify the registry to point to a Windows update source.
5. Use the Deployment Image Servicing and Management (DISM) tool.
For more detailed instructions, you can refer to the Microsoft website or consult the Windows support team.
Additional Solutions and Information for Installing .NET Framework 3.5
| Issue | Solution |
|---|---|
| Error: 0x800F081F – The source files could not be found. |
|
| Error: 0x800F0906 – The source files could not be downloaded. |
|
| Using Windows Update to install .NET Framework 3.5 fails. |
|
| Using DISM to install .NET Framework 3.5 fails. |
|
| Group Policy is preventing installation of .NET Framework 3.5. |
|

If you are experiencing difficulties in installing the .NET Framework 3.5, make sure to check your system requirements and consider contacting technical support for assistance. Download this tool to run a scan