Month: February 2024

Restore Missing Chrome Bottom Bar

Having trouble with your missing Chrome bottom bar? Here’s how to restore it quickly and easily.

May 2024: Enhance your computer’s performance and eliminate errors with this cutting-edge optimization software. Download it at this link

  1. Click here to download and install the optimization software.
  2. Initiate a comprehensive system scan.
  3. Allow the software to automatically fix and repair your system.

Restoring the Toolbar from Menus and Full Screen Mode

If you’re using Google Chrome and find that the bottom bar, also known as the toolbar, is missing, don’t worry. Restoring it is simple and quick. Here are a few steps you can follow to bring back the toolbar and enjoy a seamless browsing experience.

First, check if the toolbar is hidden. Move your mouse cursor to the bottom of the screen, and if the toolbar appears, it was just hidden. Right-click anywhere on the toolbar and select “Always show toolbar” from the drop-down list. This will make the toolbar visible at all times.

If the toolbar is still missing, try pressing the “F11” key on your keyboard. This toggles the full-screen mode in Chrome. Sometimes, the toolbar may disappear when you accidentally switch to full-screen mode. Pressing “F11” again will exit full-screen mode and restore the toolbar.

If neither of these methods work, you can also try resetting Chrome’s settings. To do this, click on the three-dot menu icon in the top-right corner of Chrome and select “Settings.” Scroll down to the bottom and click on “Advanced” to expand the advanced settings. Then, scroll down again and click on “Reset settings” under the “Reset and clean up” section. Follow the instructions to reset Chrome to its default settings, which should restore the missing toolbar.

Updated: May 2024

Fortect is a powerful program that can help with the frustrating issue of the chrome bottom bar going missing. It tackles a range of problems that can cause this error, such as damaged system files, faulty settings, and missing DLL files.

Fortect also addresses freezing programs and annoying slowdowns, ensuring that Windows and other programs run smoothly. Additionally, it can repair the causes of the Blue Screen of Death (BSoD) and even compare and restore vital system files for OS recovery without affecting user data.

Clear Browser Data and Update Chrome

To restore the missing Chrome bottom bar, you can try clearing your browser data and updating Chrome. Here’s how:

1. Clear Browser Data:
– Click on the three dots icon at the top-right corner of the Chrome window.
– From the drop-down menu, select “Settings.”
– Scroll down and click on “Advanced” to expand the options.
– Under the “Privacy and security” section, click on “Clear browsing data.”
– In the pop-up window, choose the time range for which you want to clear data (e.g., “Last 24 hours”).
– Check the boxes next to the types of data you want to clear (e.g., “Browsing history,” “Cookies and other site data”).
– Click on the “Clear data” button to remove the selected data.

2. Update Chrome:
– Open the Chrome menu by clicking on the three dots icon at the top-right corner.
– Hover over the “Help” option and select “About Google Chrome.”
– Chrome will automatically check for updates and install them if available.
– Once the update is complete, click on the “Relaunch” button to restart Chrome.

By clearing your browser data and updating Chrome, you may resolve the issue of the missing bottom bar.

Manage Extensions and Reset Chrome Theme

  • Disable Extensions: Disable any recently installed or suspicious extensions that might be causing the issue.
  • Reset Chrome Theme: Reset the Chrome theme to default settings if the bottom bar is still missing.
  • Check Chrome Flags: Access the Chrome Flags settings and ensure that any experimental features related to the bottom bar are enabled.
  • Clear Browsing Data: Clear the browsing data, including cache and cookies, to eliminate any potential conflicts.
  • Update Chrome: Make sure Chrome is up to date with the latest version to ensure optimal performance.
  • Restart Chrome: Close and reopen Chrome to see if the bottom bar reappears.
  • Check for Malware: Scan your computer for malware or viruses that might be affecting Chrome’s functionality.
  • Try Incognito Mode: Test if the bottom bar appears in Incognito Mode, which disables extensions and custom settings.
  • Create a New Profile: Create a new Chrome profile to see if the issue is specific to your user profile.
  • Reinstall Chrome: If all else fails, uninstall and reinstall Chrome to resolve any underlying software conflicts.

Addressing Antivirus Interference and Disabling Download Bubble

If you are experiencing issues with the bottom bar missing in your Chrome browser, there are a few steps you can take to address the problem.

First, it’s important to check if your antivirus software is interfering with Chrome. Some antivirus programs have features that can block certain browser components, including the bottom bar. To address this, you can try disabling your antivirus temporarily to see if the issue resolves.

If disabling the antivirus doesn’t fix the problem, you can also try disabling the download bubble feature in Chrome. This feature displays a small bubble at the bottom of the browser window whenever a download is initiated. Sometimes, this bubble can interfere with the bottom bar. To disable it, follow these steps:

1. Open Chrome and type “chrome://flags” in the address bar.
2. Press Enter to access the Chrome Experiments page.
3. In the search bar on this page, type “download” to quickly locate the relevant flag.
4. Look for the “Enable download status in the download shelf” flag and click on the dropdown menu next to it.
5. Select “Disabled” from the dropdown menu.
6. Relaunch Chrome for the changes to take effect.

By disabling the download bubble feature, you may be able to restore the missing bottom bar in Chrome.

FAQs

Why does the bottom bar on my Chromebook disappear?

The bottom bar on your Chromebook disappears because it is hidden by default when you are in full screen mode.

Why has my taskbar disappeared on Google Chrome?

Your taskbar may have disappeared on Google Chrome due to various reasons. To resolve this issue, you can try the following steps:

1. Reboot your Windows 10 computer.
2. If Chrome covers the taskbar in Windows 10, press the F11 key to exit Full Screen Mode.
3. Reset Chrome settings to see if it resolves the problem.

How do I get the bar at the bottom of Chrome?

To get the bar at the bottom of Chrome, open Chrome on your iPhone and go to More Settings. From there, select Address bar and choose either Top or Bottom.

How do I get the bottom toolbar back on Google Chrome?

To get the bottom toolbar back on Google Chrome, open the browser and click on the three-dot icon in the top-right corner. Then, go to Settings, navigate to Appearance, and enable the Show Bookmarks bar setting.

Example Message
?

If you notice that the chrome bottom bar is missing, try restarting your browser or updating to the latest version to resolve the issue. Download this tool to run a scan

Solutions to Fix iTunes Error 9 – 4005, 4013, 4014

Are you experiencing iTunes Error 9, 4005, 4013, or 4014? In this article, I will discuss various solutions to fix these common iTunes errors.

May 2024: Enhance your computer’s performance and eliminate errors with this cutting-edge optimization software. Download it at this link

  1. Click here to download and install the optimization software.
  2. Initiate a comprehensive system scan.
  3. Allow the software to automatically fix and repair your system.

Common Causes and Symptoms

Common causes of iTunes errors 9, 4005, 4013, and 4014 include issues with the USB hardware, outdated software or firmware, and a faulty internet connection. These errors can also occur due to a problem with the iOS device itself, such as a hardware malfunction or an incomplete software update. Symptoms of these errors may include a device that gets stuck in recovery mode, fails to boot up properly, or displays an error message on the screen.

In some cases, errors 9, 4005, 4013, and 4014 can be resolved by checking the USB connection and using a different USB cable or port. It is also important to update to the latest version of iOS and iTunes, as well as check for any available firmware updates for the device. Additionally, ensuring a stable internet connection and using a reliable computer can help prevent these errors from occurring.

If the issue persists, performing a hard reset on the device or restoring it to factory settings may be necessary. It is also recommended to backup the device before attempting any troubleshooting steps. If these solutions do not work, seeking assistance from Apple Support or visiting an authorized service provider may be necessary to resolve the issue.

Initial Troubleshooting Steps

  1. Check USB Cable and Port
    • Use a different USB cable
      Check USB Cable and Port
Use a different USB cable
    • Try using a different USB port on your computer
  2. Update iTunes
    • Open iTunes and go to Help > Check for Updates
    • Download and install any available updates
  3. Restart Computer and iPhone
    • Close iTunes and restart your computer
    • Turn off your iPhone and then turn it back on
  4. Disable Security Software
    • Temporarily disable any antivirus or firewall software on your computer
    • Try restoring your iPhone again in iTunes
  5. Check for Hardware Issues
    • Inspect the USB port on your iPhone for any damage or debris
    • If possible, try using a different computer to see if the issue persists
Updated: May 2024

Fortect can help with error code 9 by addressing issues such as damaged system files, faulty settings, and missing DLLs. It can also repair causes of freezing programs, blue screen of death, and system slowdowns, restoring the system to its pre-infected state and ensuring smooth performance.

Additionally, Fortect can compare the current operating system with a healthy version and restore vital system files required for running and restarting Windows without affecting user data.

Software and Security Updates

Software and security update prompt

To ensure that your iTunes is running smoothly and to avoid encountering errors such as 9, 4005, 4013, and 4014, it is important to regularly update your software and security settings. It is recommended to update your iOS, MacOS, and iTunes to the latest versions to ensure compatibility and stability.

Check for software updates by going to Settings > General > Software Update on your iOS device, or by going to the App Store and clicking on Updates on your Mac.

It is also crucial to regularly update your security settings to prevent any potential security breaches. Make sure to enable automatic updates for your iOS, MacOS, and iTunes to keep your devices protected from any vulnerabilities.

In addition to software updates, it is important to regularly back up your data to prevent any loss in case of an error or malfunction. You can use iCloud or iTunes to back up your iOS device, and Time Machine to back up your Mac.

By staying up to date with software and security updates, you can minimize the risk of encountering errors such as 9, 4005, 4013, and 4014, and ensure a smooth and secure user experience.

Alternative Restoration Methods

One method you can try is to update your iTunes to the latest version to ensure compatibility with your device’s operating system. Additionally, check for any available software updates for your device as well.

Another alternative restoration method is to try using a different USB port or cable to connect your device to your computer. Sometimes, faulty USB hardware can cause these errors to occur.

If the issue persists, you can attempt to restore your device in DFU (Device Firmware Update) mode. This can be done by following specific instructions for your device model.

It is also advisable to back up your device before attempting any restoration methods to avoid data loss.

If none of these methods work, you may need to seek professional help from an authorized Apple service provider for further assistance in resolving the issue.

By trying these alternative restoration methods, you may be able to successfully fix iTunes error 9, 4005, 4013, or 4014 and get your device back in working order.

Advanced Solutions and Recovery Mode

If you have tried basic troubleshooting steps and still encounter iTunes errors 9, 4005, 4013, or 4014, you may need to implement more advanced solutions. One option is to put your device into recovery mode and then restore it through iTunes. To do this, connect your device to your computer and open iTunes. Then, force restart your device by pressing and holding the Sleep/Wake and Home buttons simultaneously until the recovery mode screen appears. From there, you can choose to restore your device to its factory settings.

Another advanced solution is to use iOS system repair software to fix the errors. These programs are designed to address various iOS issues, including those related to iTunes. They can help you repair the operating system without losing data, which can be especially useful if you haven’t backed up your device recently.

If you have already tried these steps and are still experiencing issues, it may be best to contact Apple Support or visit an Apple Store for further assistance. They can provide personalized help and guidance to address the specific error you are encountering.

FAQs

How do I fix my iPhone restore error?

To fix your iPhone restore error, you can start by updating your computer, checking your security software, and trying a different computer if needed. Restarting both your computer and device may also help resolve the issue.

How do you fix the iPhone could not be restored an unknown error occurred 9?

To fix the “iPhone could not be restored an unknown error occurred 9” issue, you can try updating your Mac or PC and then restarting it. Additionally, try using a different USB cable or restoring your device on another computer.

What is error code 9 on iPad?

Error code 9 on iPad occurs when the device unexpectedly drops off the USB bus and communication stops, often due to manual disconnection during the restore process. Try connecting to a different USB dock on your computer and attempt to restore the iPad.

How do I fix error 9 on my iPhone?

To fix error 9 on your iPhone, you can try checking the USB cable and port, restoring the iPhone with iTunes on another computer, forcing the device to restart, checking the anti-virus and firewall on your computer, updating iTunes to the latest version, using recovery mode to fix the error, or choosing to update the iPhone wirelessly.

Example Message
?

If you encounter error code 9, try restarting your device and checking for any software updates to resolve the issue. Download this tool to run a scan

XP-Pen stylus buttons troubleshooting & setup

In this article, I will discuss troubleshooting and setting up the buttons on an XP-Pen stylus.

May 2024: Enhance your computer’s performance and eliminate errors with this cutting-edge optimization software. Download it at this link

  1. Click here to download and install the optimization software.
  2. Initiate a comprehensive system scan.
  3. Allow the software to automatically fix and repair your system.

Preliminary Checks Before Troubleshooting

Before troubleshooting your XP-Pen stylus buttons, it’s important to conduct some preliminary checks. First, ensure that the stylus is fully charged and turned on. Check the battery level and power switch to make sure it’s functioning properly.

Next, inspect the stylus buttons for any physical damage or debris that may be obstructing their functionality. Clean the buttons and surrounding area to remove any dirt or grime.

If the stylus is connected to a tablet or computer, make sure that the device recognizes the stylus. Check the connection and try using the stylus on different applications to see if the issue persists.

Additionally, check for any software updates for your XP-Pen stylus. Updating the drivers and firmware can often resolve button functionality issues.

If you’re still experiencing problems after conducting these preliminary checks, it may be time to troubleshoot further or seek assistance from XP-Pen’s customer support.

Updated: May 2024

Fortect can help with XP Pen buttons not working by repairing damaged system files and settings that may be causing the issue. It can also address freezing programs, damaged DLL files, and even the Blue Screen of Death.

By restoring the system to its pre-infected state and ensuring smooth running of Windows and other programs, Fortect may be able to resolve the XP Pen buttons not working error.

Resolving Connectivity and Charging Issues

XP-Pen stylus buttons

To resolve connectivity and charging issues with your XP-Pen stylus, make sure to first check the battery level of the stylus. If it’s low, charge the stylus using the provided USB cable and power adapter.

Ensure that the stylus is properly connected to your tablet or computer. Try reconnecting the stylus by removing and reattaching it to the device.

If you are still experiencing connectivity issues, restart your device and try again. Sometimes a simple restart can resolve the problem.

If the issue persists, check for any software updates for your XP-Pen tablet or computer. Updating the software may resolve any compatibility issues causing connectivity problems.

Updating Tablet Drivers Manually and Automatically

Method Steps
Manual Update 1. Visit the manufacturer’s website and navigate to the support or downloads section.
2. Locate the latest driver for your specific tablet model and operating system.
3. Download and install the driver following the on-screen instructions.
4. Restart your computer to complete the installation process.
Automatic Update 1. Open the Device Manager on your computer.
2. Locate and right-click on the tablet device.
3. Select “Update driver” from the context menu.
4. Choose the option to search automatically for updated driver software.
5. Follow any additional on-screen prompts to complete the update process.

General Device Troubleshooting and Disabling Sleep Mode

If you are experiencing issues with your XP-Pen stylus buttons, there are a few troubleshooting steps you can try. First, make sure the stylus is fully charged and connected properly to the tablet. If the issue persists, try disabling the sleep mode on your device.

To disable sleep mode on your device, go to Settings and then System. From there, select Power & Sleep and adjust the sleep settings to your preference. This can help prevent any interruptions or disconnections while using the stylus buttons.

If you are still having trouble with the stylus buttons, try restarting your computer and reconnecting the stylus. You can also try updating the drivers for your XP-Pen device to ensure compatibility with your system.

F.A.Q.

How do I change the shortcut keys on my XP pen?

You change the shortcut keys on your XP pen by clicking on the Modifier you want to use (Ctrl, Alt, Shift or Win) and then tapping on the other key to complete the command. For example, to create the “Undo” command, you would first click on Ctrl as the first modifier and then tap the Z key on your keyboard.

How do I get my XP pen to work?

To get your XP pen to work, connect the tablet to your computer using the included cables. Make sure to connect the HDMI and black USB to your computer and the RED USB to either your computer or the power adapter. Once connected, your computer should recognize the tablet and allow you to use it as a mouse on the screen.

Why is my XP pen pen not responding?

Your XP pen pen may not be responding because of a faulty USB port or cable. First, test whether the pen can control the cursor. If the issue persists, try using another USB port or a known-functional cable. If the problem continues, contact XP-Pen’s tech support team at [email protected].

Example Message
?

If the XP Pen buttons are not working, try troubleshooting by checking the connection and drivers, or contact customer support for further assistance. Download this tool to run a scan

Fix Windows Update Error Code 800F020B

Are you encountering the Windows Update Error Code 800F020B? Here’s how to fix it.

May 2024: Enhance your computer’s performance and eliminate errors with this cutting-edge optimization software. Download it at this link

  1. Click here to download and install the optimization software.
  2. Initiate a comprehensive system scan.
  3. Allow the software to automatically fix and repair your system.

Understanding the Root Causes

To fix Windows Update error code 800F020B, it’s essential to understand the root causes of the issue. One common reason for this error is a corrupted system file or a problem with the Windows Update service. Another possible cause is an outdated or incompatible device driver.

First, try running the Windows Update Troubleshooter tool to automatically identify and fix any issues with the Windows Update service. This can often resolve error code 800F020B without the need for manual intervention.

If the Troubleshooter tool doesn’t solve the problem, manually check for and install any available updates for your device drivers. Outdated or incompatible drivers can cause errors during the update process. You can do this by navigating to the Device Manager in the Control Panel, right-clicking on the device, and selecting “Update driver.”

Another potential solution is to perform a System Restore to a point before the error started occurring. This can help undo any recent changes that may have caused the Windows Update error.

If none of these methods work, you can try resetting the Windows Update components manually. This involves stopping the Windows Update service, clearing the temporary update files, and restarting the service. Detailed instructions for this process can be found on the Microsoft website.

Updated: May 2024

Fortect can help with the 800f020b error code in Windows 7 by repairing damaged system files and faulty settings that may be causing the issue. It can also address missing DLL files, which are crucial for proper program functioning.

Additionally, Fortect can help with the Blue Screen of Death by repairing causes such as incompatible DLLs, drivers, and Windows bugs. It compares the current operating system with a healthy version and restores any vital system files required for running and restarting Windows without affecting user data.

Connection Troubleshooting Tips

  • Check your internet connection
  • Restart your modem and router
  • Disable VPN or proxy settings
  • Run Windows Network Troubleshooter

Resolving Update Issues

To resolve Windows Update Error Code 800F020B, you can try the following troubleshooting steps. First, run the Windows Update Troubleshooter to automatically detect and fix any issues with Windows Update. If this doesn’t resolve the error, you can check for and install any available updates manually by going to Settings > Update & Security > Windows Update.

If the error persists, you can try resetting the Windows Update components by stopping the Windows Update service, renaming the SoftwareDistribution and Catroot2 folders, and then restarting the Windows Update service. This can help resolve any corrupted files that may be causing the error.

Another option is to perform a System Restore to revert your system back to a previous state where the Windows Update was working properly. This can be done by searching for “System Restore” in the Start menu, selecting a restore point, and following the on-screen instructions.

If none of these solutions work, you can also try checking for and installing device driver updates manually through the Device Manager, or running the Windows Update troubleshooter in the Control Panel to further diagnose and fix any issues with Windows Update.

Additionally, you can visit the Microsoft website for more information and support on resolving Windows Update errors.

System Restore as a Solution

If you’re encountering the Windows Update Error Code 800F020B, one potential solution is to use the System Restore feature in Windows. System Restore allows you to revert your computer’s system files and settings to a previous point in time, potentially resolving the error.

To access System Restore, first open the Control Panel on your Windows computer. You can do this by clicking on the “Start” button and typing “Control Panel” into the search bar. Then, click on “System and Security” and then “System.” On the left-hand side of the window, you’ll see an option for “System Protection.” Click on this, and then click on “System Restore.”

Once you’ve opened System Restore, you’ll be prompted to choose a restore point. It’s best to select a restore point from before you started encountering the Windows Update Error Code 800F020B. Follow the on-screen instructions to complete the restoration process.

After the restoration is complete, your computer will restart. Check to see if the error has been resolved. If not, you may need to explore other potential solutions for the error.

F.A.Qs

What is Windows Update error 80070002 Windows 7?
Windows Update error 80070002 in Windows 7 is typically caused by corrupt or missing system files, insufficient space for the update, or conflicts between hardware devices.

What is error code 7 on Windows setup?
Error code 7 on Windows setup indicates a lack of available memory. To fix this issue, you can increase the memory on the endpoint or use an offline cab file for patching.

What is error 800f020b on HP USB update?
Error 800f020b on HP USB update is due to an update that applies to a device not connected to the computer. Make sure to connect the printer to the device, turn it on, and then try installing the updates again.

How do I fix error 0x800f020b?
To fix error 0x800f020b, you can start by reinstalling the printer drivers, downloading the latest drivers from the official website. You can also try using Windows Update, running DISM and SFC, cleaning up the registry, clearing spooler files, and checking Windows features.

Example Message
?

If you encounter the 800f020b error code on Windows 7, try running the Windows Update Troubleshooter to help resolve the issue. Download this tool to run a scan

HP Laptop Scroll Lock Key Missing Solution

Having trouble finding the scroll lock key on your HP laptop? This article provides a solution to this common issue.

May 2024: Enhance your computer’s performance and eliminate errors with this cutting-edge optimization software. Download it at this link

  1. Click here to download and install the optimization software.
  2. Initiate a comprehensive system scan.
  3. Allow the software to automatically fix and repair your system.

Identifying the Scroll Lock Key

HP laptop keyboard with highlighted scroll lock key

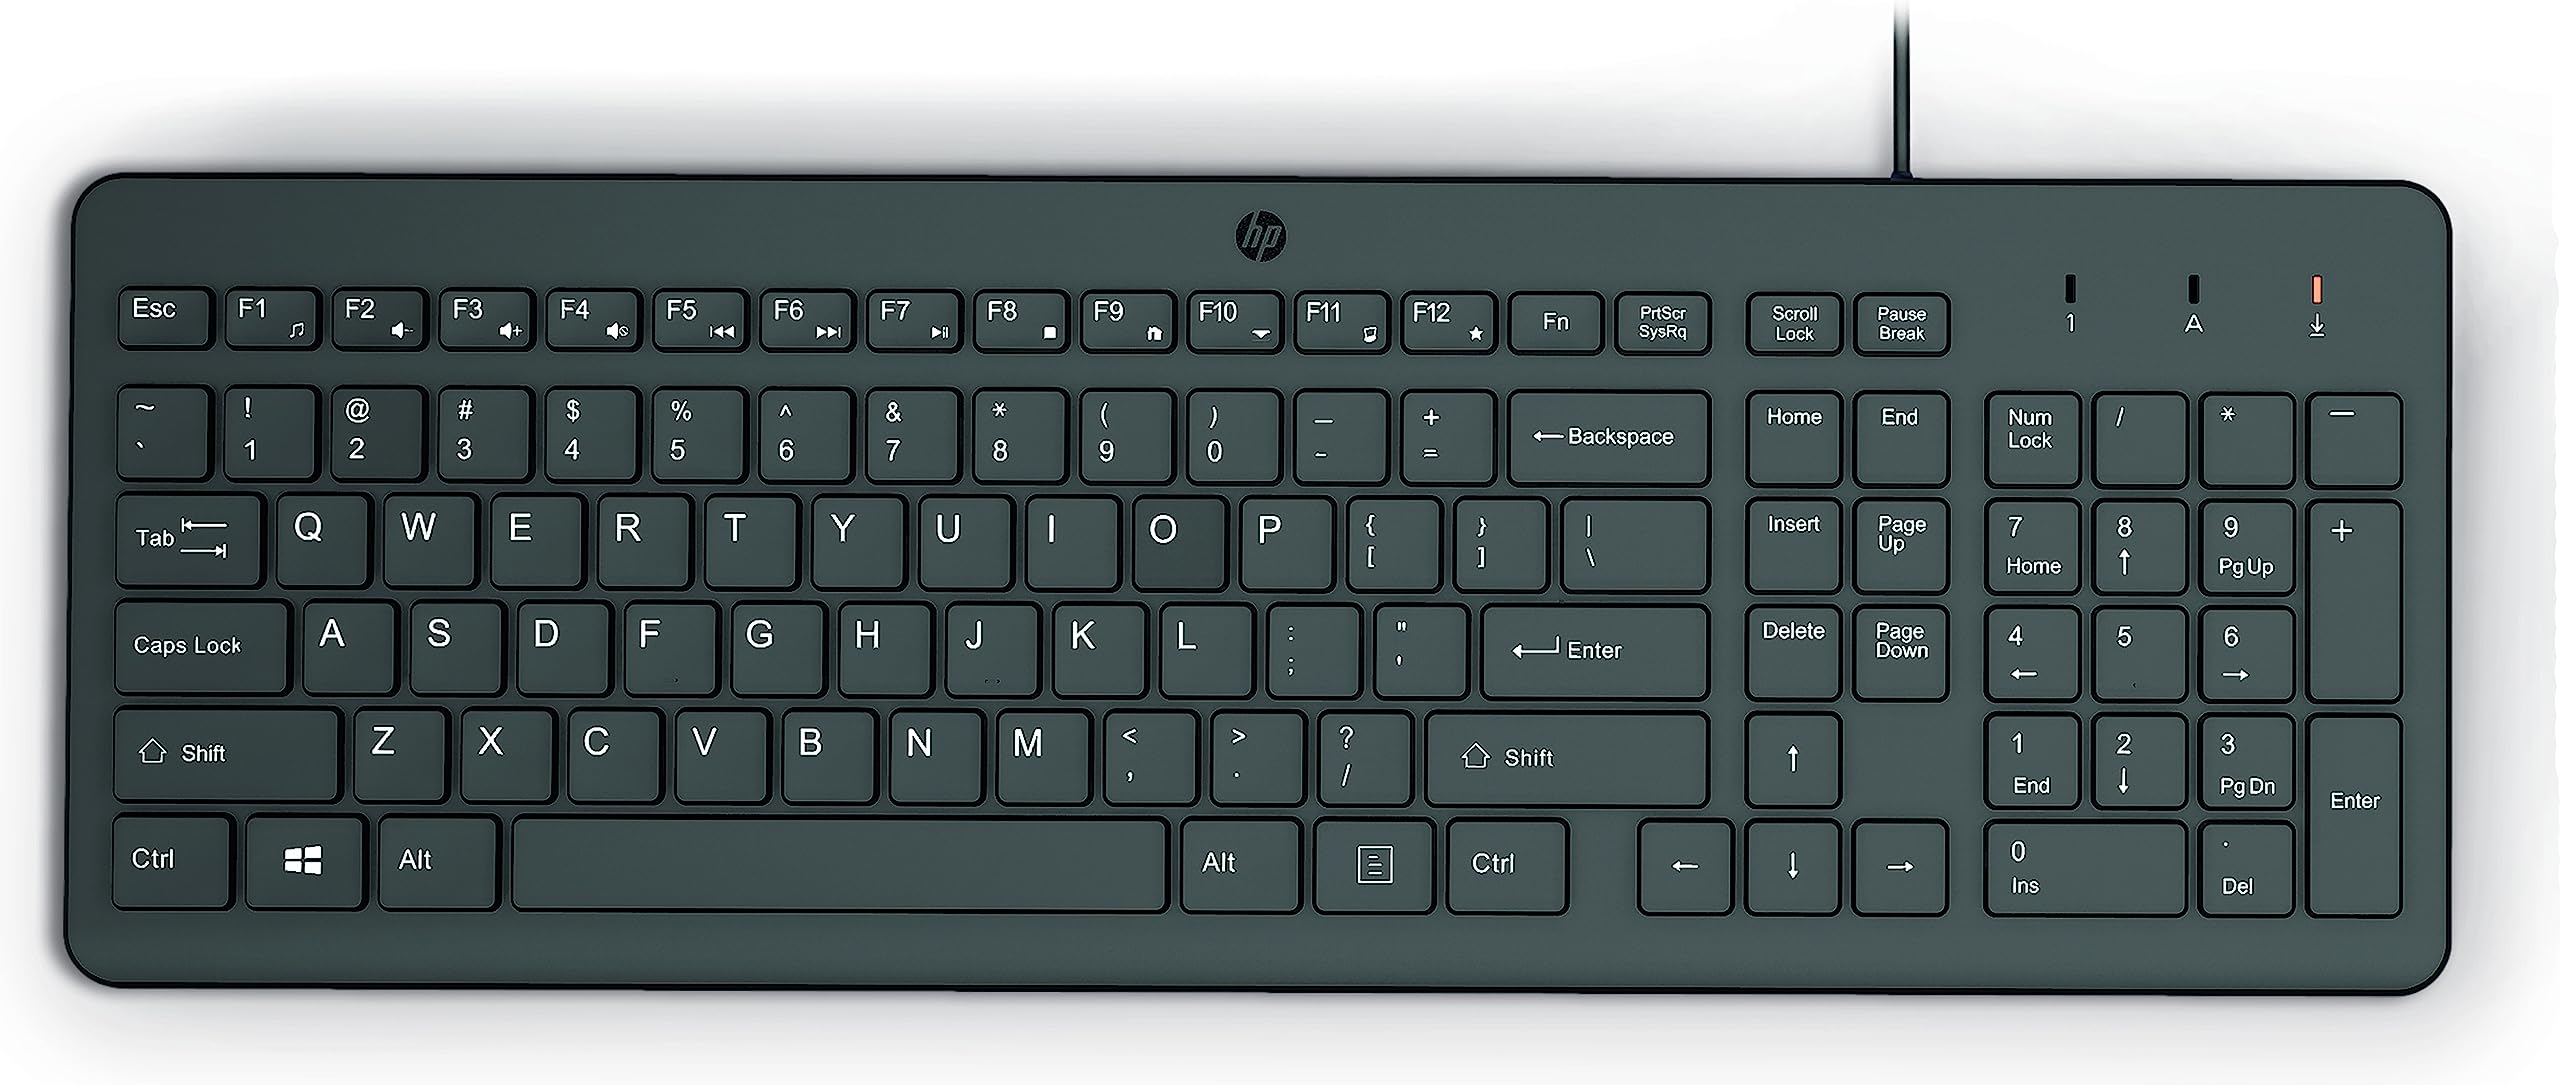
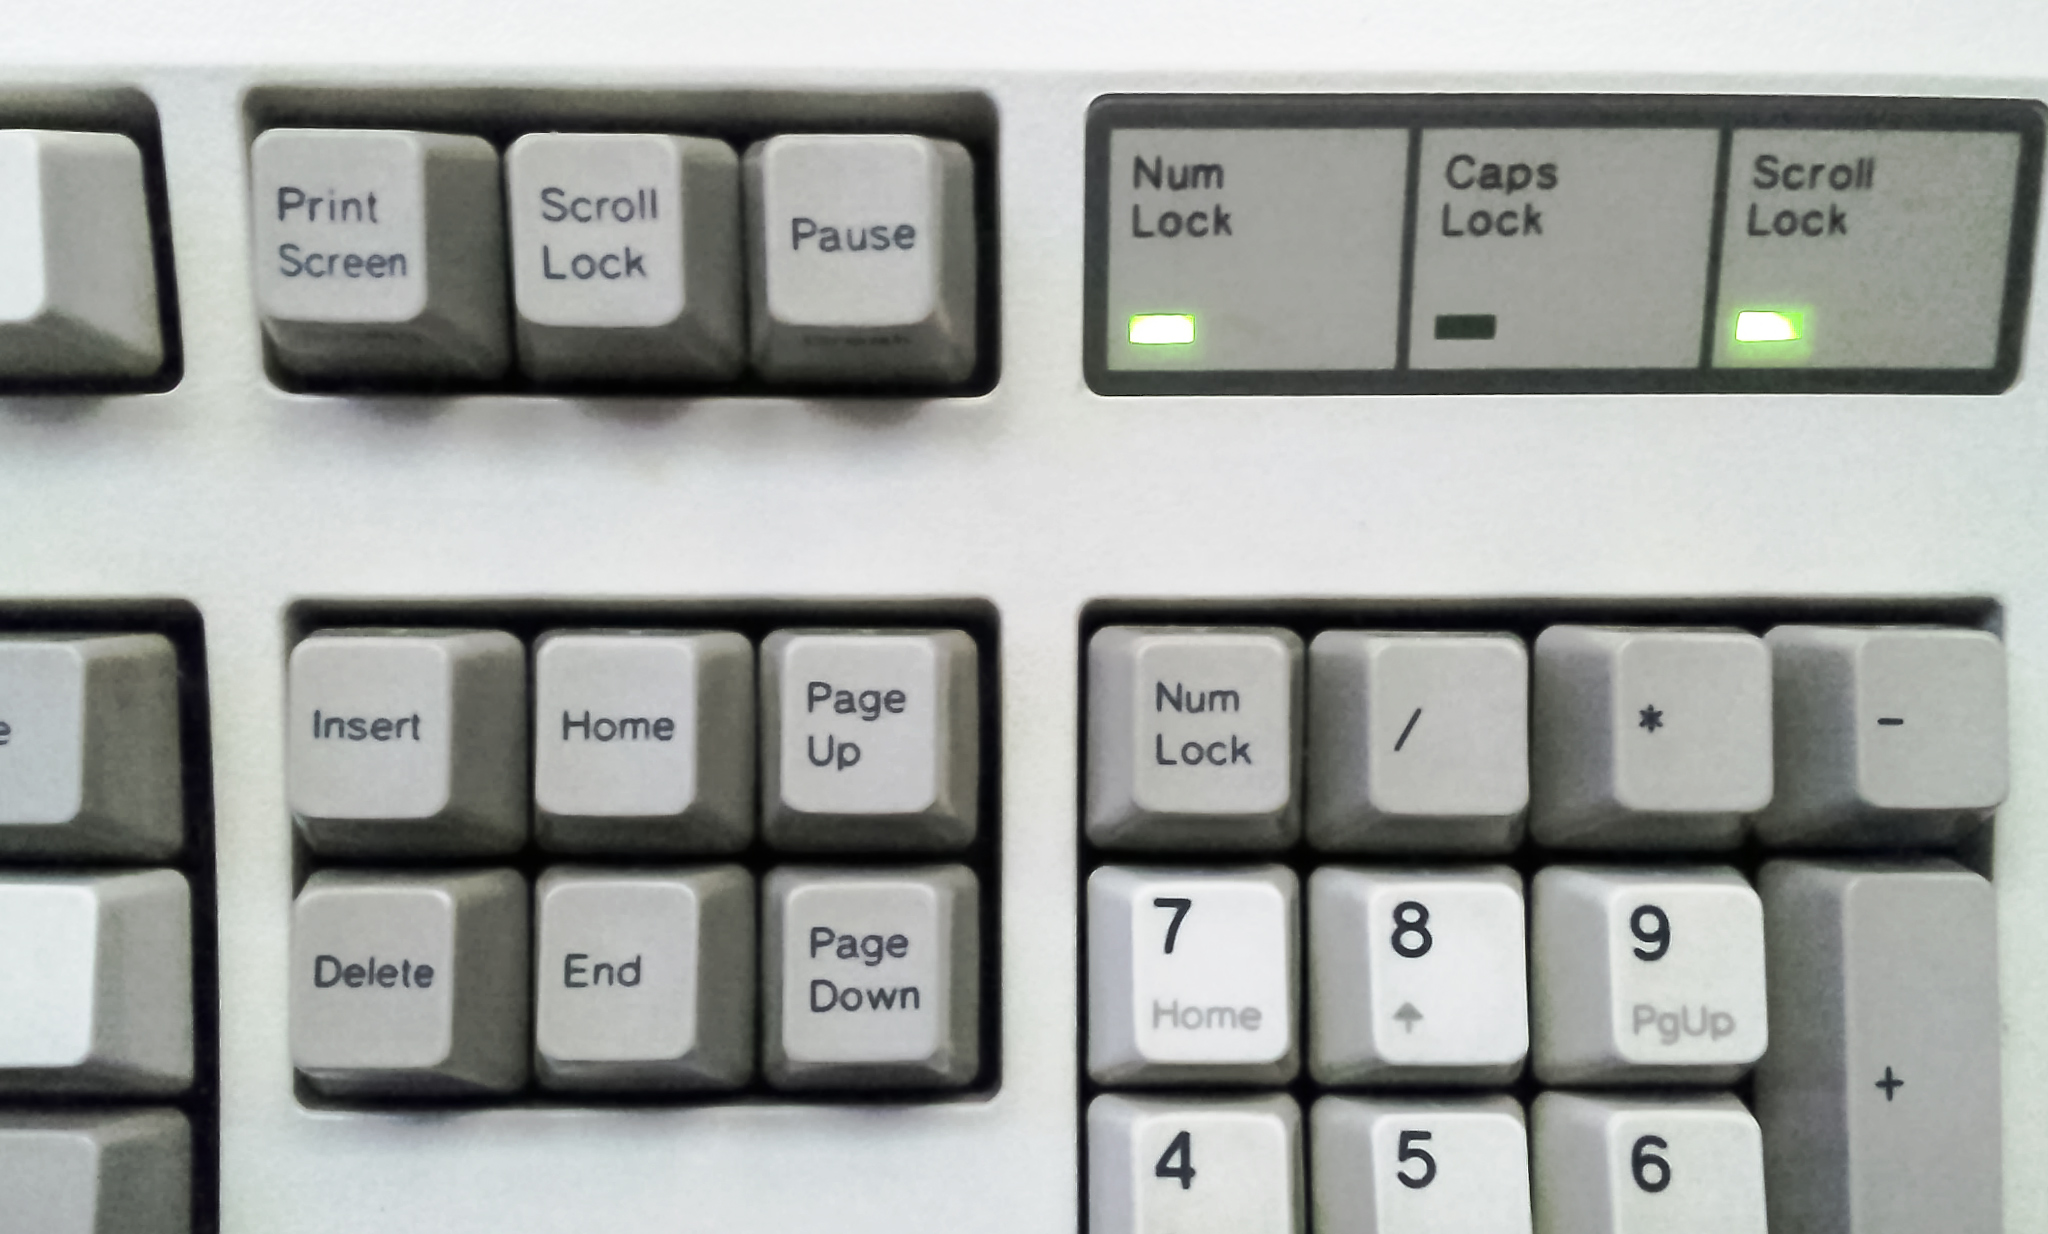
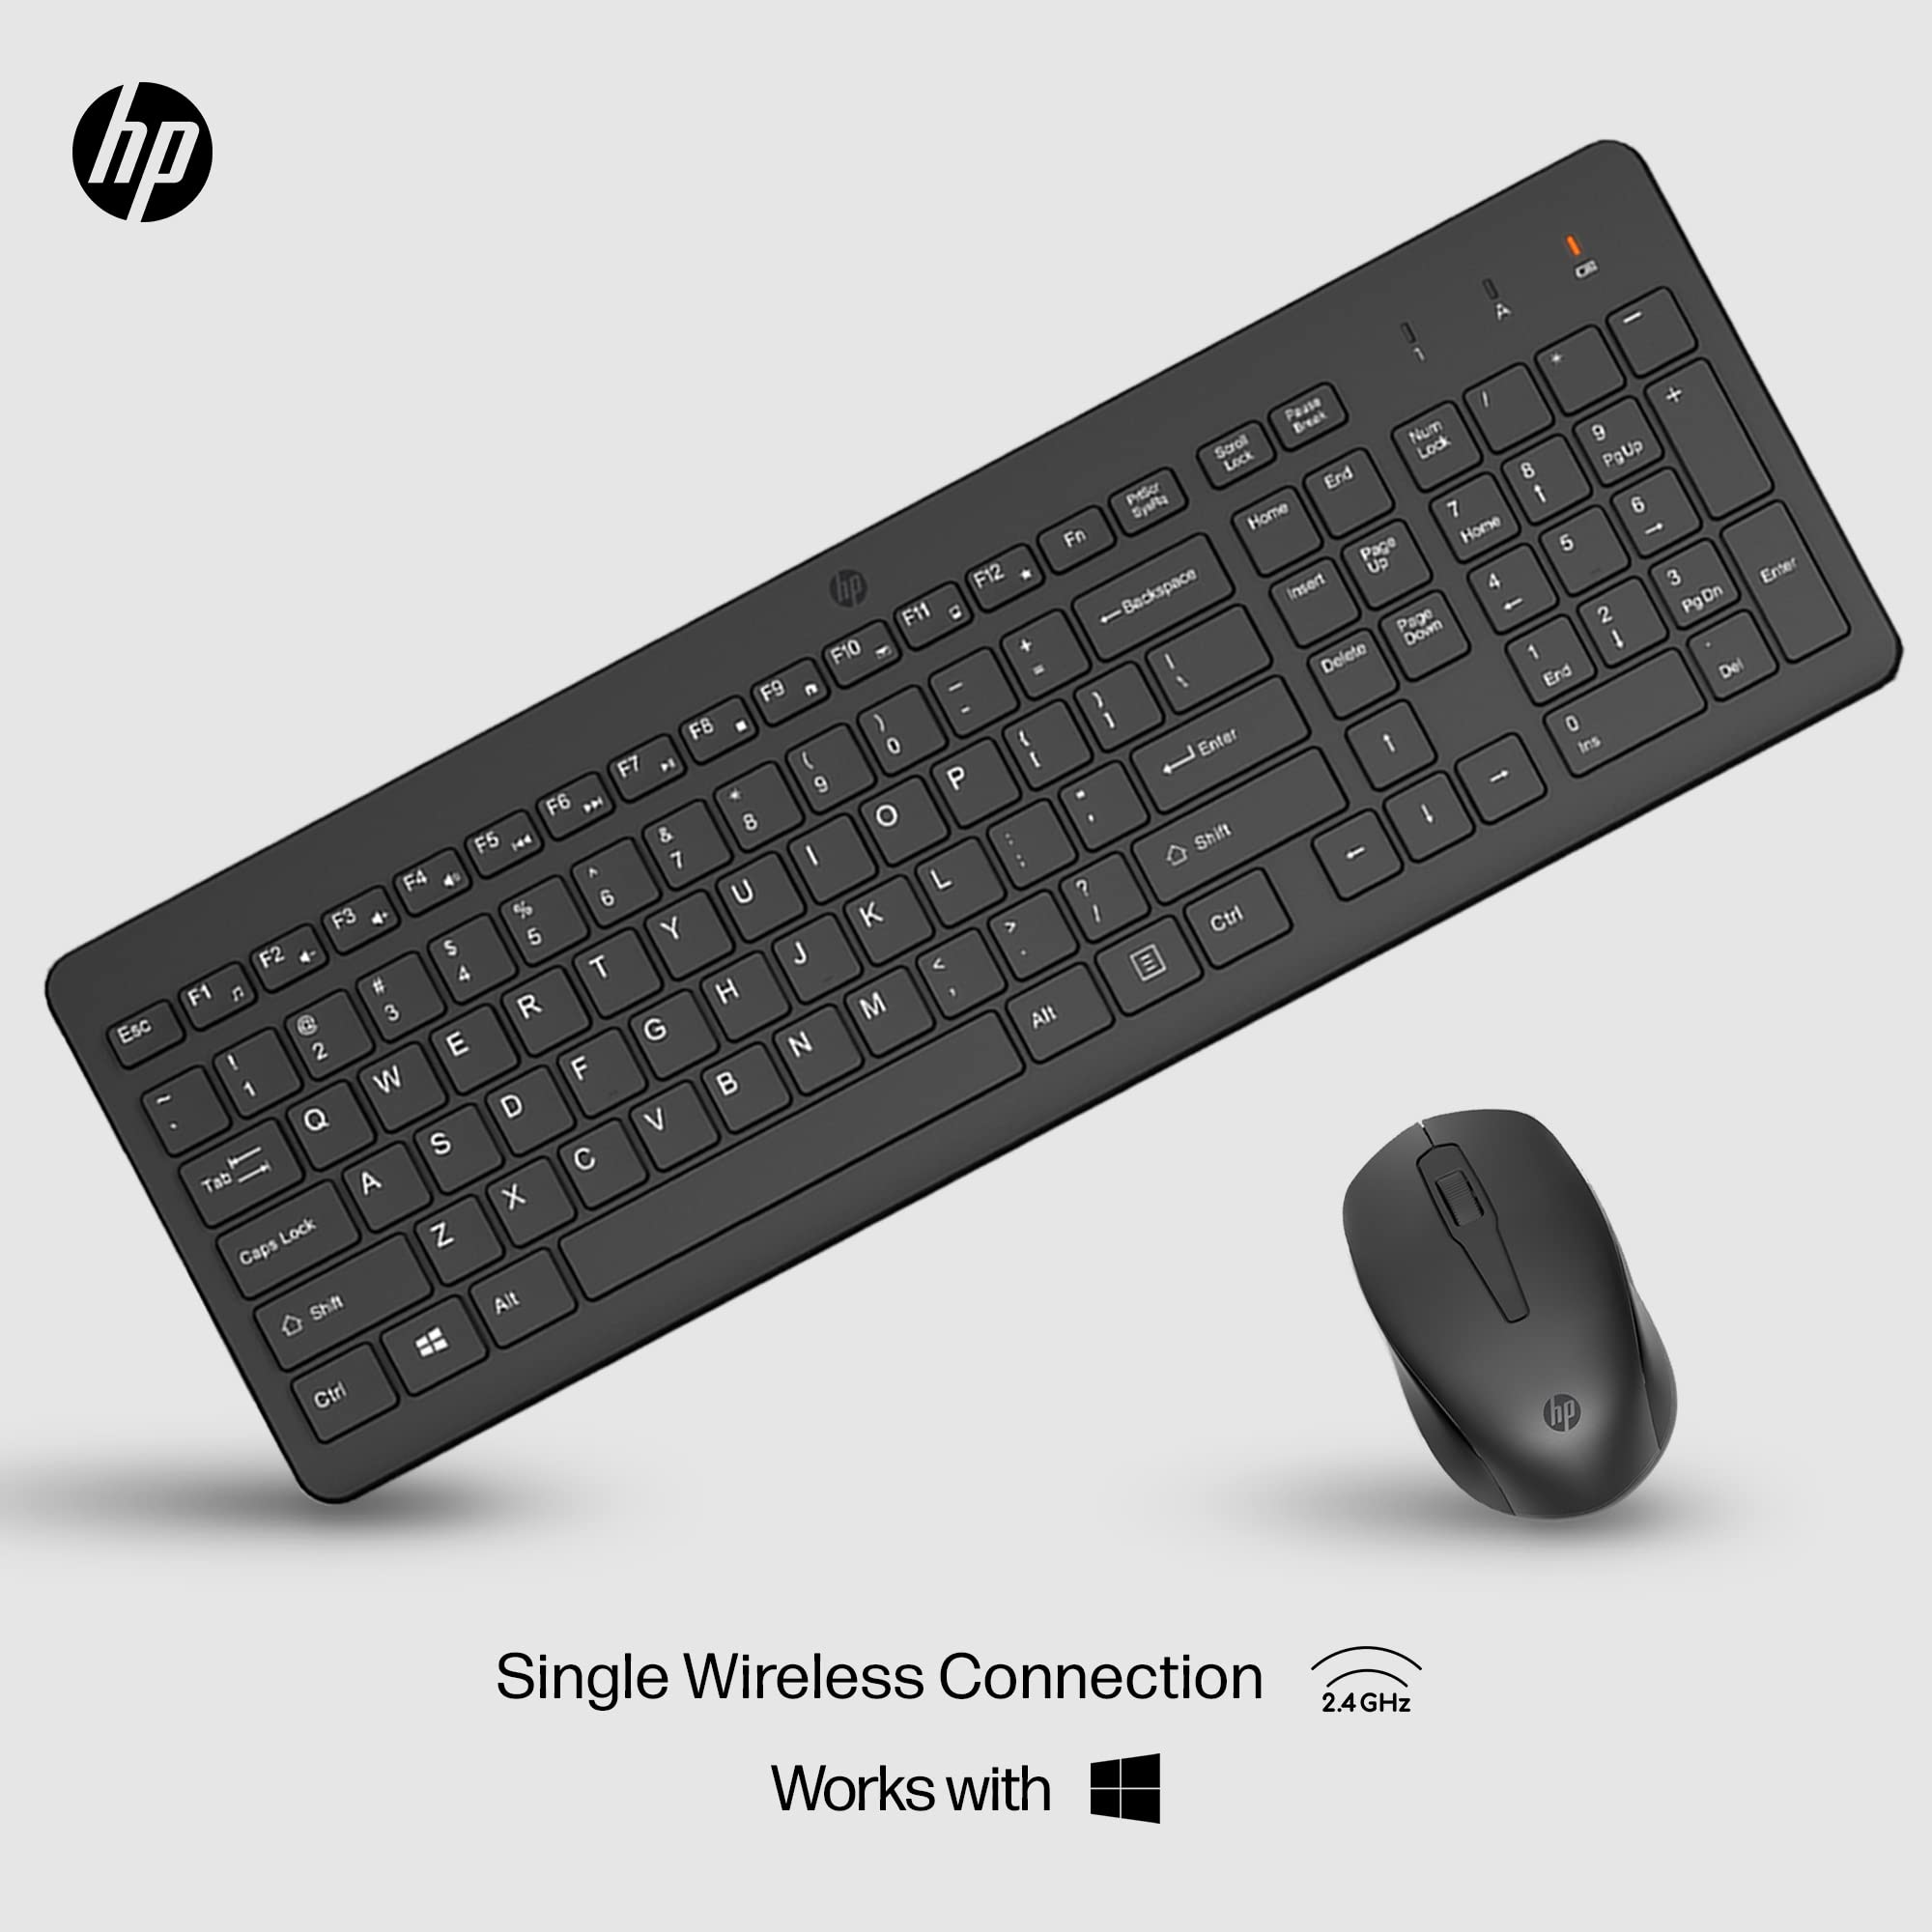
To identify the Scroll Lock key on an HP laptop, look for a key labeled “Scroll Lock” on the top row of the keyboard. If it is not labeled, it may be combined with another function key. Look for a key with “Fn” (function) and “ScrLk” (Scroll Lock) or a similar abbreviation.

If you still can’t find the Scroll Lock key, you can use the on-screen keyboard to activate it. Press the Windows key, type “On-screen keyboard,” and open the application. Click on the “ScrLk” key to activate it.

If you need to use the Scroll Lock key for a specific application, such as Excel, you can use the Registry Editor to enable it. Press the Windows key + R, type “regedit,” and press Enter to open the Registry Editor. Navigate to HKEY_CURRENT_USER\Control Panel\Keyboard, double-click on “InitialKeyboardIndicators,” and change the value to 2. This will enable the Scroll Lock key.

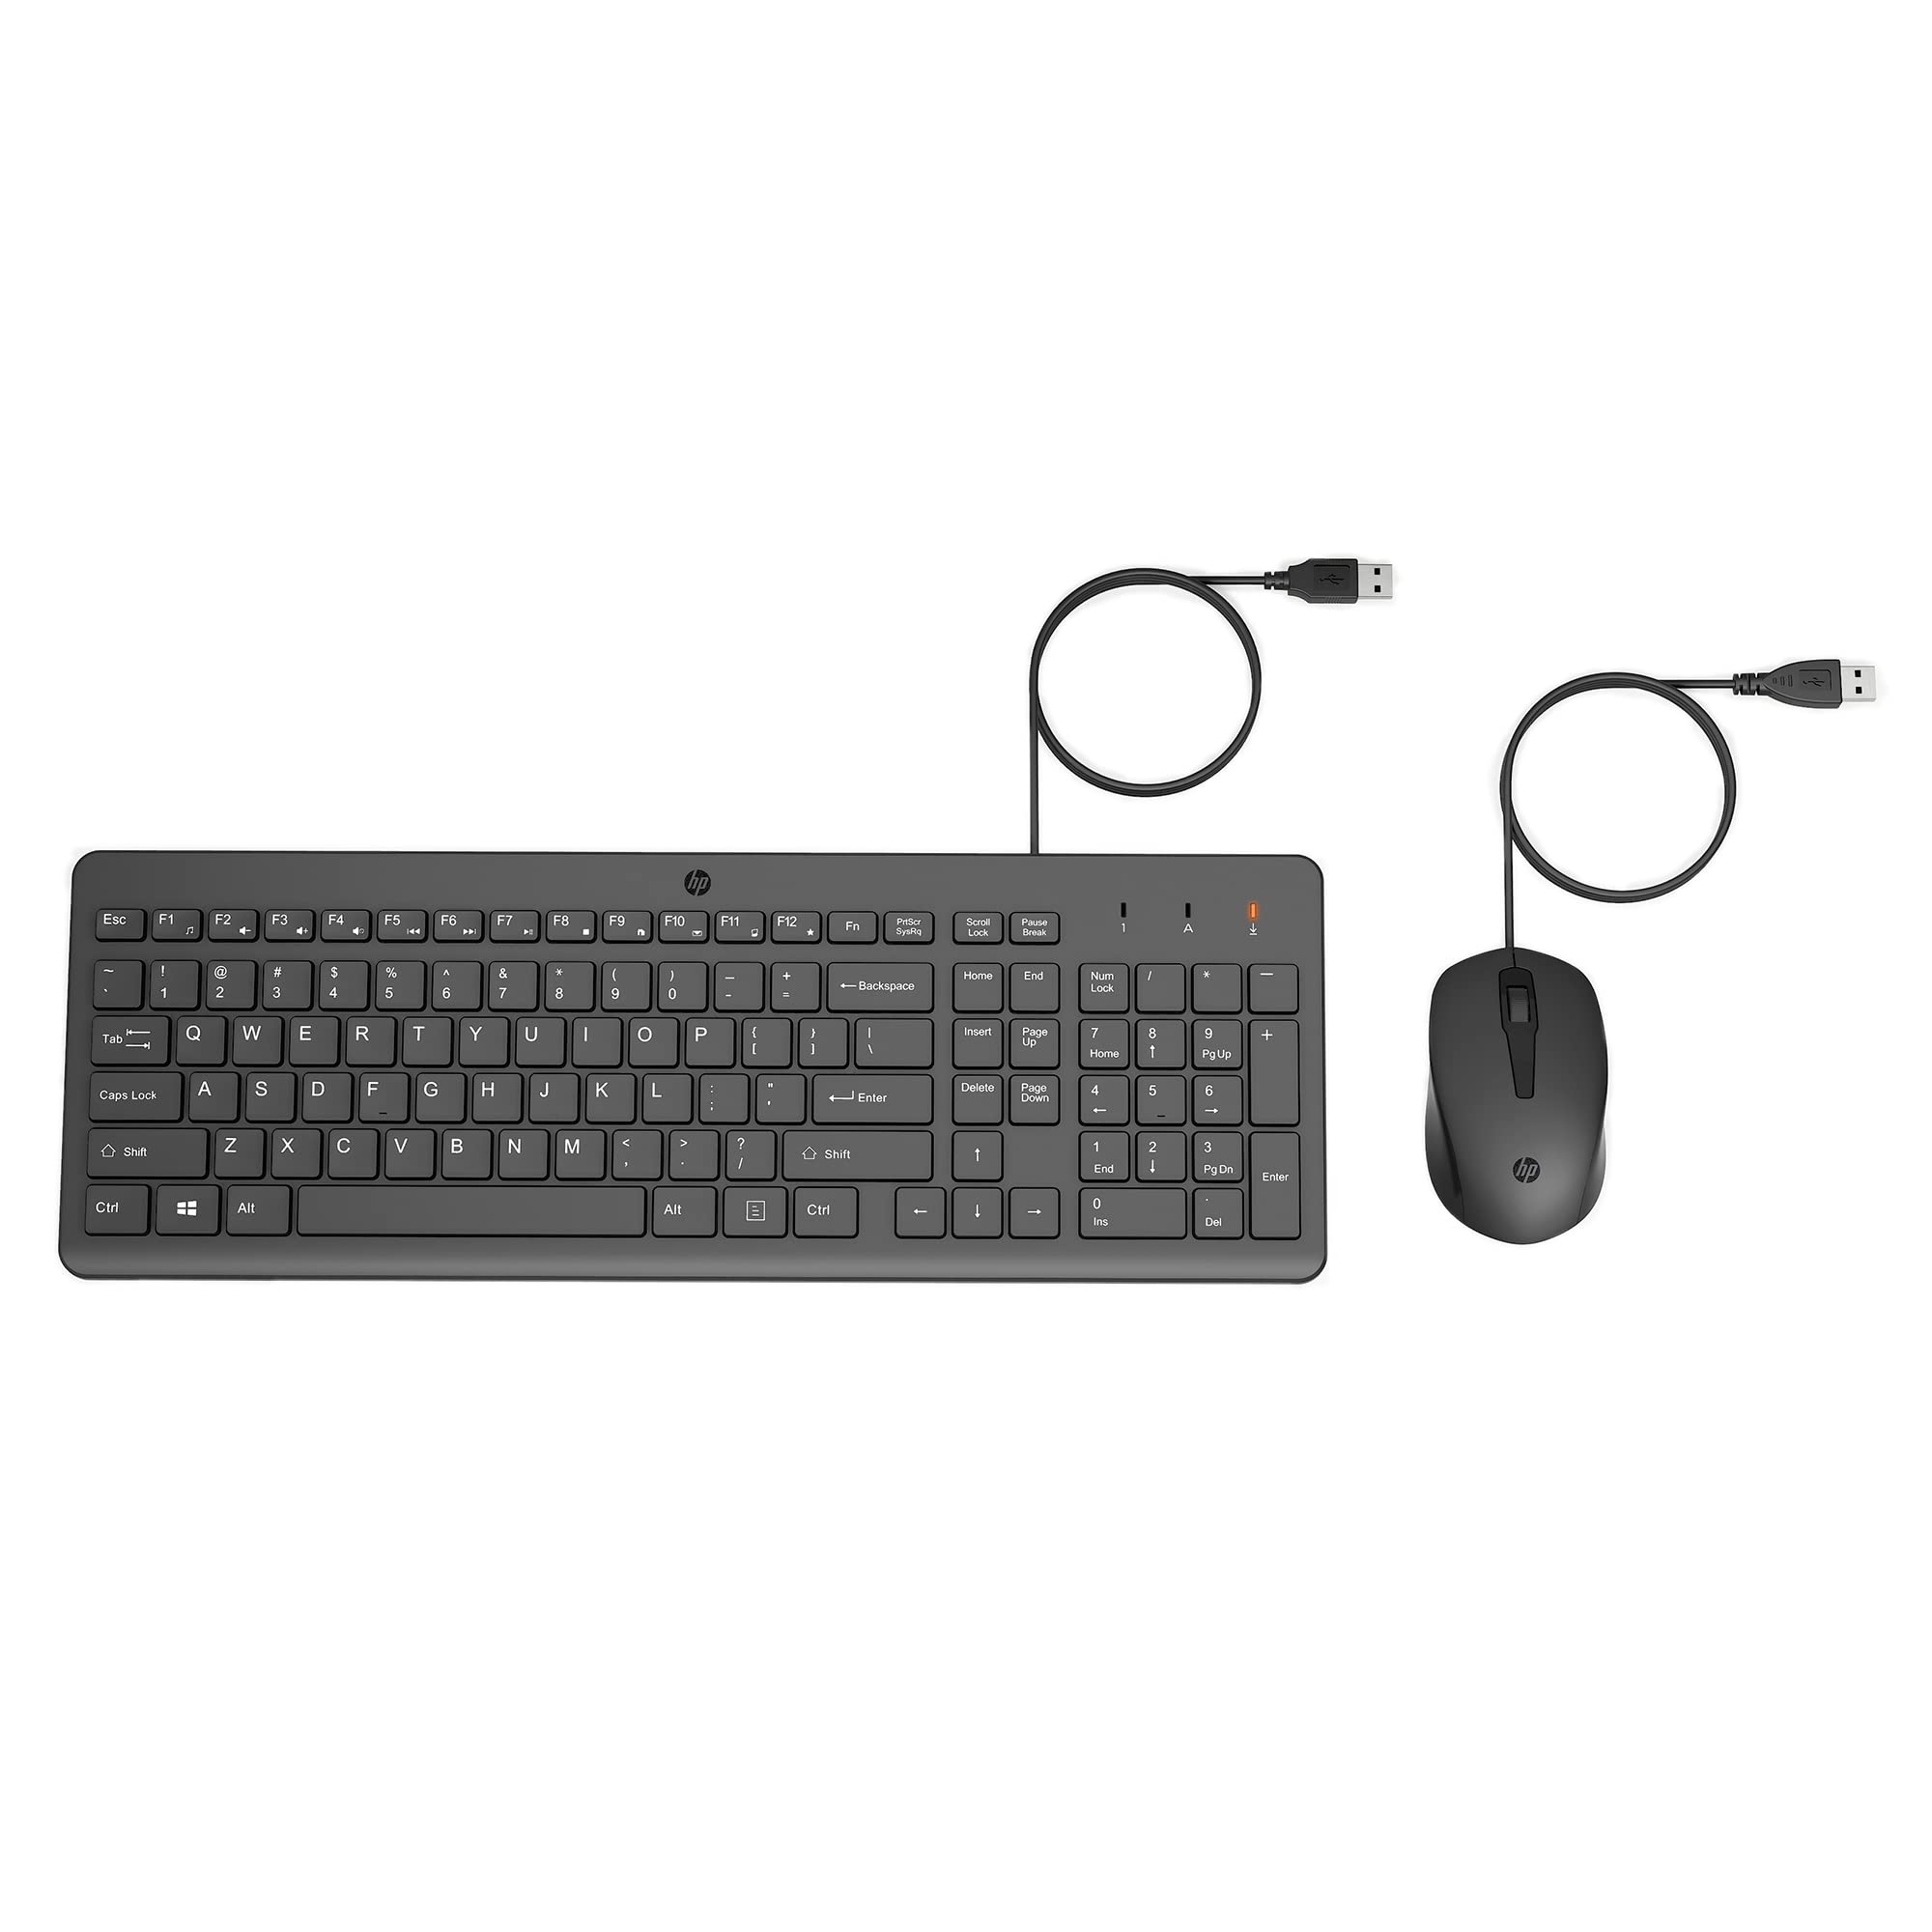
If you have a wireless keyboard or a different type of external keyboard, it may have a dedicated Scroll Lock key. Refer to the user manual or the manufacturer’s website for specific instructions on how to identify and use the Scroll Lock key on your keyboard.

In some cases, the Scroll Lock key may be disabled in the BIOS settings. Restart your computer and press the appropriate key (often F2, F10, or Delete) to access the BIOS menu. Look for the “Advanced” or “Function Key Behavior” section and make sure the Scroll Lock key is enabled.

If you are still unable to find or use the Scroll Lock key on your HP laptop, consider reaching out to HP customer support for further assistance. They may be able to provide specific instructions or troubleshoot any hardware issues that may be affecting the functionality of the key.

Updated: May 2024

Fortect can help with the scroll lock issue on HP laptops by repairing damaged system files and faulty settings that may be causing the problem. It can also address the issue of freezing programs, whether due to a damaged registry, missing files, or excessive junk, ensuring that Windows and other programs run smoothly.

Additionally, Fortect can automatically fix damaged DLL files, which are crucial for proper program functioning.

Toggling Scroll Lock On and Off

Keyboard with scroll lock key

If your HP laptop’s scroll lock key is missing, you can still toggle scroll lock on and off using a simple workaround.

To toggle scroll lock on and off on an HP laptop without the scroll lock key, you can use the on-screen keyboard.

First, open the on-screen keyboard by typing “on-screen keyboard” in the Windows search bar and selecting the app.

Once the on-screen keyboard is open, click the “ScrLk” button to toggle scroll lock on or off.

Alternatively, you can use a keyboard shortcut to toggle scroll lock on and off.

To do this, press the Fn key and the C key at the same time to turn scroll lock on. Press the same keys again to turn scroll lock off.

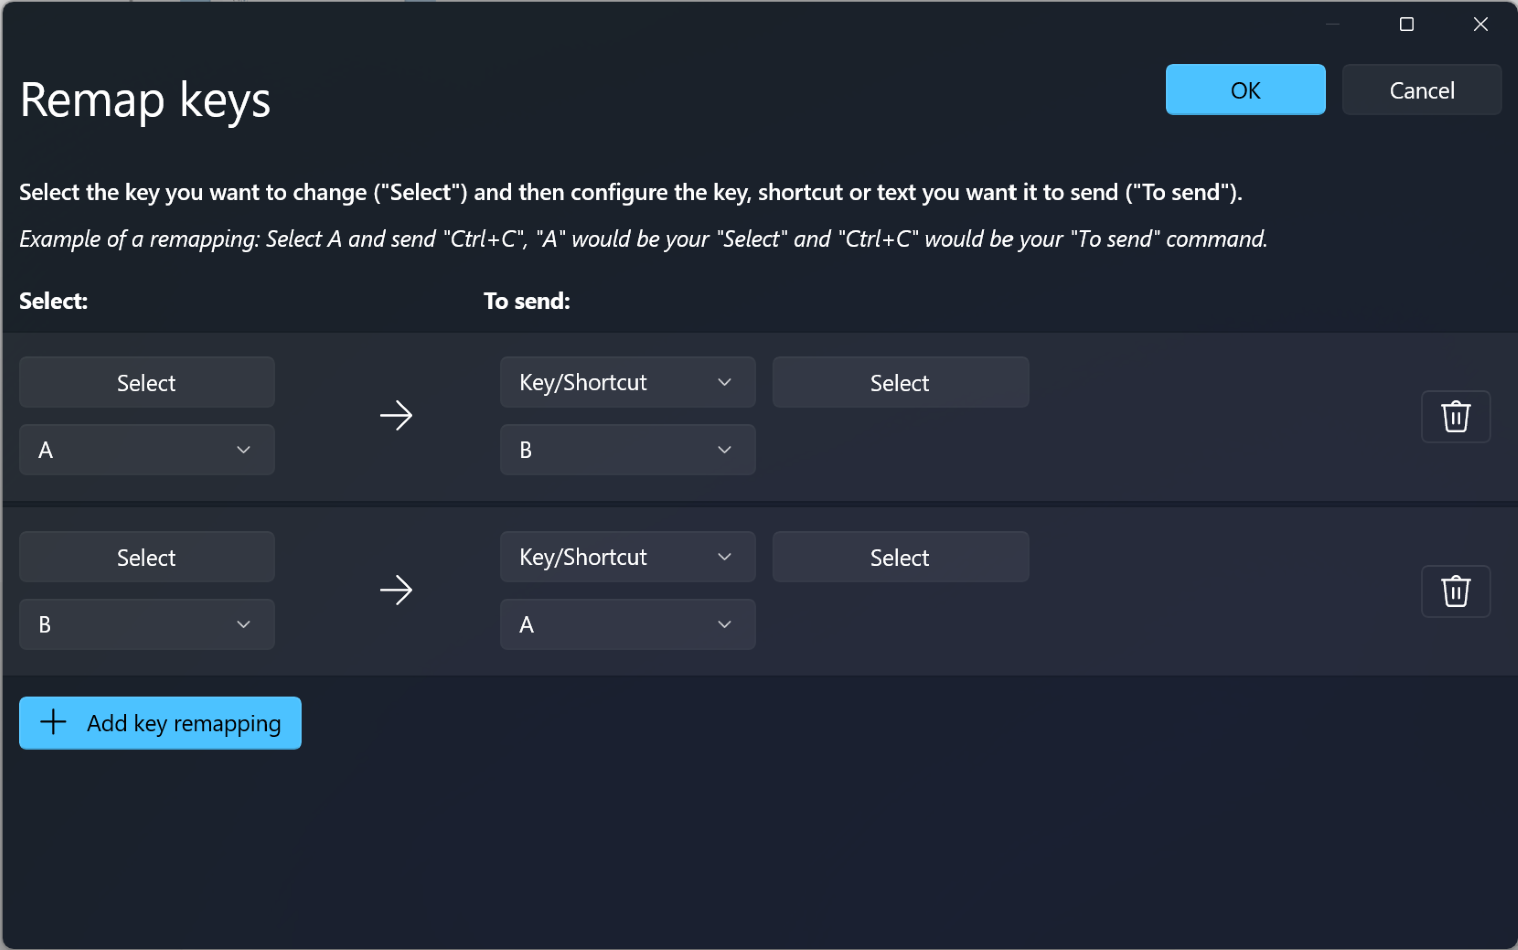
If you prefer using a software solution, you can also use a third-party keyboard software that allows you to remap keys.

This will enable you to assign the scroll lock function to another key on your keyboard.

One popular software for this purpose is AutoHotkey, which allows you to create custom keyboard shortcuts and remap keys.

Remapping the Key Function

HP laptop keyboard with missing scroll lock key

  • Open the Start menu and type “Control Panel” to search for it.
  • Click on Control Panel from the search results to open it.
  • Go to the Hardware and Sound section and click on Devices and Printers.
  • Right-click on the Keyboard option and select Properties.
  • Go to the Key Settings tab and select the key you want to remap.
  • Click on Change Key and select the function you want to assign to the selected key.
    Go to the Key Settings tab and select the key you want to remap.
Click on Change Key and select the function you want to assign to the selected key.
  • Click OK to save the changes and close the window.

Understanding Lock Key Functions

HP laptop keyboard with scroll lock key highlighted

When it comes to understanding the functions of lock keys on your HP laptop, it’s important to know that the Scroll Lock key is often used to control the scrolling of a window. If you find that the Scroll Lock key is missing on your HP laptop, there are a few solutions you can try to resolve this issue.

One solution is to check if your HP laptop has a function key that can be used to enable or disable the Scroll Lock feature. This can usually be done by pressing a specific key combination, such as “Fn” + “Pause/Break” or “Fn” + “F12”. Check your laptop’s user manual or the HP website for the specific key combination for your model.

If your laptop does not have a designated function key for Scroll Lock, you can also try using the on-screen keyboard to enable or disable the Scroll Lock feature. To do this, simply open the on-screen keyboard, press the “ScrLk” button, and then close the on-screen keyboard. This should toggle the Scroll Lock feature on or off.

In some cases, the Scroll Lock key may be missing due to a hardware issue. If this is the case, you may need to contact HP support for further assistance. They may be able to provide a hardware solution or replacement for the missing key.

Additionally, you can also consider using an external keyboard that has a Scroll Lock key if you frequently use this feature and cannot resolve the issue on your HP laptop.

F.A.Q.

Which key is Scroll Lock on a laptop?
Scroll Lock on a laptop is located in the top right corner of the keyboard and is often abbreviated as ScrLk.

How do I unlock the scroll on my laptop?
To unlock the scroll on your laptop, you can go to Start > Settings > Accessibility > Keyboard and turn on the on-screen keyboard. Once the on-screen keyboard appears, click the ScrLk button to unlock the scroll.

Example Message
?

Remember to use the scroll lock function on your HP laptop to lock the scrolling feature and prevent accidental changes while working on spreadsheets or documents. Download this tool to run a scan

Presonus Audiobox USB Driver Troubleshooting Fixes

Having trouble with your Presonus Audiobox USB driver? In this article, I will provide you with troubleshooting fixes to help resolve any issues you may be experiencing.

May 2024: Enhance your computer’s performance and eliminate errors with this cutting-edge optimization software. Download it at this link

  1. Click here to download and install the optimization software.
  2. Initiate a comprehensive system scan.
  3. Allow the software to automatically fix and repair your system.

Check for driver updates regularly to ensure compatibility with your operating system and software.

Reconnecting the Device

USB cable being plugged into a computer

To reconnect the Presonus Audiobox USB driver, first unplug the device from the USB port. Wait for a few seconds, then plug it back in. If the driver still doesn’t reconnect, try using a different USB port on your computer. If that doesn’t work, restart your computer and try reconnecting the device. It’s also a good idea to check for any updates for the Audiobox USB driver and install them if available.

Technology is great when it works, but when it doesn’t, it can be a real headache.
Updated: May 2024

Fortect can help with Presonus Audiobox USB driver problems by repairing damaged system files and faulty settings that may be causing the driver issues. It can also address missing or corrupt DLL files, which are crucial for the proper functioning of programs.

Additionally, Fortect can identify and repair the causes of the Blue Screen of Death (BSoD) related to incompatible DLLs, drivers, and Windows bugs that may be affecting the Audiobox USB driver.

Updating the Driver

Presonus Audiobox USB driver update screen

To update the Presonus Audiobox USB driver, first, ensure that your device is connected to your computer. Then, navigate to the official Presonus website and locate the drivers section. Download the latest driver for your specific operating system, whether it be Windows XP, Windows 7, or another. Once downloaded, uninstall the current driver from your computer and then install the new driver by following the on-screen instructions.

After installation, restart your computer and test the device to see if the issue has been resolved. This process should help troubleshoot any driver-related problems you may be experiencing with your Presonus Audiobox USB.

The frustration of dealing with driver issues can really put a damper on your creativity and productivity.

Running Hardware and Device Troubleshooter

Presonus Audiobox USB troubleshooting

  • Open Control Panel by clicking on the Windows Start button and typing “Control Panel” in the search bar.
  • Click on “Troubleshooting” and then “Hardware and Sound”.
  • Click on “Hardware and Devices” and then follow the on-screen instructions to run the troubleshooter.

Frequently Asked Questions

Troubleshooting FAQs

Question Answer
1. What are common issues with the Presonus Audiobox USB driver? Common issues include driver installation errors, audio playback/recording problems, and device recognition issues.
2. How can I fix driver installation errors? You can try uninstalling and reinstalling the driver, updating your operating system, or using a different USB port.
3. What can cause audio playback/recording problems? Issues such as outdated drivers, incompatible software, or incorrect audio settings can cause playback/recording problems.
4. How do I troubleshoot device recognition issues? Try connecting the Audiobox USB to a different computer, using a different USB cable, or updating the device drivers.
5. Where can I find the latest drivers for the Presonus Audiobox USB? You can download the latest drivers from the official Presonus website or use the Universal Control software to update the drivers.
Example Message
?

If you are experiencing issues with your Presonus Audiobox USB driver, try reinstalling the driver or contacting technical support for assistance. Download this tool to run a scan