Discover how to silence your computer’s distracting noises with these simple tips.
September 2025: Enhance your computer’s performance and eliminate errors with this cutting-edge optimization software. Download it at this link
- Click here to download and install the optimization software.
- Initiate a comprehensive system scan.
- Allow the software to automatically fix and repair your system.
Identifying Common Noises Your Computer Makes
Identifying common noises your computer makes can help diagnose and fix any issues. A whirring sound could indicate a problem with the computer fan or hard drive, while a clicking sound may suggest a malfunctioning hard drive. A beeping noise could indicate a hardware issue, such as a problem with the RAM or CPU. Buzzing sounds or high-pitched whines may come from the computer speakers or audio system. To identify the source of the noise, listen closely and try to locate where it’s coming from. Check your computer’s documentation or search online for troubleshooting steps based on the specific noise you’re hearing. If you’re unsure about anything, consult a professional to avoid causing further damage to your machine.
Reasons Why Your Computer is Making Noise
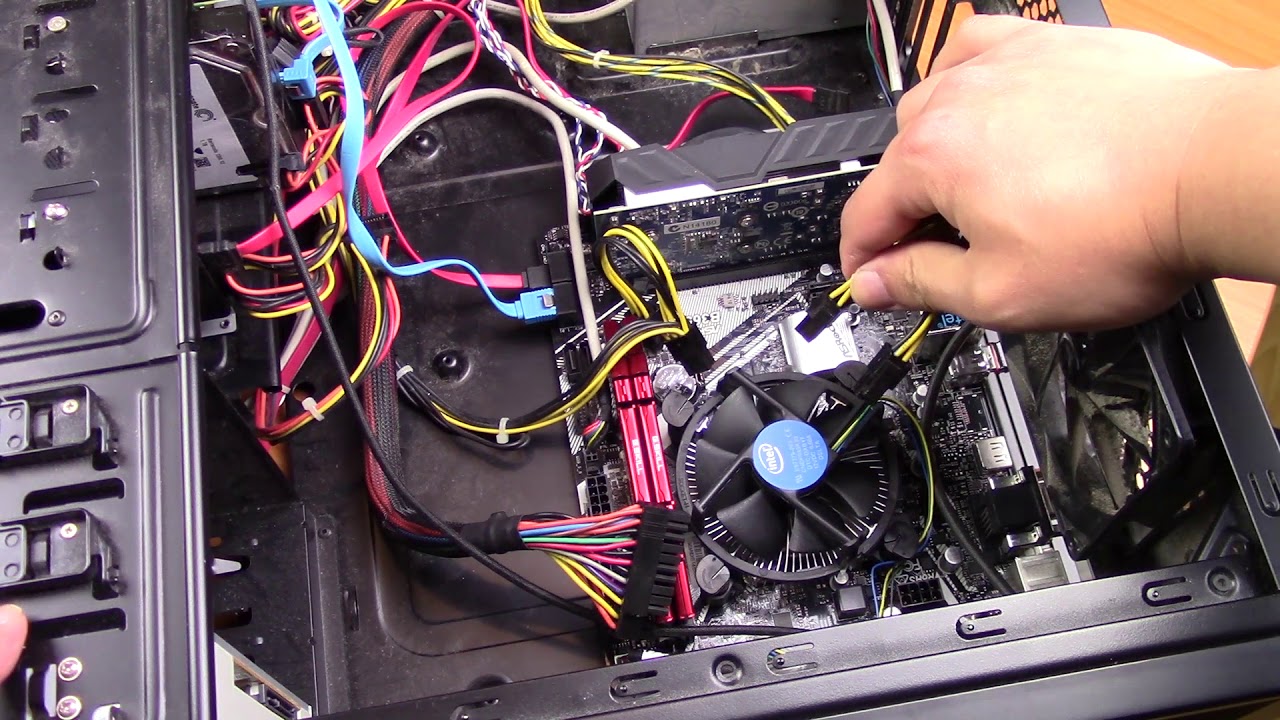
- Clean the fans:
- Shut down the computer and unplug it from the power source.
- Open the case and locate the fans.
- Clean the fans with compressed air or a soft brush.
- Close the case and plug the computer back in.
- Check for loose components:
- Shut down the computer and unplug it from the power source.
- Open the case and check for any loose components such as screws, cables, or cards.
- Tighten any loose screws and reattach any loose cables or cards.
- Close the case and plug the computer back in.
- Check for hard drive issues:
- Open the Start menu and search for Event Viewer.
- Click on Windows Logs and then System.
- Look for any errors or warnings related to the hard drive.
- If there are any errors or warnings, back up important data and replace the hard drive.

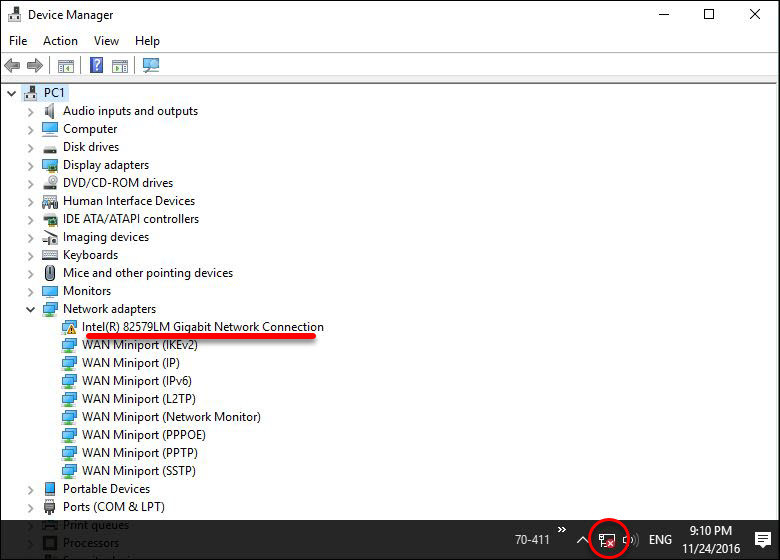
- Update drivers:
- Open the Start menu and search for Device Manager.
- Expand each category and look for any yellow exclamation marks.
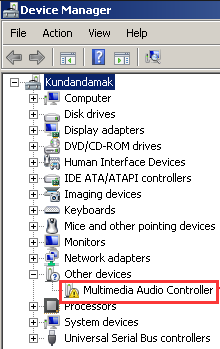
- Right-click on the device with the exclamation mark and select Update Driver.
- Follow the prompts to update the driver.
- Remove malware:
- Download and install a reputable anti-malware program.
- Run a full system scan.

- Follow the prompts to remove any detected malware.
Additionally, if any DLL files are missing or corrupt, Fortect can automatically fix the issue. While it cannot guarantee to fix all sound-related problems, it provides a comprehensive solution for many common computer issues.

How to Fix Buzzing and Whirring Noises from Your Computer
To fix buzzing and whirring noises from your computer, you need to identify the source of the noise. Check your computer’s fan to see if it’s causing the noise. If it is, try cleaning it or replacing it. If the noise is coming from your computer speakers, adjust the audio settings or check if any cables are loose. A beeping sound could indicate a hardware problem, while a clicking sound could be a failing hard drive. Update your drivers and run a virus scan to ensure your computer is running smoothly. If the noise persists, it may be time to take it to a professional.
Common Causes of Clicking and Grinding Noises
The most common causes of clicking and grinding noises in a computer are related to the fan. A clicking noise may indicate something stuck in the fan blades, while a grinding noise may indicate a failing fan bearing. To fix this issue, turn off the computer and unplug it from the power source. Use compressed air to clean the fan blades and inspect them for any damage. If the issue persists, replace the fan. Other causes of noise may include a beeping sound from the PC speaker, buzzing noise from the PC audio, or a noisy CPU fan. Check the PC speakers and audio settings for any issues and clean the CPU fan using compressed air. If you are not confident in your ability to fix the issue, seek professional help.
Dealing with Obstructed and Dusty Fans
| Dealing with Obstructed and Dusty Fans | |
|---|---|
| Description | One of the most common sources of noise in a computer is the fan. Fans can become obstructed or dusty over time, causing them to work harder and create more noise than usual. |
| Solution | Clean the fan and remove any obstructions. This can be done by opening up the computer case and using compressed air or a soft brush to remove any dust or debris. If the fan is damaged or worn out, it may need to be replaced. |
| Prevention | Regularly clean the inside of the computer case to prevent dust buildup. Consider adding filters to the intake fans to reduce the amount of dust that enters the case. Also, ensure that the computer is placed in a well-ventilated area to prevent overheating. |
Inspecting and Maintaining Various Hardware Components
Inspecting and maintaining various hardware components is crucial to fix your computer’s noisy whirrs, buzzes, and chimes. Start by checking the computer fan and cleaning it (use compressed air to blow out any dust). Next, check the PC audio and beeping noise (ensure the volume is not too high). If you hear a buzzing noise, check the PC speakers (make sure all cables are secure). If the buzzing sound persists, check the index position of the data and adjust the height accordingly. Additionally, check the pitch of the sound and adjust the keys as needed. Remember, your computer shouldn’t make excessive noise, and regular maintenance of hardware components can help prevent future issues.
If your computer is making unusual sounds, it is important to investigate the issue to prevent potential hardware damage or system malfunctions. Download this tool to run a scan