In this article, we will discuss solutions to fix WD My Book Essential elements not showing up on your computer.
September 2025: Enhance your computer’s performance and eliminate errors with this cutting-edge optimization software. Download it at this link
- Click here to download and install the optimization software.
- Initiate a comprehensive system scan.
- Allow the software to automatically fix and repair your system.
Use Professional Data Recovery Tools or Services
Using professional data recovery tools can help in retrieving the missing or inaccessible data from your WD My Book Essential. These tools are equipped with advanced algorithms and techniques to recover data from various storage devices, including external hard drives like the WD My Book Essential.
If you are not familiar with data recovery tools or techniques, it is recommended to seek professional data recovery services to avoid any further complications. These services have experts who are well-trained in handling data recovery tasks and can efficiently recover your data without risking further damage to the device.
Before attempting any data recovery process, it is important to backup your data to prevent any potential data loss. This can be done by transferring your important files to another storage device or cloud storage platform.
If you are unable to access your data on the WD My Book Essential, avoid trying to fix the issue on your own as it may worsen the situation. Instead, seek help from professional data recovery experts who have the necessary tools and expertise to safely recover your data.
Address Cable, Port, and USB Issues
- Check the USB cable connection:
- Ensure the USB cable is securely connected to both the WD My Book Essential and the computer.
- Try using a different USB cable to rule out any issues with the current cable.
- Test different USB ports:
- Try connecting the WD My Book Essential to different USB ports on the computer to see if the issue is with a specific port.
- Avoid using USB hubs or extension cables as they may cause connectivity issues.
- Update USB drivers:
- Open Device Manager by pressing Win+X and selecting it from the menu.
- Expand the “Universal Serial Bus controllers” section and right-click on each USB driver to select “Update driver.”
Update or Repair Drivers and Run Troubleshooters
If your WD My Book Essential Elements is not showing up on your computer, the issue may be related to outdated or corrupted drivers. To fix this problem, you can update or repair the drivers on your system.
1. Update Drivers:
To update the drivers for your WD My Book Essential Elements, you can go to the Device Manager on your computer. Right-click on the Start menu and select Device Manager. Locate the WD My Book Essential Elements under the Disk drives category. Right-click on it and select Update driver. Follow the on-screen instructions to search for and install the latest driver for your device.
2. Repair Drivers:
If updating the drivers does not resolve the issue, you can try repairing them instead. To repair the drivers for your WD My Book Essential Elements, you can go back to the Device Manager. Right-click on the device and select Properties. Go to the Driver tab and click on the Update Driver button. Select “Browse my computer for driver software” and then “Let me pick from a list of available drivers on my computer.” Choose the driver you want to install and follow the on-screen instructions to repair it.
3. Run Troubleshooters:
If updating or repairing the drivers does not fix the issue, you can run troubleshooters on your system to identify and resolve any problems. To do this, go to the Settings app on your computer. Click on Update & Security, then select Troubleshoot from the left-hand menu. Run the Troubleshooters for Hardware and Devices to check for any issues with your WD My Book Essential Elements.
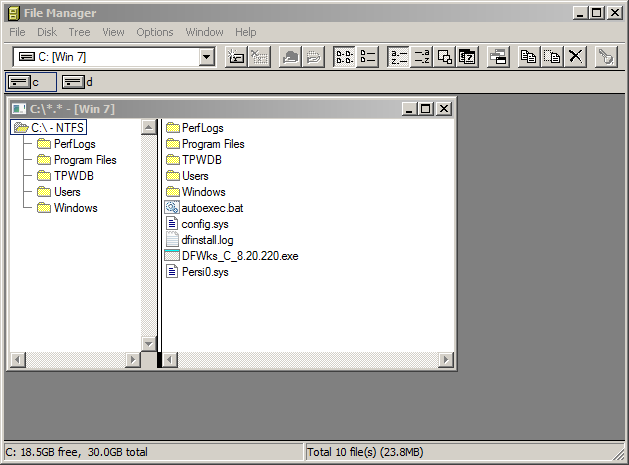
Assign New Drive Letters or Format the Drive
– Right-click on ‘This PC’ or ‘My Computer’ and select ‘Manage.’
– Click on ‘Disk Management’ under the ‘Storage’ section.
– Right-click on the WD My Book Essential Elements drive that is not showing up and select ‘Change Drive Letter and Paths.’
– Click on ‘Change’ and select a new drive letter from the drop-down menu.
– Click ‘OK’ and the drive should now be assigned a new drive letter.
If assigning a new drive letter does not fix the issue, you may need to format the drive. Before formatting, make sure to back up any important data on the drive as formatting will erase all data. To format the drive, follow these steps:
– Right-click on ‘This PC’ or ‘My Computer’ and select ‘Manage.’
– Click on ‘Disk Management’ under the ‘Storage’ section.
– Right-click on the WD My Book Essential Elements drive that is not showing up and select ‘Format.’
– Follow the on-screen instructions to format the drive.
– Once the formatting process is complete, the drive should now be recognized by your computer.
By assigning new drive letters or formatting the drive, you should be able to fix the issue of your WD My Book Essential Elements not showing up on your computer.
FAQ
How to reset WD mybook?
To reset the WD MyBook, access the device dashboard, navigate to Settings, click on Utilities, and then select Factory Restore. Choose between Quick Factory Restore or Full Factory Restore, and then click Start to initiate the reset process.
Why is my WD hard drive not working?
Your WD hard drive may not be working due to issues with incompatible file systems, USB connection problems, or outdated drivers.
Why is my hard drive not working?
Your hard drive may not be working due to a corrupt or virus/malware infected file that needs to be removed. Use a reliable antivirus program to quarantine and remove the infected file(s) to fix the drive error.
How do I turn on mybook?
To turn on My Book, simply press the power button on the back panel.