Welcome to the ultimate guide on resolving the infuriating disrupt_b64.dll error in Watch Dogs! If you’ve been tirelessly searching for a way to fix this pesky issue, you’ve come to the right place. In this article, we will explore the root causes behind the error and provide you with simple yet effective solutions to get your game back on track. So, let’s dive in and banish this disruptive error once and for all!
September 2025: Enhance your computer’s performance and eliminate errors with this cutting-edge optimization software. Download it at this link
- Click here to download and install the optimization software.
- Initiate a comprehensive system scan.
- Allow the software to automatically fix and repair your system.
dll Errors
If you are experiencing a dll error related to the Watch Dogs video game, we have some solutions that may help you resolve the issue.
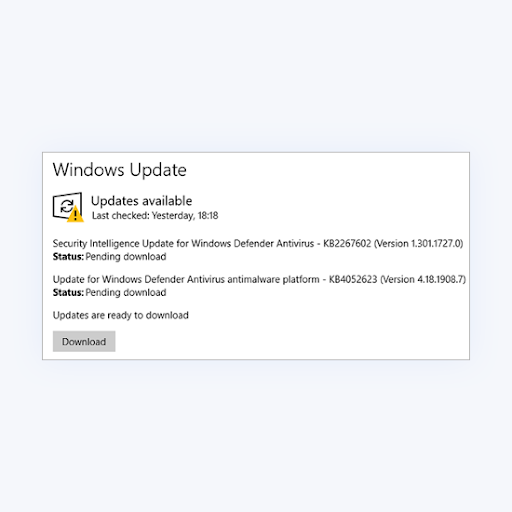
1. Update your operating system: Make sure you have the latest updates installed for your Microsoft Windows operating system. These updates often include fixes for known issues and vulnerabilities.
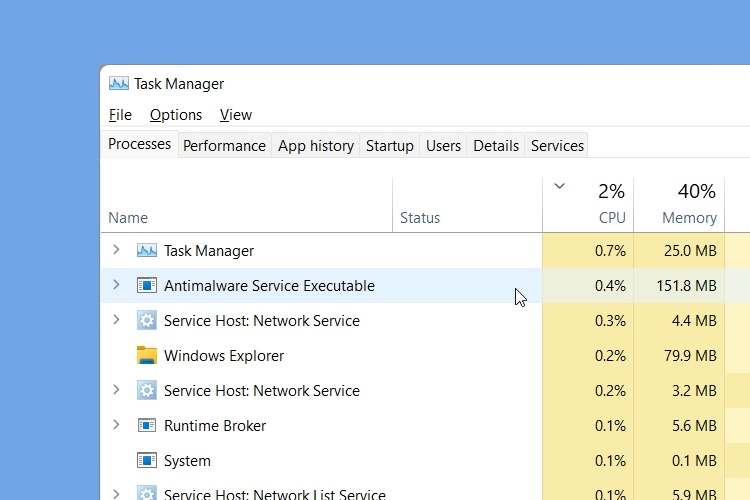
2. Run a malware scan: Malware can sometimes interfere with the proper functioning of dll files. Use a trusted antivirus software to scan your computer for any malicious programs and remove them.
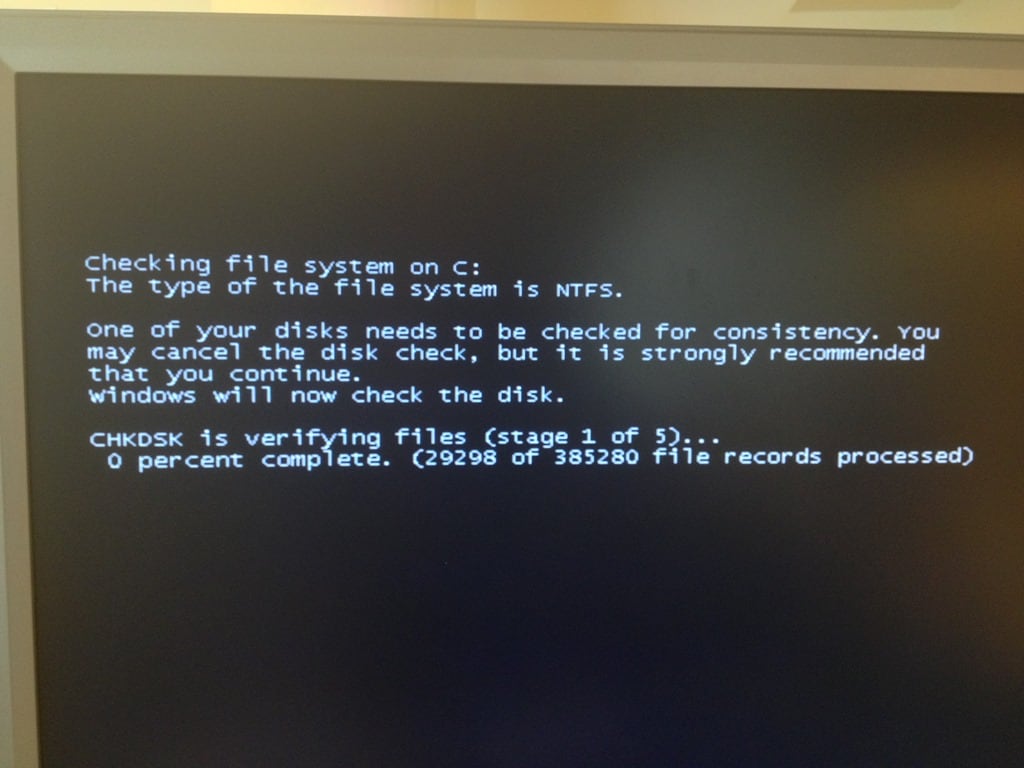
3. Troubleshoot startup crashes: If you are encountering a startup crash or a black screen when launching Watch Dogs, try the following steps:
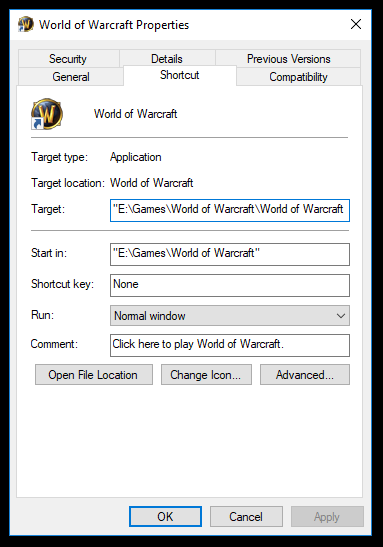
– Open the game installation directory.
– Locate the disrupt_b64.dll file.
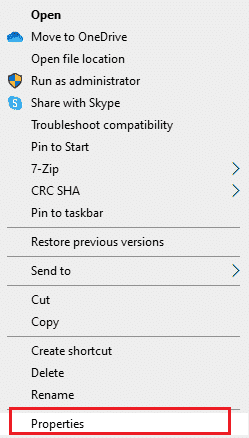
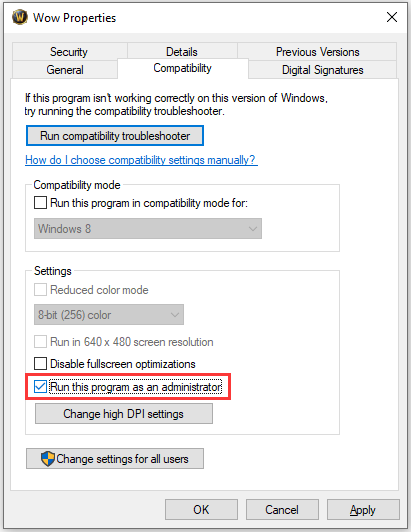
– Right-click on the file and select “Properties.”
– Go to the “Compatibility” tab and check the box that says “Run this program as an administrator.”
– Click “Apply” and then “OK.”
4. Verify game files: If the disrupt_b64.dll file is missing or corrupted, it can cause errors. Follow these steps to verify the game files through the Uplay client:
– Open the Uplay client and go to the “Games” section.
– Find Watch Dogs in your library and click on it.
– Click on the three dots (…) next to the “Play” button and select “Verify files.”
5. Reinstall Watch Dogs: If none of the above steps resolve the issue, you may need to reinstall the game. Before reinstalling, make sure to uninstall Watch Dogs completely and then download the latest version from a trusted source.
Additionally, if the error is related to a missing or corrupt DLL file, Fortect can automatically fix the issue. However, it’s important to note that Fortect cannot guarantee a fix for every issue.

dll
Fix Watch Dogs Disrupt_b64.dll Error
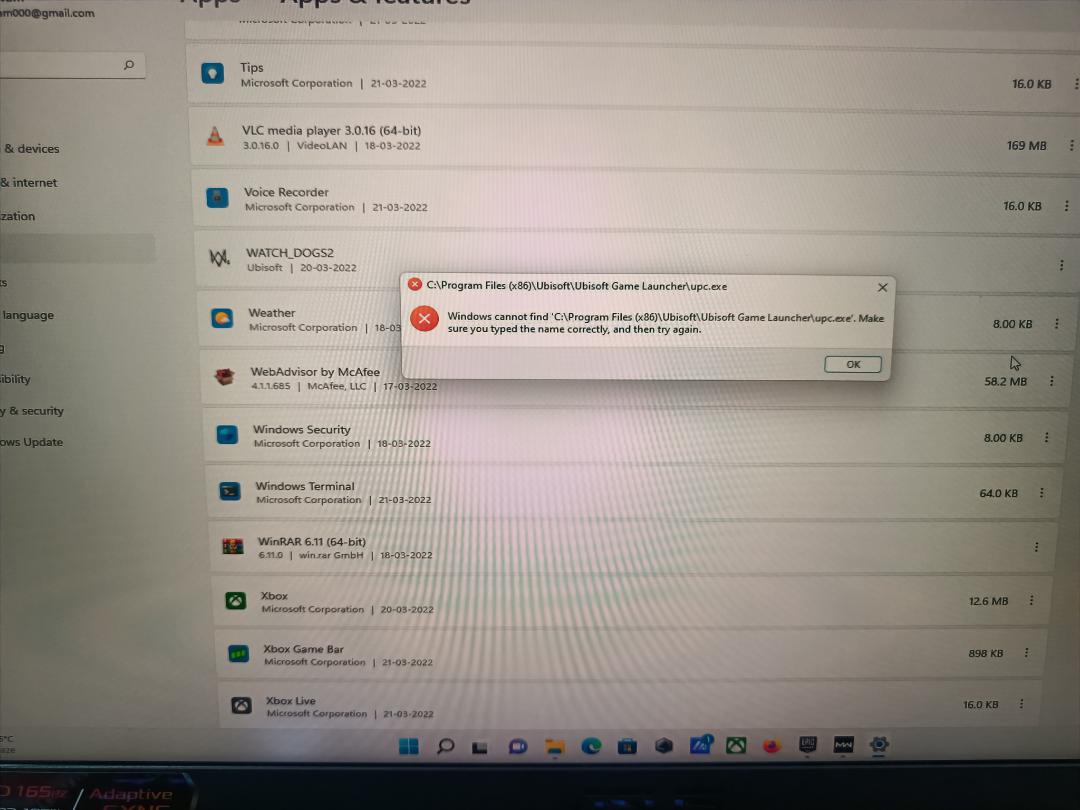
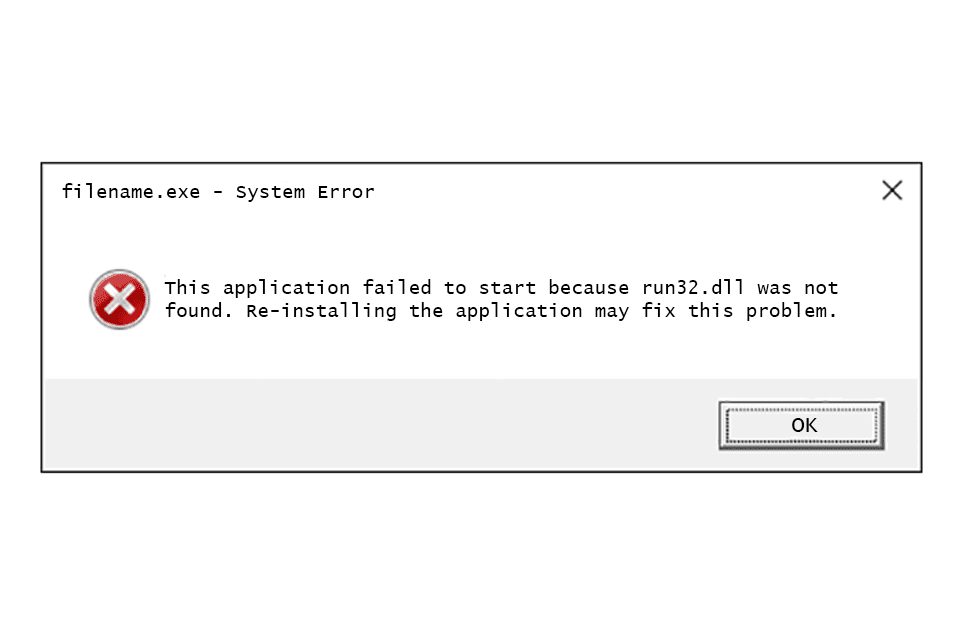
An error related to the Disrupt_b64.dll file can occur while playing Watch Dogs, preventing the game from launching or causing crashes during gameplay. This DLL (Dynamic Link Library) file is a critical component of the game, and its absence or corruption can lead to various issues. Here are some troubleshooting steps to fix this error:
| Step | Description |
|---|---|
| 1 | Check for missing DLL file |
| 2 | Reinstall the game |
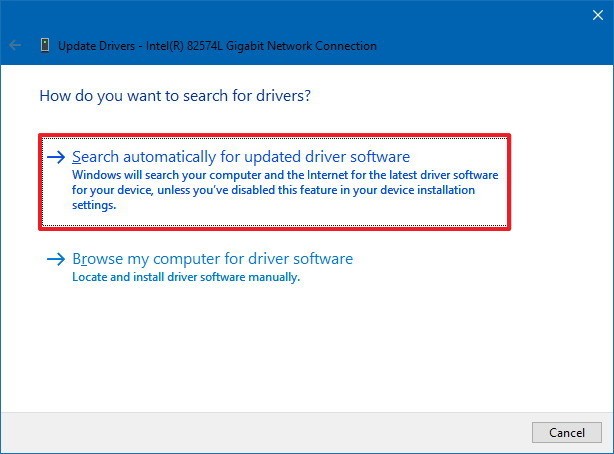
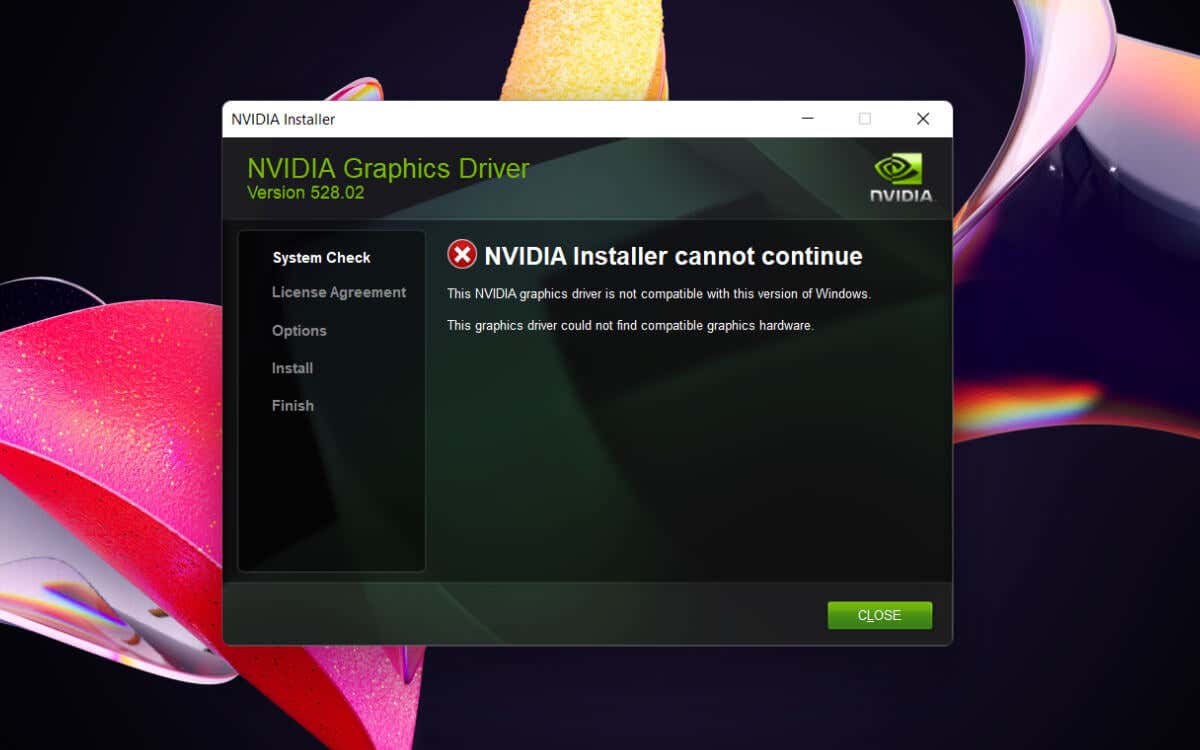
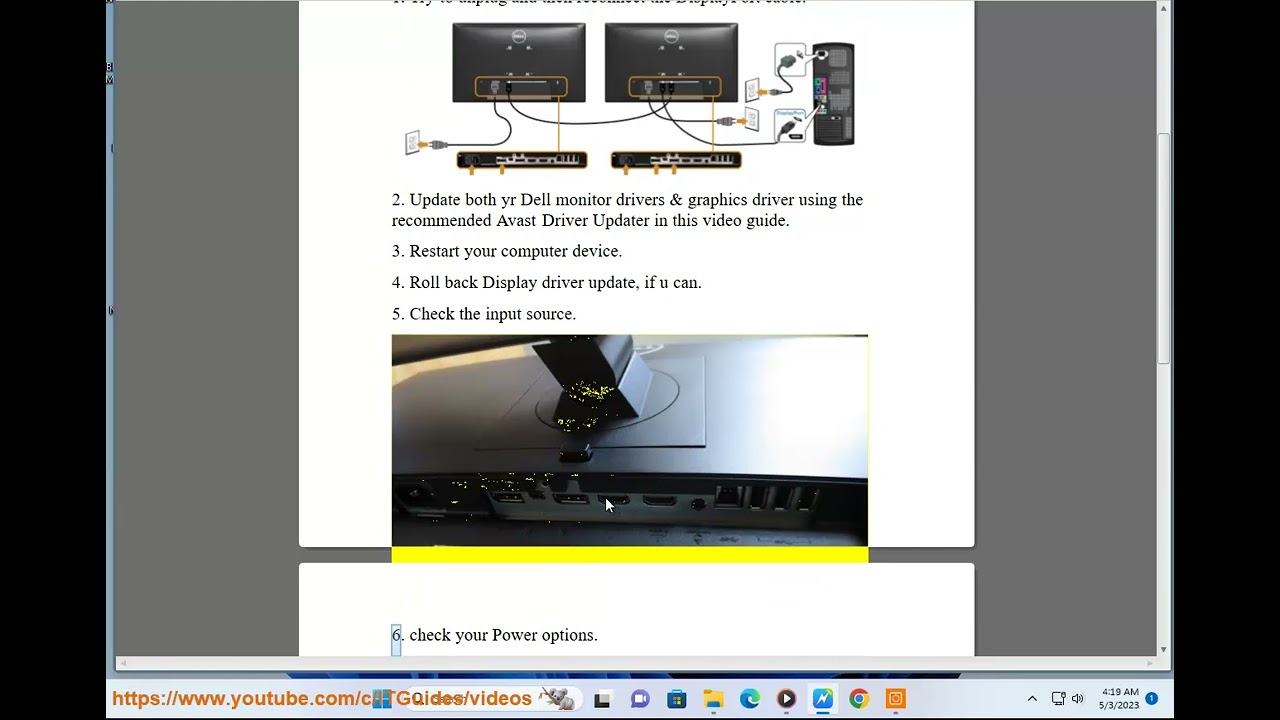
| 3 | Update graphics drivers |
| 4 | Scan for malware |
| 5 | Check system requirements |
| 6 | Run game as administrator |
| 7 | Verify game files |
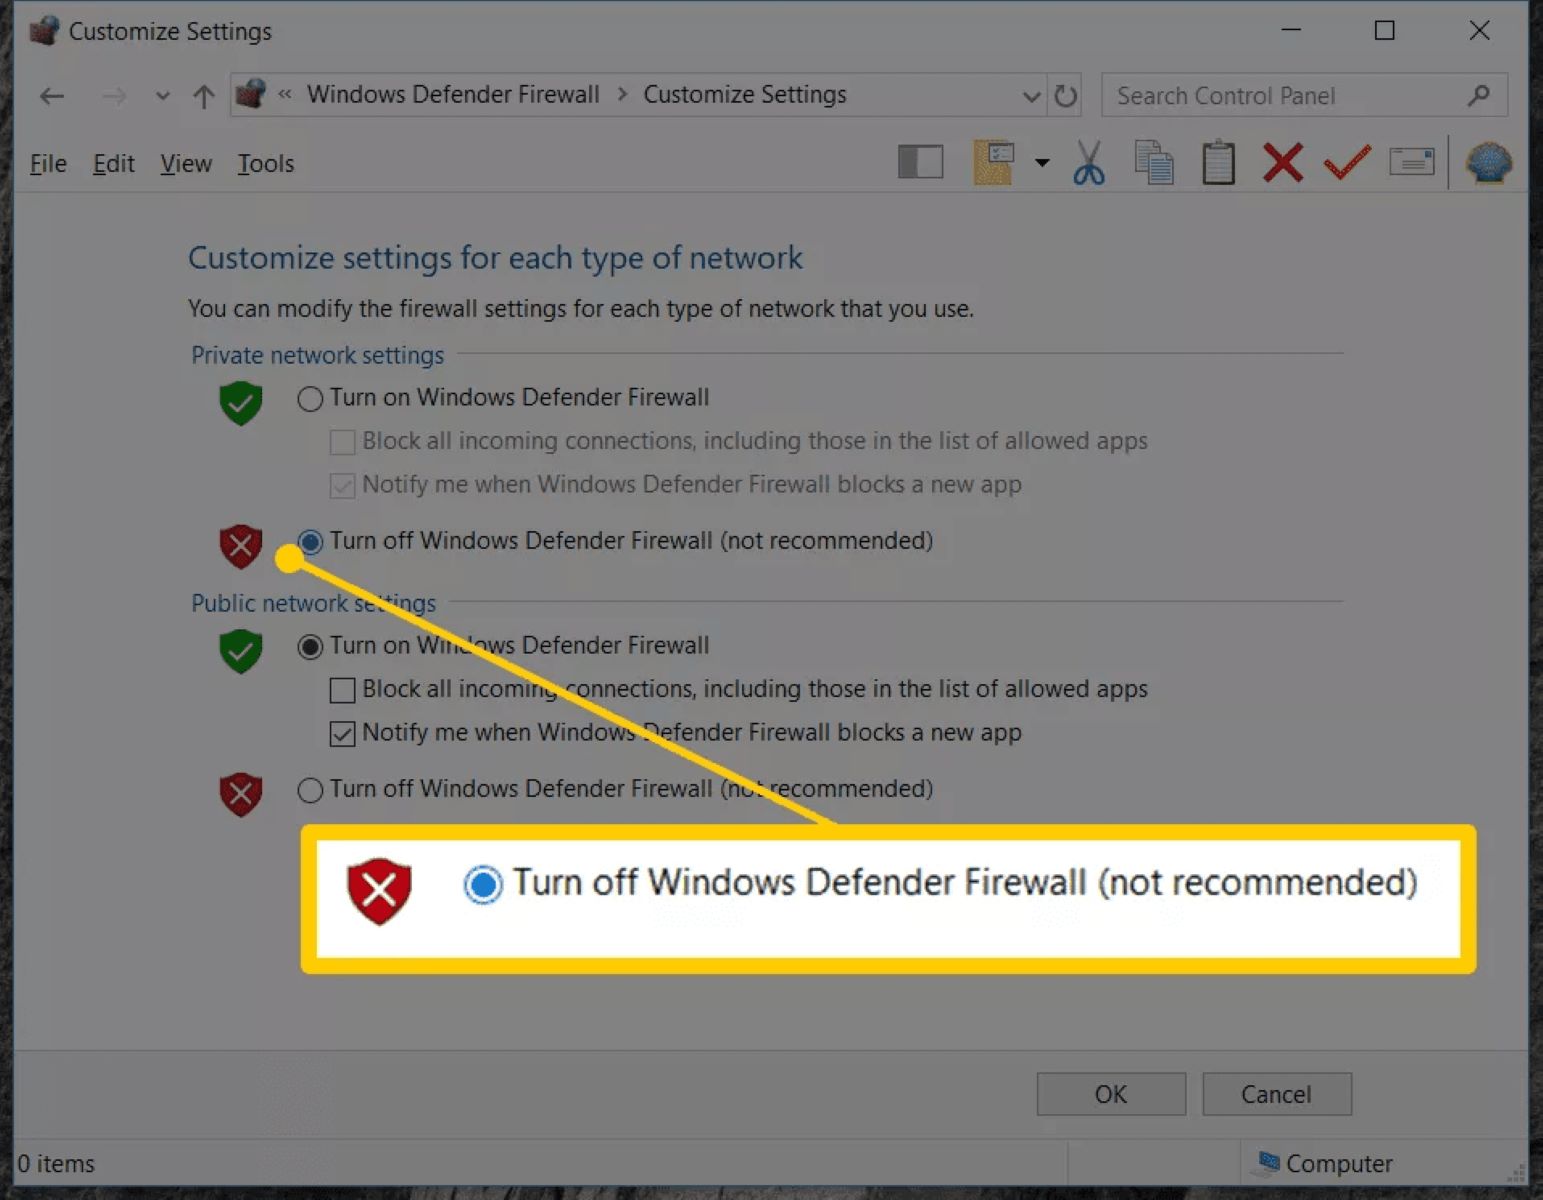
| 8 | Disable antivirus/firewall |
| 9 | Perform a clean boot |
| 10 | Seek technical support |
dll Issues
If you are experiencing dll issues with the Watch Dogs game, specifically the disrupt_b64.dll error, there are a few troubleshooting steps you can take to resolve this problem.
Step 1: First, make sure that your Microsoft Windows operating system is up to date. Updates often include patches and fixes that can address compatibility issues with software, including video games like Watch Dogs.
Step 2: Check your internet connection and ensure that it is stable. A weak or intermittent connection can potentially cause issues with downloading and installing game files, including dll files.
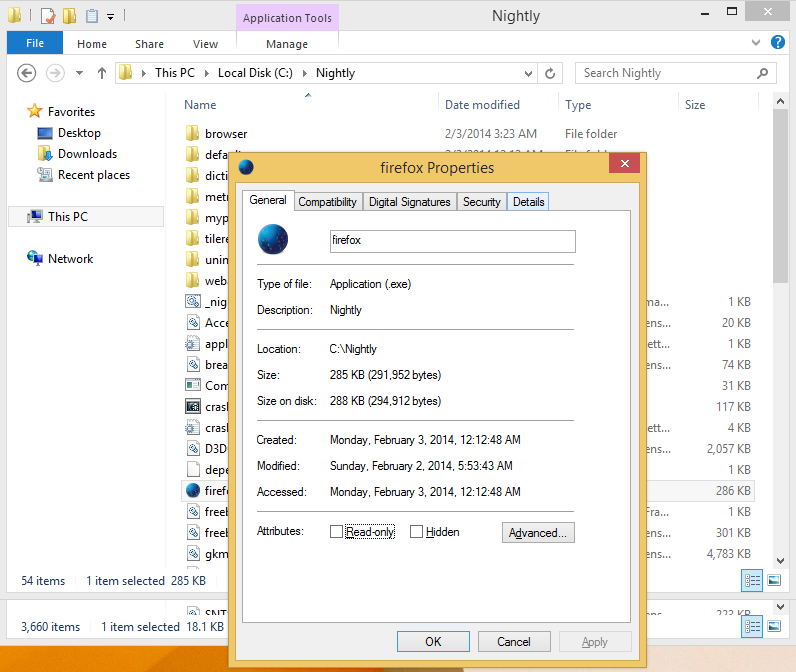
Step 3: Verify the integrity of the game files. Sometimes, files can become corrupted during the download process. To do this, follow these steps:
1. Open the Watch Dogs game folder on your computer.
2. Locate the disrupt_b64.dll file.
3. Right-click on the file and select “Properties.”
4. Go to the “Details” tab and check the file’s metadata, such as the MD5 or SHA-1 checksum. This information can help determine if the file is corrupt.
Step 4: If the disrupt_b64.dll file is indeed corrupt, you can try re-downloading it from a trusted source or reinstalling the game altogether. Make sure to follow any instructions provided by the game developer, Ubisoft, to ensure a successful installation.
Step 5: If the error persists after reinstallation, you may want to consult online forums and communities dedicated to Watch Dogs or contact Ubisoft customer support for further assistance. They may have specific solutions or workarounds for this particular dll issue.
python

import os

import shutil
def fix_dll(dll_path, backup_folder):
"""
Fixes a DLL file by replacing it with a backup copy.
Args:
- dll_path (str): Path to the DLL file to be fixed.
- backup_folder (str): Path to the folder containing the backup copy of the DLL.
"""
if not os.path.isfile(dll_path):
print("DLL path does not exist.")
return
if not os.path.isdir(backup_folder):
print("Backup folder does not exist.")
return
dll_filename = os.path.basename(dll_path)
backup_path = os.path.join(backup_folder, dll_filename)
if not os.path.isfile(backup_path):
print("Backup file does not exist.")
return
# Create a backup of the original DLL
original_path = dll_path + ".original"
shutil.copy2(dll_path, original_path)
# Replace the DLL with the backup copy
shutil.copy2(backup_path, dll_path)
print("DLL file fixed successfully.")
# Usage example
fix_dll("C:/path/to/dll_file.dll", "C:/path/to/backup_folder")
dll Problems
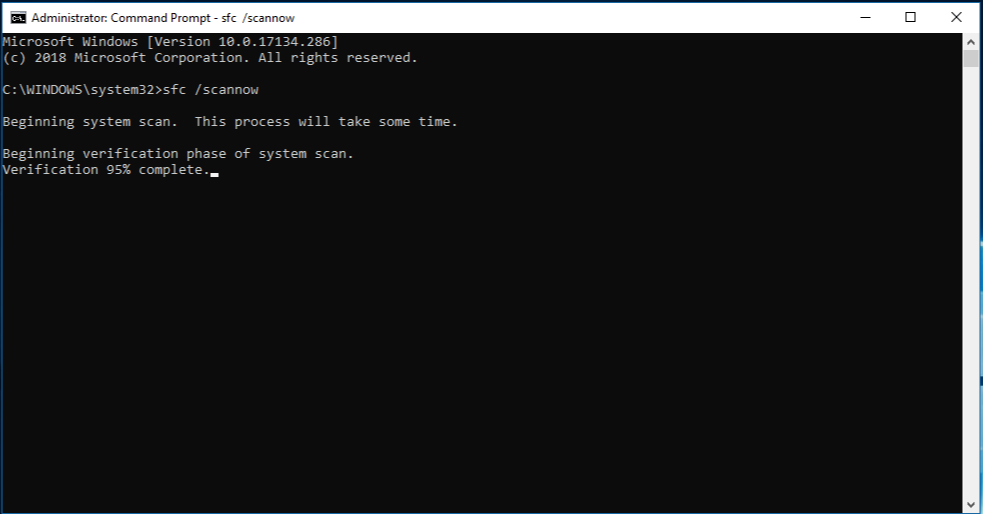
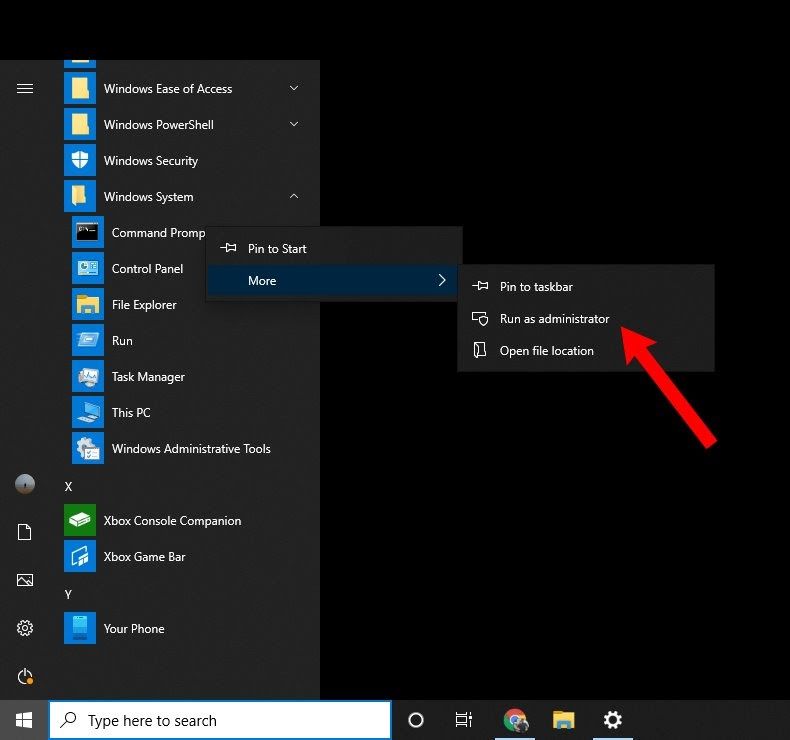
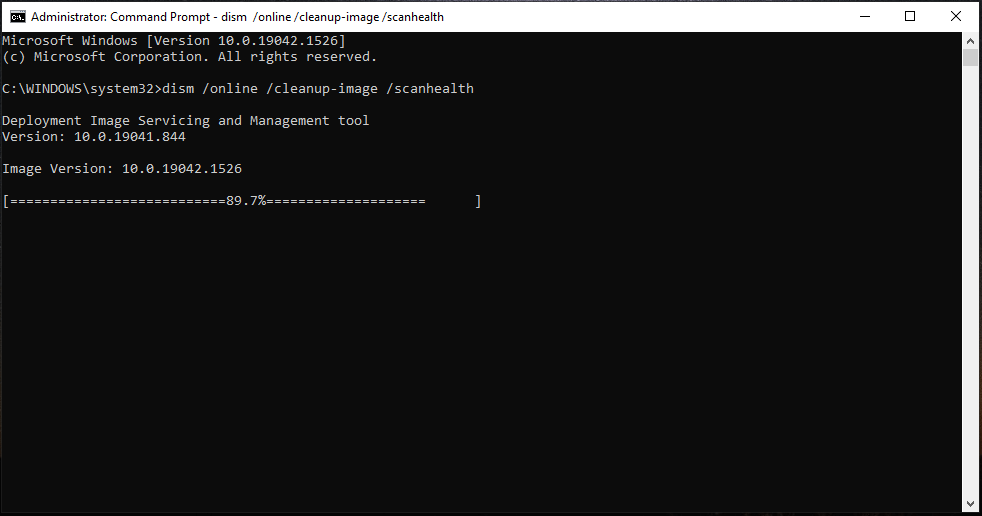
- Run a System File Checker scan
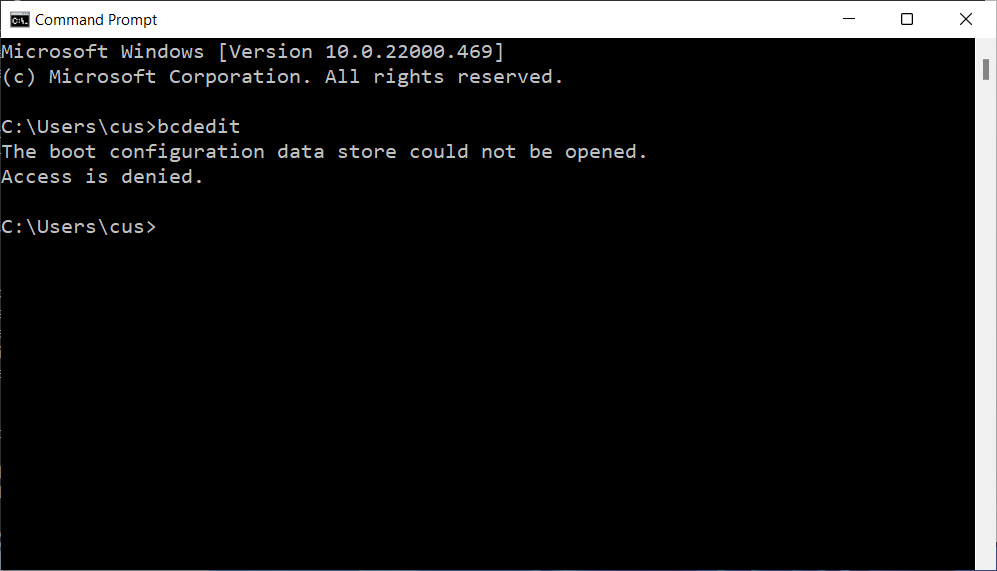
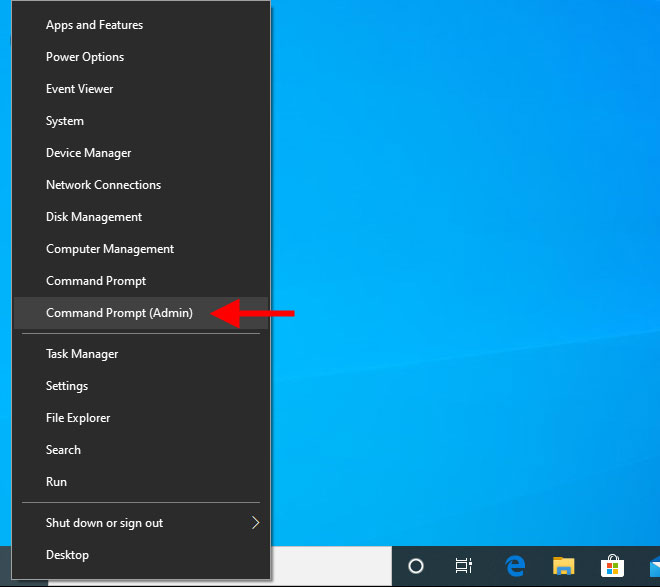
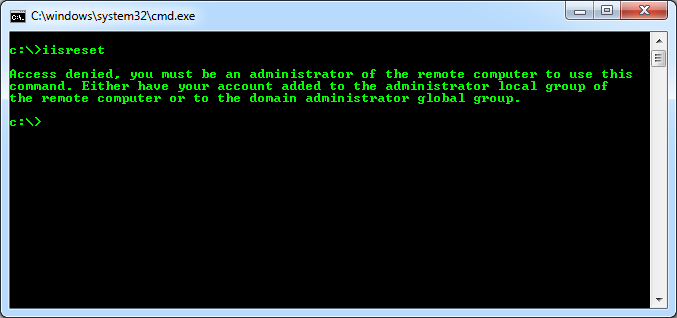
- Open the Command Prompt as an administrator
- Type sfc /scannow and press Enter
- Wait for the scan to complete and follow any on-screen instructions
- Perform a clean reinstall of the program
- Uninstall Watch Dogs from your computer
- Download the latest version of the game from a trusted source
- Install the game following the provided instructions
- Update or reinstall required software
- Identify the dll file causing the error message
- Visit the official website of the software or driver that uses the dll file
- Download and install the latest version of the software or driver
- Use a reliable system optimization tool
- Research and choose a reputable system optimization tool
- Download and install the tool from a trusted source
- Run a complete system scan and follow any recommended fixes
- Restore Windows to a previous working state
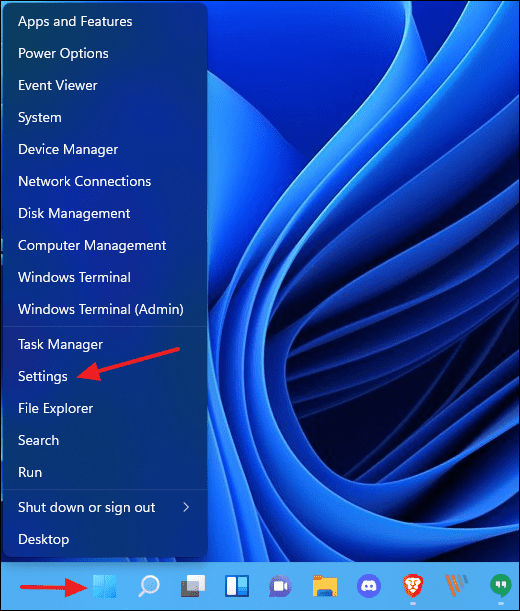
- Open the System Restore tool
- Select a restore point where the dll error did not exist
- Follow the on-screen instructions to restore your system
To fix the disruptb64.dll error in Watch Dogs, you can try reinstalling the game or updating it to the latest version for a potential resolution. Download this tool to run a scan