Unlocking the Mystery of DBD Steam Offline Error: A Guide to Seamless Gameplay
July 2025: Enhance your computer’s performance and eliminate errors with this cutting-edge optimization software. Download it at this link
- Click here to download and install the optimization software.
- Initiate a comprehensive system scan.
- Allow the software to automatically fix and repair your system.
Troubleshooting Dead by Daylight Initialization Errors
If you’re experiencing initialization errors when trying to play Dead by Daylight on Steam, here’s a quick troubleshooting guide to help you resolve the issue.
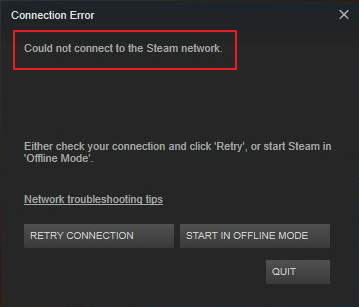
First, make sure that your Steam client is online. Check if you’re connected to the internet and that Steam isn’t in offline mode. If it is, go to the Steam menu and select “Go Online” to ensure proper functionality.
If you’re still encountering the error, try reinstalling Steam. This can help resolve any potential conflicts or corrupted files that may be causing the issue. Remember to back up your game files before uninstalling Steam.
Additionally, ensure that you’re running Steam as an administrator. Right-click on the Steam shortcut and select “Run as administrator” to give it the necessary permissions.
If none of these solutions work, it’s recommended to reach out to Dead by Daylight’s support team for further assistance. They can provide you with specific troubleshooting steps tailored to your situation.
Remember to always keep your game and Steam client up to date for the best gaming experience.
It can also automatically fix missing or corrupt DLL files, which are crucial for program functioning. Finally, Fortect can repair the causes of Blue Screen of Death (BSoD), such as incompatible DLLs, drivers, and Windows bugs, and identify malfunctioning hardware that may need replacement.

Optimizing Online Connectivity on Steam
If you’re experiencing the DBD Steam Offline Error, there are a few steps you can take to fix it. First, make sure your internet connection is stable and working properly. Check your Wi-Fi or Ethernet connection and ensure you have a strong signal.
Next, try restarting Steam. Close the application completely and reopen it. This can often resolve the issue.
If that doesn’t work, try reinstalling Steam. Sometimes, there may be a problem with the installation that is causing the error.
If you’re still encountering the error, it’s possible that the game itself is experiencing connectivity issues. Check the Steam status page or forums like Reddit to see if other players are reporting similar issues.
Finally, if all else fails, contact Steam support for further assistance. They can provide more specific troubleshooting steps based on your account and situation. Remember to provide as much information as possible, including error codes or any specific messages you’re receiving.
Resolving Steam Offline Issues
If you are experiencing the DBD Steam Offline Error, there are a few steps you can take to resolve the issue. First, make sure your internet connection is stable and that you are not experiencing any Wi-Fi issues.
Next, check the Steam status to ensure that the platform is not currently offline. If it is, you may need to wait until the issue is resolved before you can go online and access your games.
If the Steam status is fine, try restarting your computer and launching Steam again. Sometimes, a simple restart can resolve initialization errors.
If the error persists, you can try verifying the integrity of your game files. Right-click on the game in your Steam library, select “Properties”, go to the “Local Files” tab, and click “Verify Integrity of Game Files”.
If none of these steps work, it may be helpful to reach out to Steam support for further assistance.
python

import subprocess
def is_steam_running():
cmd = 'tasklist /FI "IMAGENAME eq steam.exe" 2>NUL | find /I /N "steam.exe">NUL'
process = subprocess.Popen(cmd, shell=True, stdout=subprocess.PIPE)
process.wait()
return process.returncode == 0
def check_steam_status():
if is_steam_running():
print("Steam is currently running.")
else:
print("Steam is offline. Please check your internet connection.")
check_steam_status()
This code uses the `subprocess` module to run a command-line statement that checks if the Steam client process is running. It then prints an appropriate message based on the result. If Steam is running, it displays “Steam is currently running.” Otherwise, it displays “Steam is offline. Please check your internet connection.”
Please note that this sample code only checks if the Steam client process is running, not the actual online status of the Steam servers. It relies on the assumption that if the Steam client process is running, it should be able to connect to the Steam servers if there is an internet connection.
Common Solutions for Steam Connectivity Problems
- Check your internet connection:
- Ensure you have a stable internet connection.
- Try restarting your router or modem.
- Disable any VPN or proxy services that may be interfering with the connection.
- Verify Steam server status:
- Visit the official Steam website or online forums to check if there are any known server issues.
- Check for any scheduled maintenance or updates that might affect connectivity.

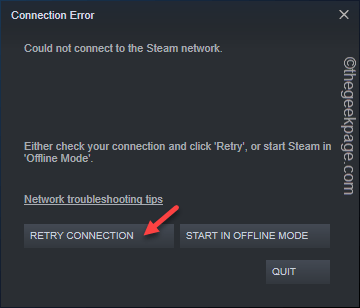
- Restart Steam client:
- Close the Steam application completely.
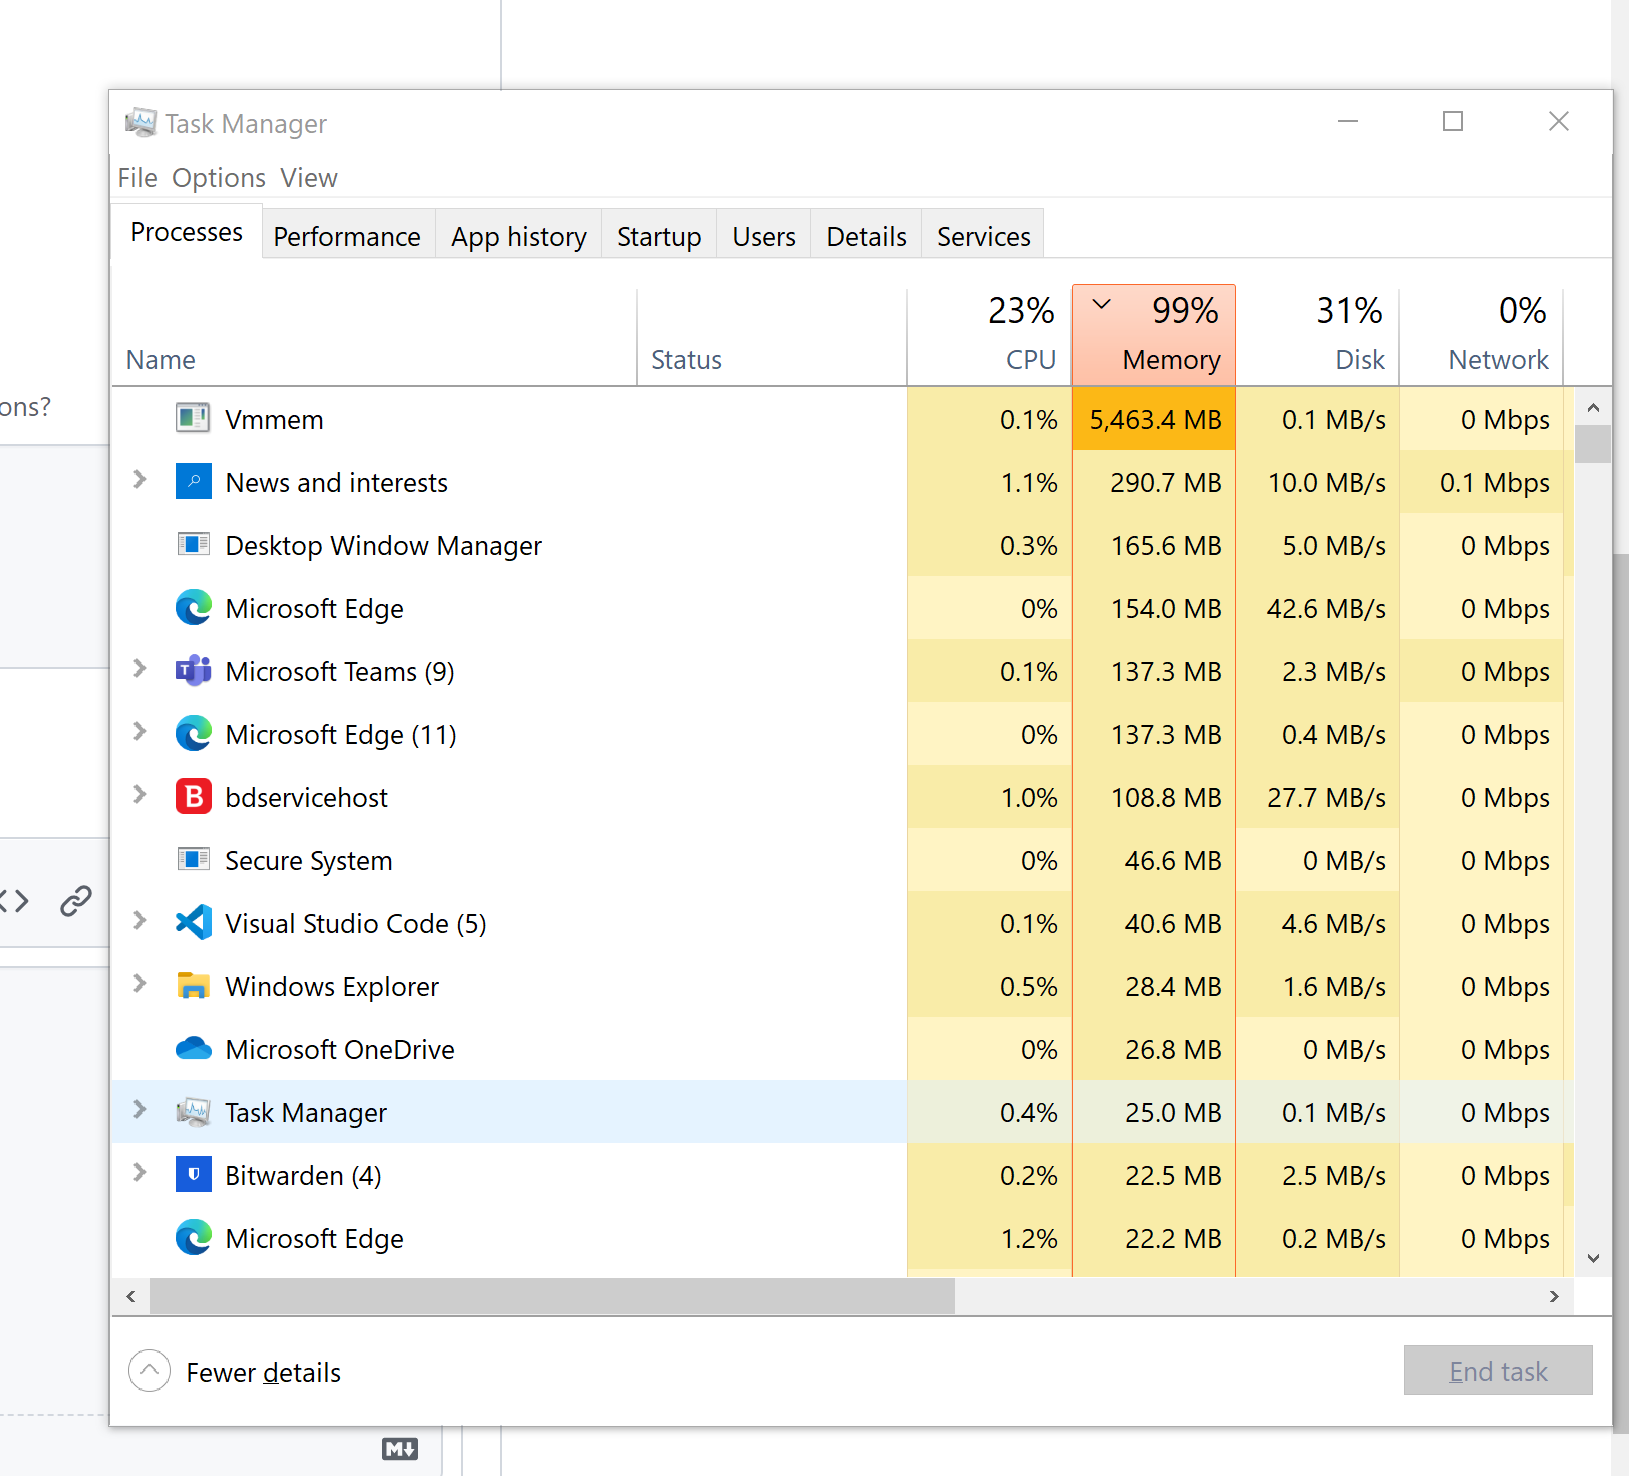
- Open the Task Manager by pressing Ctrl+Shift+Esc.
- Under the “Processes” tab, locate and end any Steam-related processes.
- Re-launch Steam and check if the connectivity issue persists.
- Clear Steam cache:
- Exit Steam and navigate to the installation directory.
- Delete all files and folders except for the following:
- “Steam.exe”
- “SteamApps” folder
- “Userdata” folder
- “Steam.exe” (application)
- Restart Steam and let it rebuild the necessary files.
- Adjust Steam download region:
- Open Steam and go to “Steam” in the top-left corner.
- Select “Settings” from the drop-down menu.
- Go to the “Downloads” tab and click on “Download region”.
- Choose a different region from the drop-down menu.
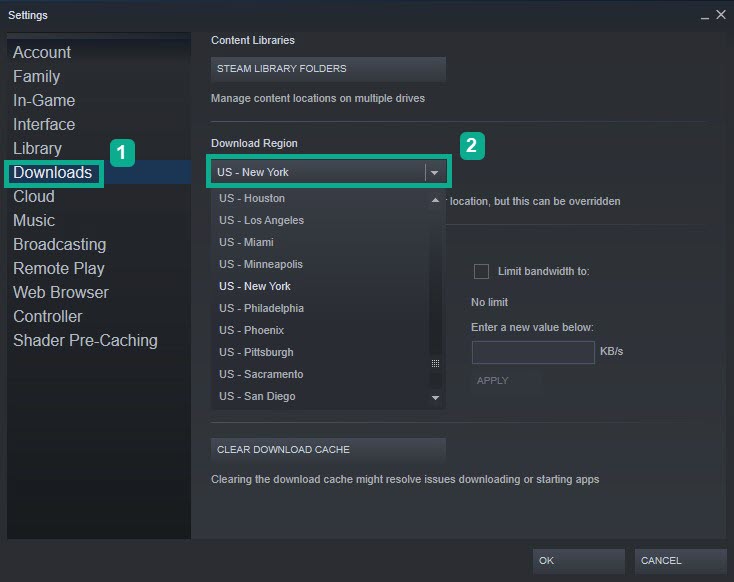
- Click “OK” to save the changes.
- Restart Steam and check if the connectivity problem is resolved.
- Disable firewall or antivirus software:
- Temporarily disable any firewall or antivirus software running on your system.
- Check if the Steam connectivity issue is resolved.
- If so, add Steam to the list of exceptions or whitelist it in your security software.
- Update Steam client:
- Ensure you have the latest version of the Steam client installed.
- Go to “Steam” in the top-left corner of the client.
- Select “Check for Steam Client Updates” from the drop-down menu.
- If an update is available, follow the on-screen instructions to install it.
- Restart Steam after the update and check if the connectivity problem is resolved.
- Reinstall Steam:
- Backup any important game files or saved data.
- Uninstall Steam from your computer.
- Download the latest version of Steam from the official website.
- Install Steam and follow the on-screen instructions.
- Restore your game files and saved data.
If you encounter a DBD Steam offline error, try restarting your Steam client and ensuring that you have a stable internet connection to resolve the issue. Download this tool to run a scan


![Identify the process ID(s) (PID) associated with the svchost.exe instance(s) consuming high memory
Type the command: taskkill /F /PID [PID] (replace [PID] with the actual process ID)](/posts/identify-the-process-id-s-pid-associated-with.png)