In this article, I will discuss how to fix installation problems with Windows 8.1.
July 2025: Enhance your computer’s performance and eliminate errors with this cutting-edge optimization software. Download it at this link
- Click here to download and install the optimization software.
- Initiate a comprehensive system scan.
- Allow the software to automatically fix and repair your system.
Identifying Symptoms and Error Messages
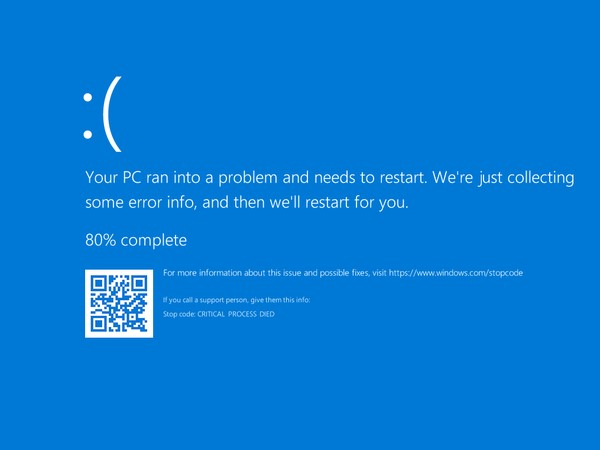
To identify symptoms and error messages when facing a Windows 8.1 installation problem, the first step is to pay close attention to any notifications or pop-ups that appear during the installation process. Look out for any specific error codes or messages that indicate where the problem might be originating from.
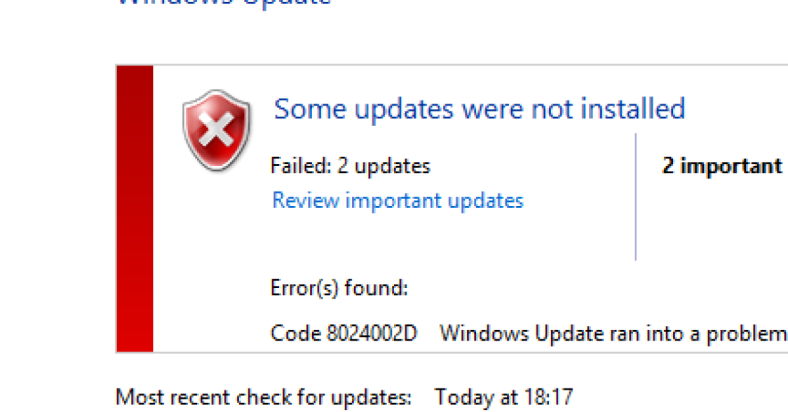
If you encounter any error messages related to Windows Update, make sure to check your internet connection first to ensure that the system can download necessary updates. Additionally, ensure that your computer meets all the system requirements for Windows 8.1 installation, including sufficient disk space and RAM.
If you are having trouble with the installation process freezing or not progressing, try restarting your computer and attempting the installation again. It may also be helpful to disable any unnecessary programs running in the background that could be causing conflicts.
If you receive any error messages related to UEFI or BIOS settings, make sure to double-check your settings and consult your computer’s manual for guidance. Incorrect settings can prevent the installation from proceeding properly.
Lastly, if you encounter any issues with disk partitioning or booting up after installation, be sure to follow the on-screen prompts carefully and seek assistance from the manufacturer’s support website if needed. Troubleshooting these types of issues may require more advanced technical knowledge, so don’t hesitate to reach out for help.
By being observant of symptoms and error messages, you can quickly identify and address Windows 8.1 installation problems, ensuring a smooth and successful installation process.
Manual Update and Troubleshooting Steps
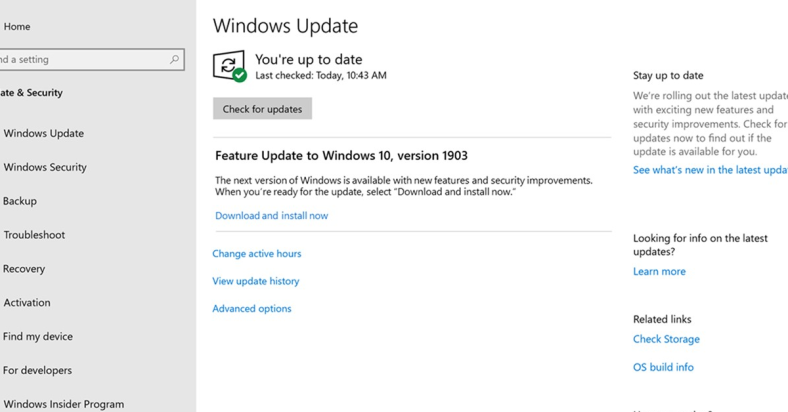
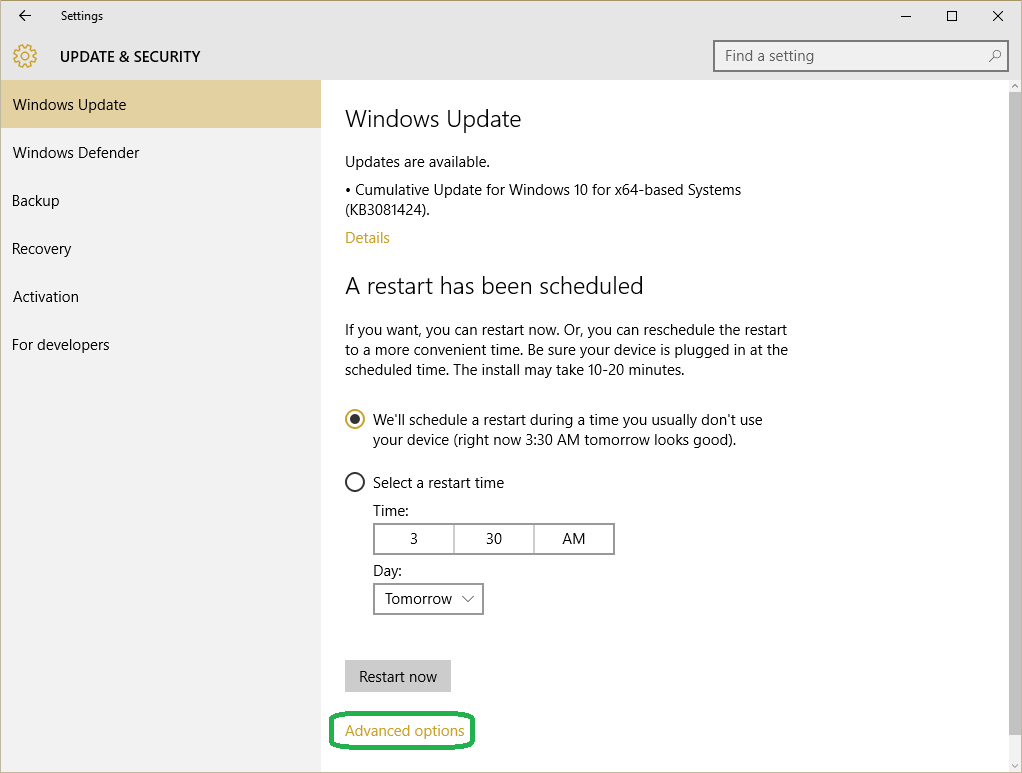
- Check for Windows Updates:
- Open Settings by pressing Windows key + I.
- Click on Update & Security.
- Click on Check for updates.
- Install any pending updates.
- Run Windows Update Troubleshooter:
- Open Control Panel by pressing Windows key + X and selecting it.
- Click on Troubleshooting.
- Click on Fix problems with Windows Update.
- Follow the on-screen instructions to run the troubleshooter.
- Reset Windows Update Components:
- Open Command Prompt as an administrator by pressing Windows key + X and selecting it.
- Type the following commands and press Enter after each one:
- net stop wuauserv
- net stop cryptSvc
- net stop bits
- net stop msiserver
- ren C:\Windows\SoftwareDistribution SoftwareDistribution.old
- ren C:\Windows\System32\catroot2 catroot2.old
- net start wuauserv
- net start cryptSvc
- net start bits
- net start msiserver
Diagnostic and Safe Mode Solutions
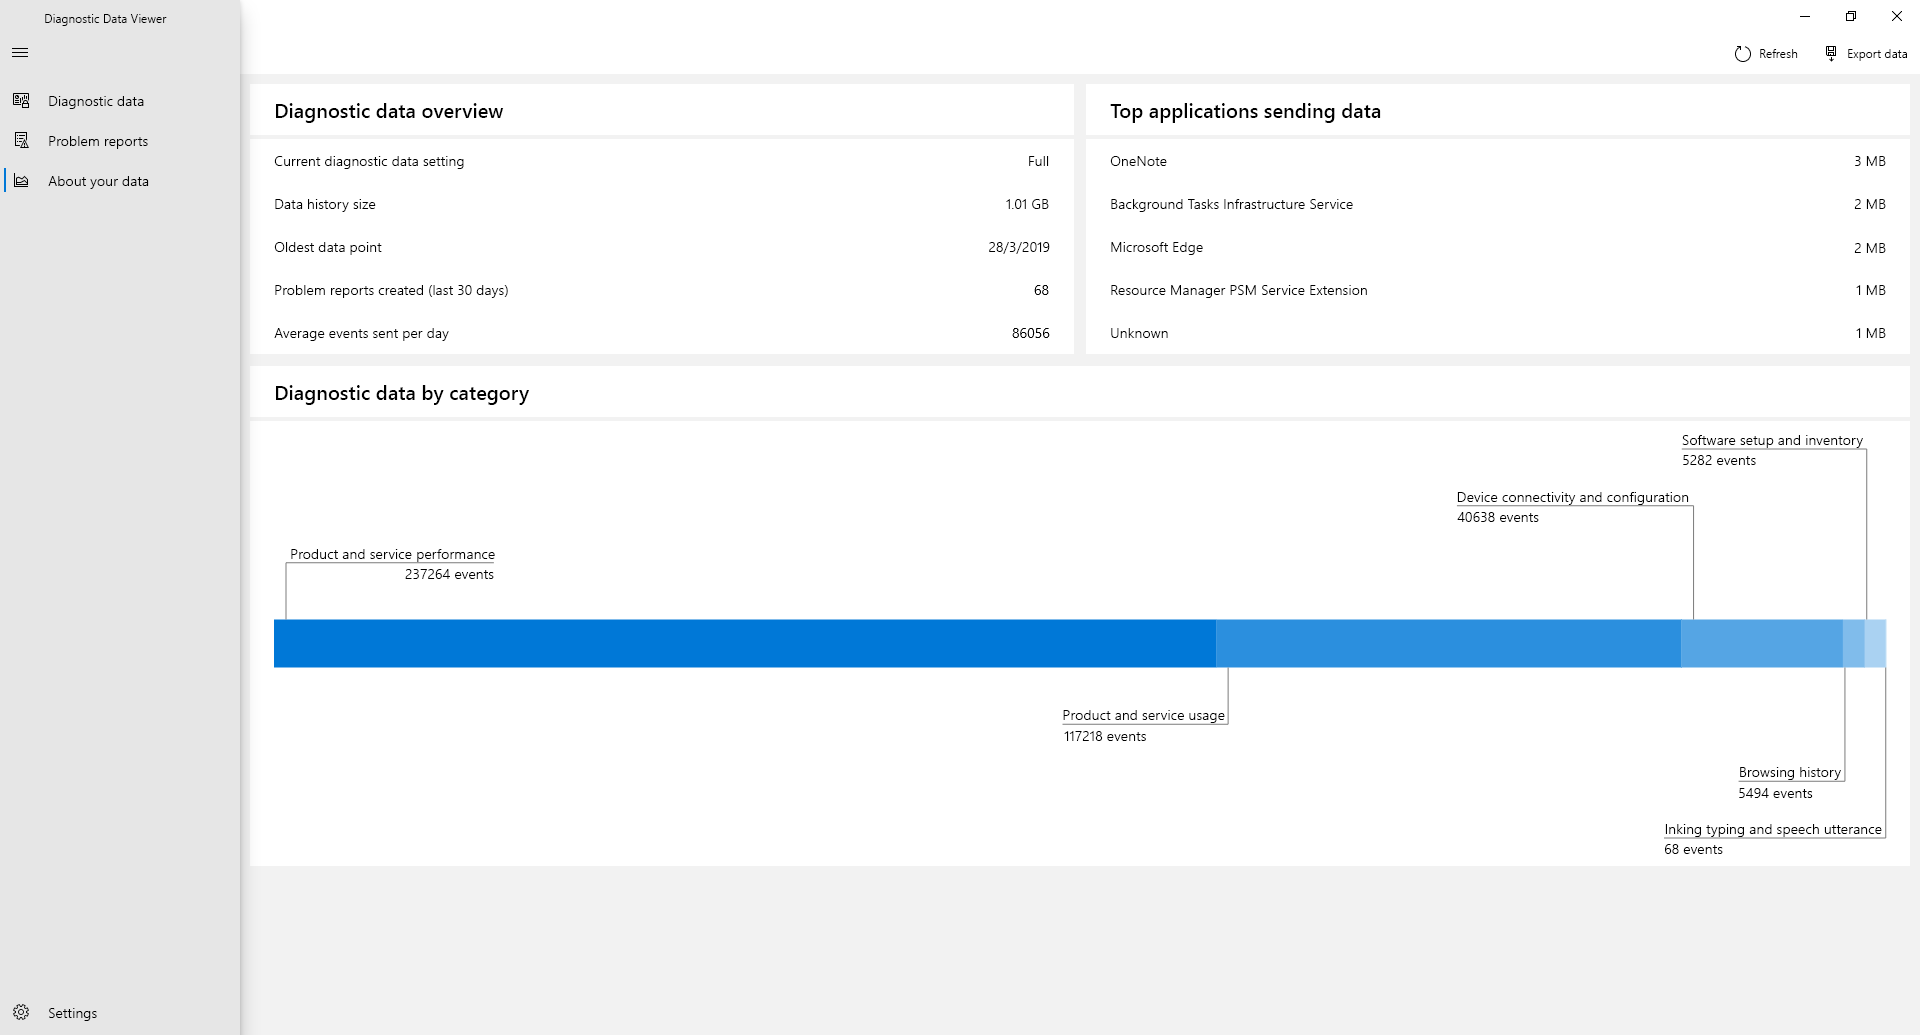
In Safe Mode, you can run diagnostics to pinpoint the source of the installation problem. Use the Windows Troubleshooter tool to automatically detect and fix common issues with Windows updates, hardware, or software conflicts. Additionally, check for any recent system changes or updates that may have caused the error.
If the issue persists, you can try performing a clean boot to start Windows with only essential drivers and services running. This can help isolate the problem and determine if a third-party program is causing the installation failure. To do this, type “msconfig” in the Start menu search bar and navigate to the System Configuration utility. Under the General tab, select “Selective startup” and uncheck “Load startup items.”
After troubleshooting in Safe Mode, attempt to reinstall Windows 8.1 using the installation media or a bootable USB drive. Make sure to follow the on-screen instructions carefully and choose the correct options for disk partitioning and installation settings. Keep in mind that installing a fresh copy of Windows will erase all data on your computer, so back up important files before proceeding.
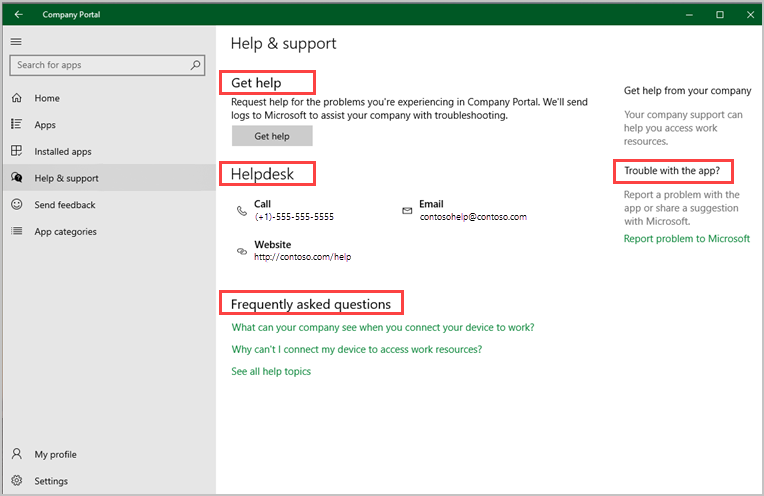
By utilizing diagnostic tools and Safe Mode solutions, you can effectively resolve Windows 8.1 installation problems and ensure a successful setup process. If you continue to experience difficulties, consider seeking professional assistance or contacting Microsoft support for further guidance.
Reset, Restore, and Malware Troubleshooting
To troubleshoot Windows 8.1 installation problems, you can try resetting your system to its default settings. This can help resolve any issues that may be causing the installation problem. Another option is to restore your computer to a previous point in time when it was working correctly. This can help undo any changes that may have led to the installation problem.
If malware is causing the installation problem, you can try running a malware troubleshooting tool to scan and remove any malicious software from your system. This can help ensure that your computer is clean and free from any threats that may be hindering the installation process.
Additionally, make sure that your computer meets the system requirements for Windows 8.1 installation. Check for any software bugs or compatibility issues that may be causing the problem. You may also want to ensure that all your drivers are up to date and that your system is free from any viruses or malware.
FAQs
How do I repair Windows 8 installation?
To repair a Windows 8 installation, you can access the refresh or restore options through the PC settings menu. This will allow you to reinstall Windows without affecting your personal files.
How do you fix the Windows installation error?
To fix the Windows installation error, you can start by removing external hardware, updating Windows, uninstalling non-Microsoft antivirus software, removing nonessential software, and freeing up disk space.
Can I upgrade my Windows 8.1 to Windows 10 for free?
You cannot upgrade from Windows 8.1 to Windows 10 for free.