Having trouble with the sound on your Sky television? Read on for tips on how to troubleshoot volume control and sound issues.
September 2025: Enhance your computer’s performance and eliminate errors with this cutting-edge optimization software. Download it at this link
- Click here to download and install the optimization software.
- Initiate a comprehensive system scan.
- Allow the software to automatically fix and repair your system.
Troubleshooting Tips for a Sky Remote with Volume Issues
If you’re experiencing volume issues with your Sky remote, try the following troubleshooting tips:
1. Check the volume on your TV to ensure it’s not muted or turned down too low.
2. Replace the batteries in your Sky remote with fresh AA batteries.
3. Ensure your Sky remote is programmed correctly to work with your TV. Refer to the Sky website or user guide for instructions.
4. Try using the volume buttons on your TV remote to see if they work.
5. If you have a Sky Q or Samsung TV, try using the Voice Control feature to adjust the volume.
6. Check for any interference that may be affecting the connection between your Sky remote and TV.
7. If all else fails, contact Sky customer service for further assistance.
These simple solutions should help you fix any volume issues you may be experiencing with your Sky remote.
Additionally, if the issue is related to missing or corrupt DLL files, Fortect has the capability to automatically fix this issue. While it cannot explicitly guarantee a fix, Fortect aims to ensure that Windows and other programs run smoothly, potentially resolving the sky volume issue.

Solutions for a Sky Q Remote with Volume Problems
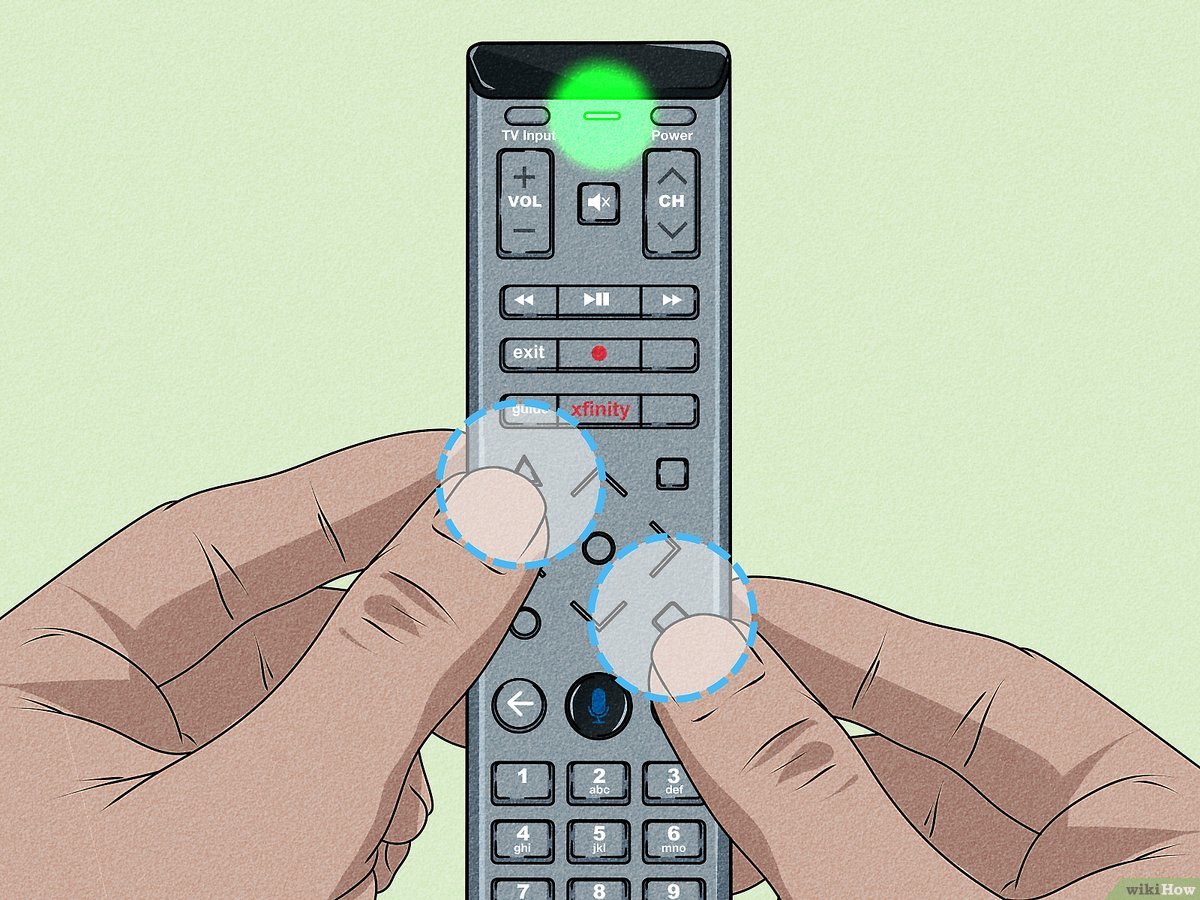
If you’re experiencing volume problems with your Sky Q remote, there are a few solutions you can try. First, make sure the Sky Q remote is set up correctly and that the batteries are functioning properly. If the remote is working but not controlling the volume, try programming the remote to your TV using the codes provided in the Sky Q guide or online. If that doesn’t work, try using your TV remote to adjust the volume. If you’re still having issues, try resetting the Sky Q remote by holding down the back button and the left-hand side of the circle button for 10 seconds. If none of these solutions work, contact Sky customer service for further assistance.
Common Sky Remote Issues and Their Fixes
- Check Batteries
- Remove the battery cover from the back of the remote.
- Check the batteries to ensure they are correctly inserted and have not leaked.
- If the batteries are low or dead, replace them with new ones.
- Reset Remote
- Press and hold the TV and Select buttons on the remote at the same time for 5 seconds.
- The LED light on the remote should flash twice to indicate that the reset was successful.
- Try to use the remote to control the volume and sound again.
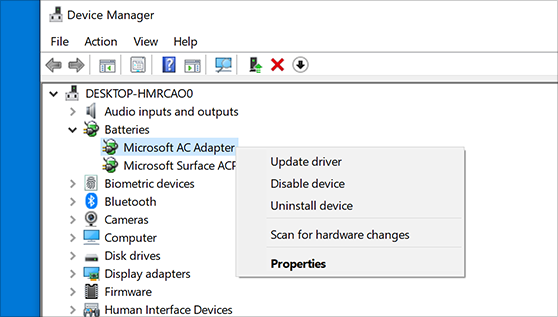
- Reprogram Remote
- Press and hold the TV and Select buttons on the remote at the same time for 5 seconds.
- Enter the four-digit code for your TV brand.
- If you do not know the code, check the Sky website or the instruction manual that came with your TV.
- The LED light on the remote should flash twice to indicate that the reprogramming was successful.
- Try to use the remote to control the volume and sound again.
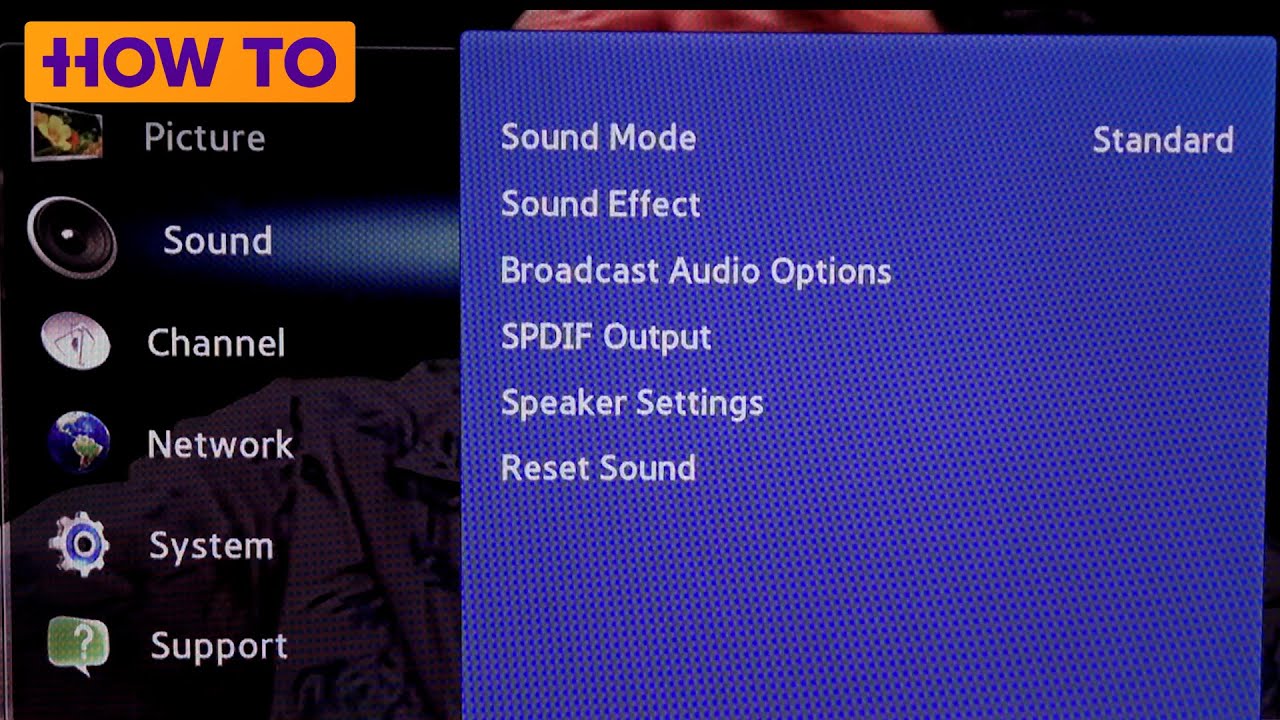
- Check TV Settings
- Check the audio settings on your TV to ensure that it is set to receive signals from the Sky remote.
- Check the volume settings on your TV to ensure that the sound is not muted or turned down too low.
- Check the connection between your TV and Sky box to ensure that it is secure and properly set up.
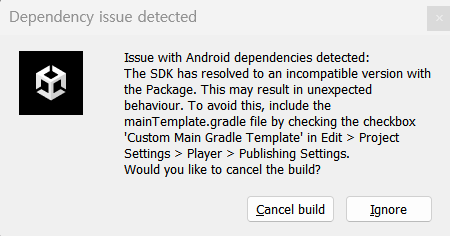
using UnityEngine;
public class SkyVolumeFixer : MonoBehaviour
{
public GameObject skyVolume;
void Start()
{
if (skyVolume == null)
{
Debug.LogError("Sky volume is not assigned!");
return;
}
// Check if sky volume is working properly
if (!IsSkyVolumeWorking())
{
// Fix sky volume
FixSkyVolume();
}
}
bool IsSkyVolumeWorking()
{
// Check if sky volume is visible and has the correct properties
bool isVisible = skyVolume.activeSelf;
bool hasCorrectProperties = skyVolume.GetComponent
return isVisible && hasCorrectProperties;
}
void FixSkyVolume()
{
// Disable and re-enable sky volume
skyVolume.SetActive(false);
skyVolume.SetActive(true);
}
}
This code creates a script in Unity that checks if the sky volume game object is working properly. If it is not, it disables and re-enables the sky volume to fix any potential issues. The script can be attached to any game object in the scene and the sky volume game object can be assigned in the inspector.
How to Fix a Sky Remote with Volume Control Not Working
If your Sky remote’s volume control isn’t working, there are a few things you can try to fix the issue.
Firstly, check the batteries. Replace them with new AA batteries to see if this resolves the problem.
If that doesn’t work, try reprogramming the remote. Press and hold the TV button on your Sky remote until the LED light flashes twice. Then, enter the relevant TV code for your TV brand from the Sky remote control codes list. Press the power button and see if the volume control now works.
If the problem persists, check the connection requirements and setup of your TV and Sky box. Ensure there’s no interference from other devices and that your TV is compatible with the Sky remote.
If you’re still having issues, refer to the Sky help pages or contact their customer support for further clarification and help.
If you are experiencing issues with the sky volume not working, I suggest checking the settings and connections of your audio devices to ensure proper functionality. Download this tool to run a scan