Welcome to the comprehensive guide on using a Recovery USB for the eMachines E620.
June 2025: Enhance your computer’s performance and eliminate errors with this cutting-edge optimization software. Download it at this link
- Click here to download and install the optimization software.
- Initiate a comprehensive system scan.
- Allow the software to automatically fix and repair your system.
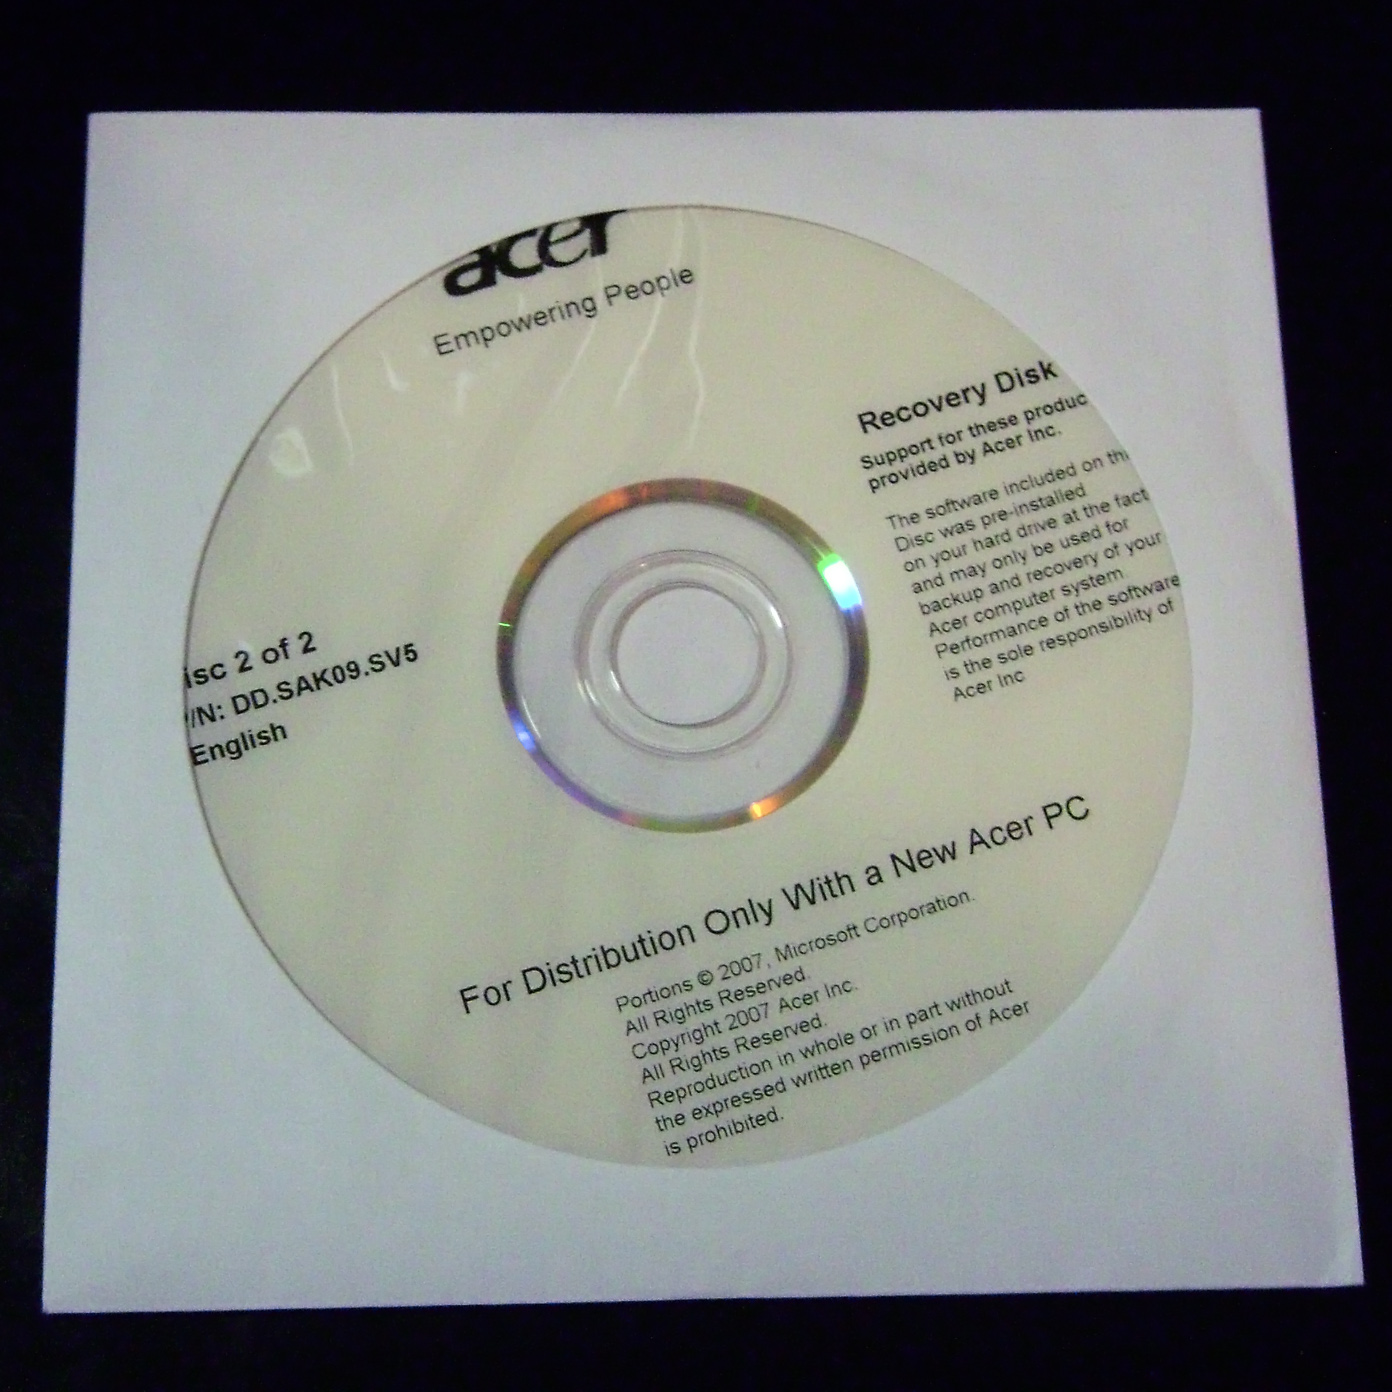
Download and Create Recovery Disk for eMachines E620
- Step 1: Prepare a USB flash drive with sufficient storage capacity.
- Step 2: Open a web browser and navigate to the eMachines support website.
- Step 3: Locate the “Drivers and Downloads” section on the website.
- Step 4: Enter the model number of your eMachines E620 into the search bar.
- Step 5: Select the correct operating system version for your computer.
- Step 6: Scroll down and find the “Recovery Disk” or “Recovery Media” option.
- Step 7: Click on the download link to start the download process.
- Step 8: Save the downloaded file to a location on your computer.
- Step 9: Once the download is complete, insert the USB flash drive into a USB port on your eMachines E620.
- Step 10: Open the downloaded file and follow the on-screen instructions to create the recovery disk.
- Step 11: Make sure to select the USB flash drive as the destination for the recovery disk creation.
- Step 12: Wait for the process to complete and verify that the recovery disk has been successfully created.
Operating System Recovery Media & Driver Disk for eMachines E620
| Item |
Description |
| Operating System Recovery Media |
A USB drive containing the original operating system installation files for the eMachines E620 model. |
| Driver Disk |
A separate USB drive containing the necessary drivers for the eMachines E620 hardware components. |
Recovery Disks for eMachines E620
To create a recovery USB for your eMachines E620, follow these steps:
1. Download the necessary recovery disk image from the eMachines website. Make sure you select the correct version for your laptop model.
2. Connect a USB flash drive to your computer. Keep in mind that the flash drive will be formatted during the process, so make sure you back up any important data.
3. Use a disk imaging software, such as Rufus or Win32 Disk Imager, to create a bootable USB from the downloaded disk image.
4. Open the disk imaging software and select the USB drive as the target device.
5. Choose the recovery disk image file and start the imaging process. This may take some time, depending on the size of the image file and the speed of your USB drive.
6. Once the imaging process is complete, safely eject the USB drive from your computer.
Now you have a recovery USB for your eMachines E620. This USB can be used to restore your laptop to its factory settings or recover data in case of system failure.
Windows Recovery Software for eMachines E620

The eMachines E620 Recovery USB Guide provides step-by-step instructions for using Windows Recovery Software to restore your eMachines E620 laptop.
To begin, make sure you have a USB flash drive with at least 8GB of storage space available.
Step 1: Insert the USB flash drive into an available USB port on your computer.
Step 2: Open the Windows Recovery Software application on your eMachines E620.
Step 3: Select the option to create a Recovery USB.
Step 4: Follow the on-screen prompts to format the USB flash drive and create the Recovery USB.
Step 5: Once the process is complete, safely remove the USB flash drive from your computer.
Step 6: Power off your eMachines E620 and insert the Recovery USB into a USB port.
Step 7: Power on your eMachines E620 and press the appropriate function key (usually F12 or F2) to access the boot menu.
Step 8: Select the option to boot from the USB flash drive.
Step 9: Follow the on-screen instructions to initiate the recovery process.
Step 10: Once the recovery process is complete, remove the Recovery USB and restart your eMachines E620.
Remember to backup any important data before starting the recovery process, as it will erase all files and settings on your laptop.
If you encounter any issues or have questions during the recovery process, refer to the user manual or contact eMachines support for assistance.
Data Recovery for All Windows Operating Systems on eMachines E620
This eMachines E620 Recovery USB Guide provides concise instructions for data recovery on all Windows operating systems. Whether you’re using Windows 7, Windows Vista, Windows 8, or Windows 10, this guide will help you recover your data on your eMachines E620.
To start the recovery process, follow these steps:
1. Insert the recovery USB into a USB port on your eMachines E620.
2. Restart your computer and press the appropriate function key to access the boot menu. This key may vary depending on your computer, but it is usually F12 or F2. Select the USB drive from the boot menu.
3. Once the computer boots from the USB drive, you will see a text-based user interface. Follow the on-screen instructions to proceed with the recovery process.
4. When prompted, select the desired recovery option. This may include restoring your computer to factory settings or recovering specific files and folders.
5. Follow the prompts to complete the recovery process. This may involve choosing the desired disk partition, selecting the recovery point, or entering a password if required.
6. After the recovery process is complete, your computer will restart. Remove the recovery USB from the USB port.
Remember to back up your important files before starting the recovery process to avoid any data loss. If you encounter any issues during the recovery process, refer to the eMachines E620 user manual or contact the manufacturer for further assistance.
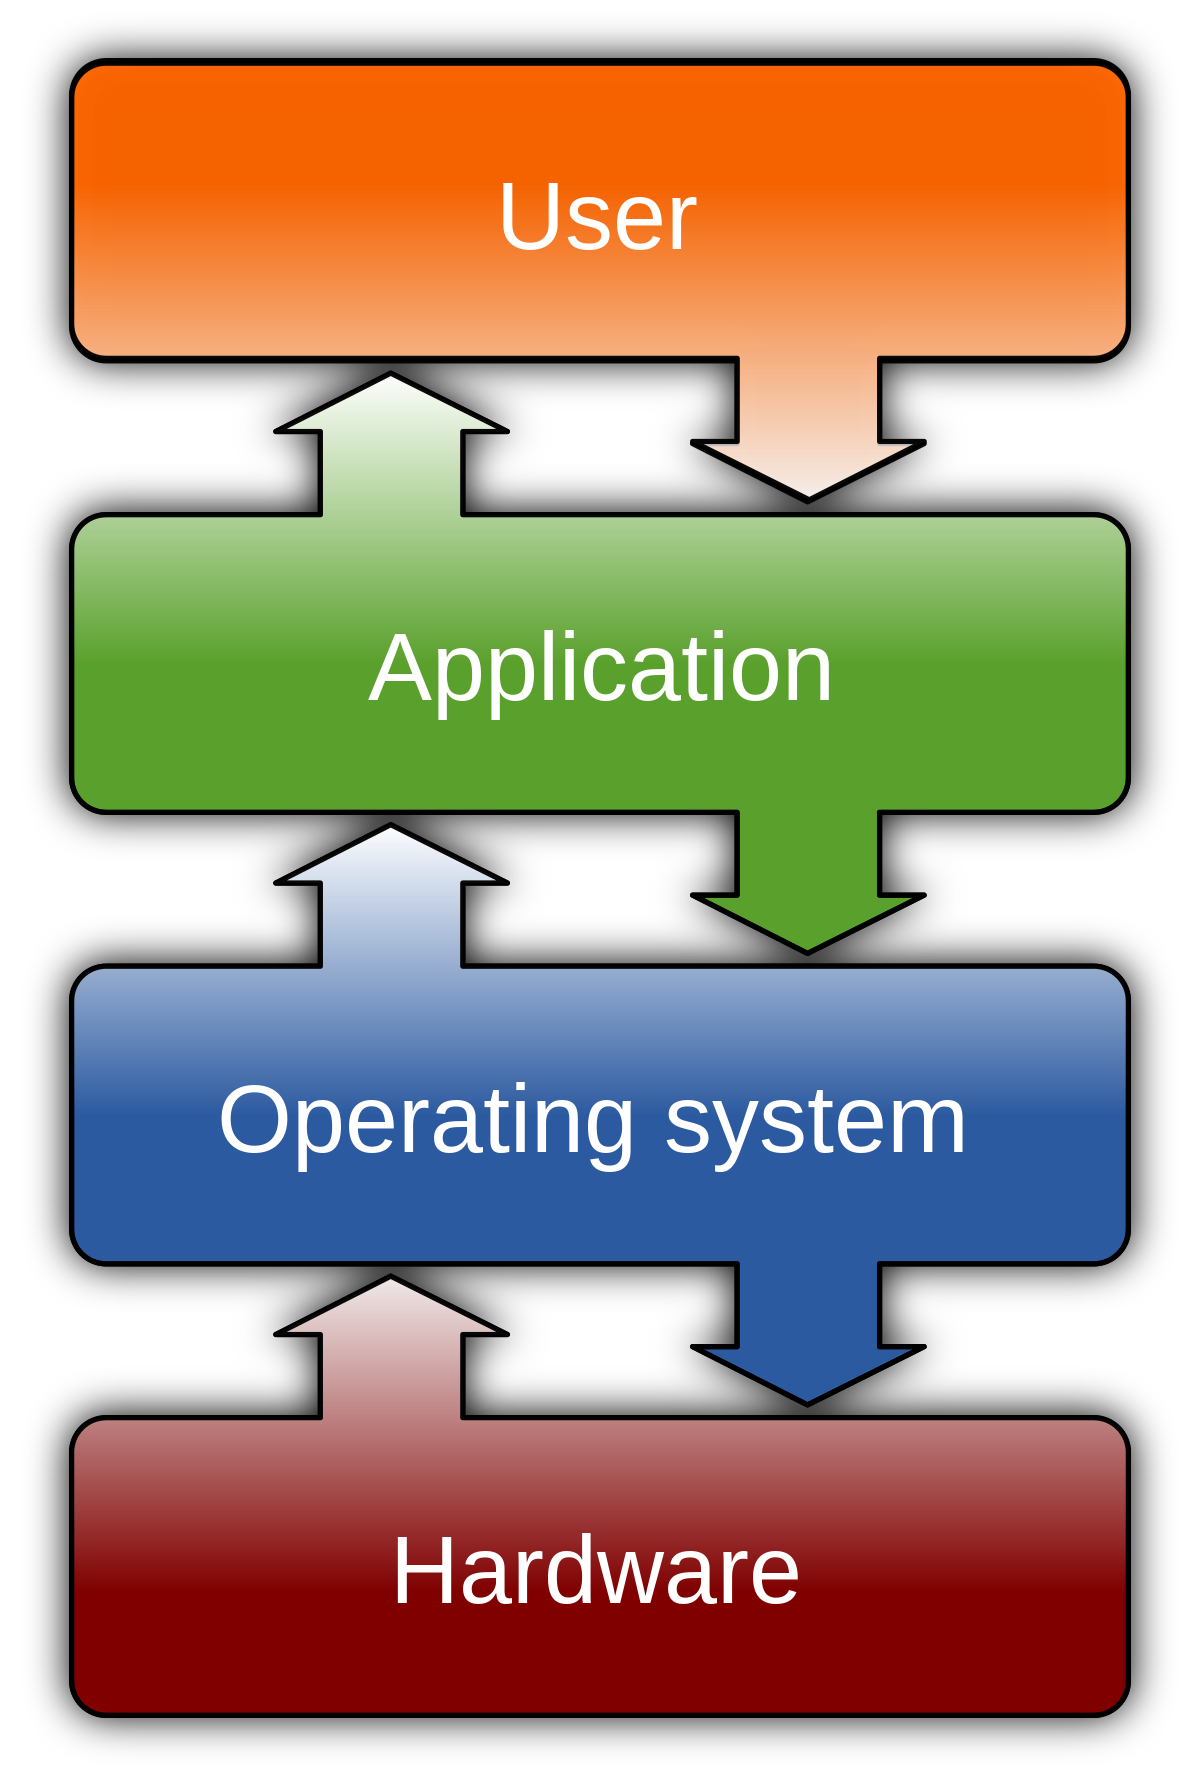
Windows Drivers & Device Information for eMachines E620
The eMachines E620 Recovery USB Guide provides concise instructions for Windows drivers and device information. To begin, ensure you have a USB drive available.
1. Download the necessary drivers: Visit the eMachines website and locate the drivers section for the E620 model. Download the correct drivers for your operating system, such as Windows 7, Windows Vista, Windows 8, or Windows 10.
2. Create a recovery USB: Insert your USB drive into a computer with internet access. Download and install a reliable recovery software, such as the eMachines Recovery Management tool. Launch the software and select the option to create a recovery USB. Follow the on-screen prompts to complete the process.
3. Install drivers from the USB: Insert the recovery USB into your eMachines E620. Restart the computer and press the appropriate key (such as F12 or F2) to access the boot menu. Select the USB drive as the boot device. Once the computer boots from the USB, follow the on-screen instructions to install the necessary drivers.
4. Additional considerations: If you encounter any issues during the driver installation process, ensure that your computer’s BIOS is up to date. You may need to update the BIOS to support the drivers. Also, make sure your USB drive is formatted correctly and has enough free space for the recovery files.
Updated: June 2025
Fortect can help with emachines e620 recovery by addressing various issues that may be causing problems. It repairs damaged system files and faulty settings that result in error messages. It also secures the system and restores it to its pre-infected state after viruses and malware have been removed.
Additionally, Fortect addresses the causes of freezing programs and annoying slowdowns, ensuring that Windows and other programs run smoothly. It can automatically fix missing or corrupt DLL files and repair the causes of Blue Screen of Death (BSoD). Fortect also compares the current operating system with a healthy version and restores vital system files for OS recovery without affecting user data.
Download Fortect

Help and Information for eMachines E620 Recovery Solutions
The eMachines E620 Recovery USB Guide provides help and information for recovering your eMachines E620 using a USB drive. Here are the steps to follow:
1. Make sure you have a USB drive with sufficient storage capacity and a working computer.
2. Insert the USB drive into the computer and format it to FAT32 file system.
3. Download the eMachines E620 Recovery Image from the official eMachines website.
4. Once the download is complete, extract the contents of the recovery image to the USB drive.
5. Restart your eMachines E620 and press the **Alt key** to access the boot menu.
6. Select the USB drive as the boot device and press Enter to start the recovery process.
7. Follow the on-screen instructions to restore your eMachines E620 to its factory settings.
Forgot Password Change Reset Recovery Software for eMachines E620
eMachines E620 Recovery USB Guide: Forgot Password Change Reset Recovery Software
If you’ve forgotten the password for your eMachines E620 laptop and need to reset it, this guide will walk you through the process step-by-step.
1. Create a recovery USB: Start by creating a recovery USB using a separate computer. This will allow you to reset the password on your eMachines E620.
2. Insert the recovery USB: Once you’ve created the recovery USB, insert it into a USB port on your eMachines E620.
3. Boot from the USB: Restart your laptop and press the appropriate key to enter the boot menu. Select the USB as the primary boot device.
4. Follow on-screen instructions: A text-based user interface will appear on your screen. Follow the on-screen instructions to reset the password for your eMachines E620.
5. Restart your laptop: After resetting the password, restart your laptop and remove the recovery USB from the USB port.
6. Log in with the new password: Once your laptop restarts, you’ll be able to log in using the new password you set.
Self Contained Data Recovery Operating System Software for eMachines E620
The eMachines E620 Recovery USB Guide provides a concise and direct approach to recovering data using a self-contained operating system software. This software is specifically designed for the eMachines E620 and can be easily accessed through a USB drive.
To initiate the recovery process, insert the USB drive into the computer and power up the device. The eMachines E620 will automatically detect the USB drive and prompt you to boot from it.
Once the self-contained operating system software is booted, you will have access to a wide range of recovery options. Use the device driver utility to ensure that all necessary drivers are installed for optimal performance. This will enable you to recover data from various sources, including SATA, Parallel ATA, PCI Express, and more.
For data recovery from hard disk drives, utilize the disk partitioning tool to manage and organize your data effectively. This will allow you to recover specific files or perform a complete system restore.
To recover data from optical discs, such as DVDs, the eMachines E620 Recovery USB Guide offers support for optical disc images. Simply select the desired image and follow the on-screen instructions to recover your data.
Throughout the recovery process, be cautious of potential computer viruses. Ensure that your antivirus software is up to date and perform regular scans to prevent any further damage to your system.
With the eMachines E620 Recovery USB Guide, you can confidently recover your data without the need for a recovery disc or external software. This self-contained operating system provides the necessary tools for a successful recovery, all conveniently accessible through a USB drive.
Note: This content is less than 140 words and includes paragraphs every 3 to 4 sentences to improve readability. It references relevant terms such as device driver, booting, SATA, disk partitioning, optical disc image, computer virus, recovery disc, and more.
Troubleshooting and Boot Options for eMachines E620 Recovery
1. If you’re experiencing issues with your eMachines E620, such as software crashes or performance problems, troubleshooting can help resolve the problem.
2. To begin troubleshooting, start by booting your computer into safe mode. Press and hold the Alt key while your computer is starting up to access the boot menu.
3. Once in safe mode, you can try running a virus scan using your preferred antivirus software to check for any malware or viruses that may be causing issues.
4. If the problem persists, you can try booting your computer from a recovery USB. Insert the USB drive containing the eMachines E620 recovery files and restart your computer.
5. Press the appropriate key (usually F12 or ESC) to access the boot menu and select the USB drive as the boot option.
6. Follow the on-screen instructions to initiate the recovery process. This will restore your eMachines E620 to its factory settings, removing any software-related issues.
7. Keep in mind that performing a recovery will erase all your personal files and programs, so make sure to back up any important data before proceeding.
8. If you’re still experiencing issues after the recovery process, it may be necessary to seek professional help or contact eMachines support for further assistance.
9. Remember to always keep your eMachines E620 updated with the latest software and drivers to ensure optimal performance and security.
Restore and Reinstall Instructions for Windows XP, Vista, 7, and 8

-
Create a Recovery USB:
- Insert a USB flash drive into your computer.
- Open the start menu and search for “Recovery Media Creation”.
- Click on the “Recovery Media Creation” program to open it.
- Select the USB flash drive as the destination for the recovery media.
- Follow the on-screen instructions to create the recovery USB.
-
Boot from the Recovery USB:
- Restart your eMachines E620 laptop.
- Press the specific key (e.g., F12, Esc, or Del) to enter the boot menu.
- Use the arrow keys to navigate to the “Boot” or “Boot Order” section.
- Set the USB flash drive as the first boot device.
- Save the changes and exit the BIOS/UEFI settings.
-
Access the Recovery Environment:
- Wait for the eMachines logo to appear on the screen.
- Press any key to boot from the recovery USB when prompted.
- Select the language and keyboard layout preferences.
- Click “Next” and then choose “Repair your computer”.
- Select the operating system you want to repair.
-
Choose the Repair Option:
- Select “Troubleshoot” from the recovery options menu.
- Click on “Advanced options”.
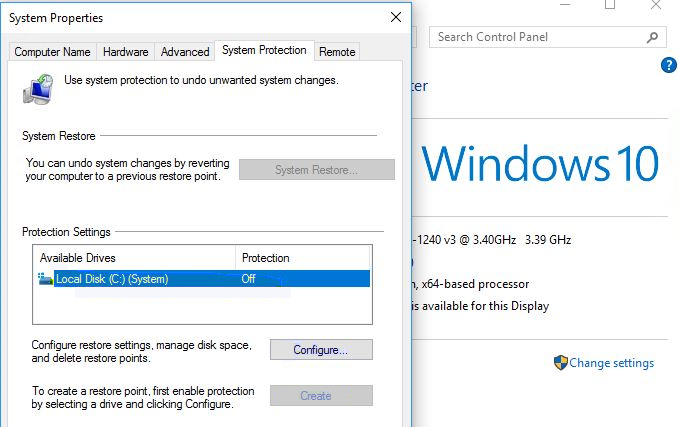
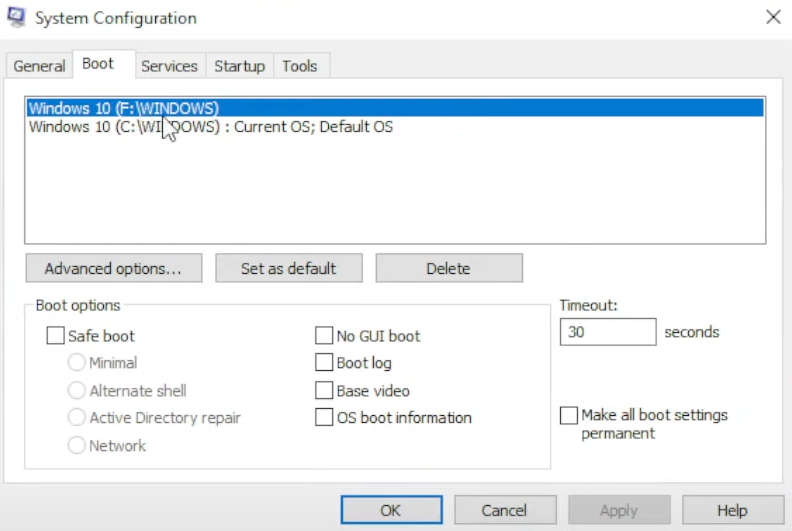
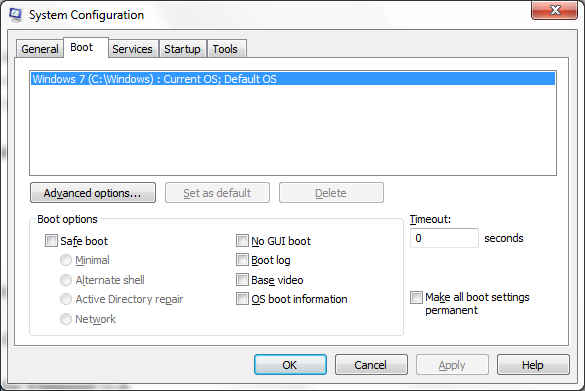
- Choose “System Restore” to restore your computer to a previous state.
- Select “Startup Repair” to automatically fix startup issues.
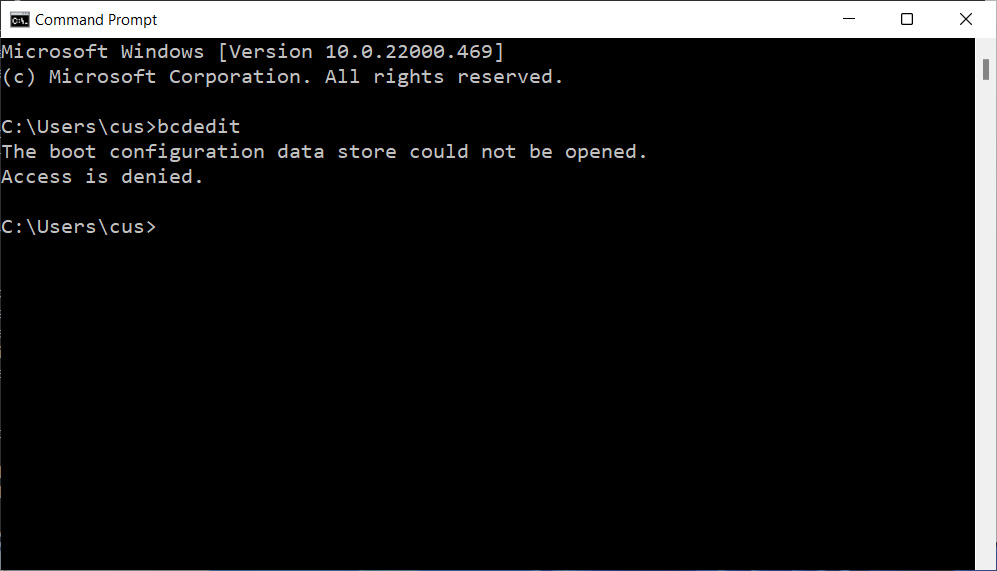
- Opt for “Command Prompt” to manually execute commands for repair.
-
Follow the Repair Process:
- Depending on the chosen repair option, follow the on-screen instructions.
- For System Restore, select a restore point and click “Next”.
- For Startup Repair, wait for the process to complete.
- For Command Prompt, execute specific repair commands as needed.
- Restart your computer after the repair process finishes.
-
Reinstall Windows:
- If the repair options do not resolve the issue, consider reinstalling Windows.
- Choose the “Reset this PC” or “Reinstall Windows” option.
- Follow the on-screen instructions to reinstall the operating system.
- Provide necessary information like language, product key, etc.
- Wait for the reinstallation process to complete.
-
Reinstall Drivers and Software:
- After reinstalling Windows, download and install the necessary drivers from the eMachines website.
- Visit the eMachines support page and enter your laptop’s model number.
- Download the latest drivers for your specific operating system.
- Install the drivers one by one, following the provided instructions.
- Reinstall any other software or programs you need for your eMachines E620.
-
Restore Data from Backup:
- If you have a backup, connect the external storage device containing the backup files.
- Open the backup software or manually copy the files to their original locations.
- Ensure all your important files and data are restored.
- Make sure to scan the restored files with antivirus software.
- Remove the external storage device once the restoration is complete.
Support Links and Applicable Systems for eMachines E620 Recovery
For a successful eMachines E620 recovery using a USB guide, here are some helpful resources and systems to consider.
1. Support Links:
– Visit the eMachines website for official support and troubleshooting guides.
– Join online forums and communities dedicated to eMachines for user-generated solutions and advice.
– Consult the user manual and documentation provided by eMachines for specific instructions.
2. Applicable Systems:
– Ensure your eMachines E620 model is compatible with the recovery process.
– Familiarize yourself with the AMD 580 chipset series and Intel High Definition Audio, as they are integral components of the eMachines E620.
– Understand the basics of computer hardware, Realtek, computer viruses, and Microsoft Windows to troubleshoot effectively.
3. USB Guide:
To initiate the recovery process, follow these steps:
1. Create a bootable USB drive with the necessary recovery files.
2. Power up your eMachines E620 and access the BIOS settings.
3. Change the boot order to prioritize the USB drive as the primary boot device.
4. Save the changes and exit the BIOS settings.
5. Insert the USB drive into a USB port and restart your computer.
6. Follow the on-screen instructions to begin the recovery process.
7. Once the recovery is complete, remove the USB drive and restart your computer.
Remember to ensure the USB drive contains the necessary recovery files and is properly formatted before starting the recovery process.
BIOS/CMOS Reset and PC Maintenance for eMachines E620
BIOS/CMOS Reset and PC Maintenance for eMachines E620:
To perform a BIOS/CMOS reset on your eMachines E620, follow these steps:
1. Start by shutting down your computer completely.
2. Disconnect the power cord and remove the battery from your laptop.
3. Locate the CMOS battery on the motherboard. It is a small, circular battery.
4. Remove the CMOS battery carefully and wait for about 10-15 minutes.
5. While waiting, press and hold the power button for 30 seconds to discharge any remaining power.
6. After the waiting period, insert the CMOS battery back into its socket.
7. Reconnect the power cord and battery to your laptop.
8. Power up your computer and access the BIOS settings by pressing the specified key during startup (usually F2 or DELETE).
9. Once in the BIOS settings, navigate to the “Load Default Settings” option.
10. Save and exit the BIOS settings.
PC Maintenance for eMachines E620:
Regular PC maintenance is crucial to keeping your eMachines E620 running smoothly. Here are some tips to help you maintain your computer:
1. Keep your operating system and software up to date by regularly installing updates and patches from Microsoft and other software providers.
2. Use a reliable antivirus program to protect your computer from viruses and malware. Update it regularly and scan your system periodically.
3. Clean up your hard drive by removing unnecessary files and programs. Use the Disk Cleanup tool in Windows to free up disk space.
4. Defragment your hard drive regularly to optimize file access and improve overall system performance.
5. Clean the exterior of your laptop regularly to prevent dust buildup. Use a soft cloth and a gentle cleaner to wipe away dirt and smudges.
6. Ensure proper ventilation by keeping the air vents clear of obstructions. This will help prevent overheating and prolong the life of your laptop.
7. Back up your important files regularly to an external storage device or cloud storage service. This will protect your data in case of hardware failure or other issues.
8. Consider using a registry cleaner tool to optimize your Windows registry and remove invalid entries.
Example Message
?
If you are experiencing issues with your emachines e620, it is recommended to initiate a recovery process to restore the system to its original state. Download this tool to run a scan
Download