Having trouble with your Mac’s WiFi connection? Here’s how to troubleshoot common issues and get your internet back up and running smoothly.
September 2025: Enhance your computer’s performance and eliminate errors with this cutting-edge optimization software. Download it at this link
- Click here to download and install the optimization software.
- Initiate a comprehensive system scan.
- Allow the software to automatically fix and repair your system.
Toggle Wi-Fi On and Off
If you prefer using a keyboard shortcut, you can press the Option key and click on the Wi-Fi icon in the menu bar to quickly access the same options. This can be helpful if you need to toggle Wi-Fi frequently.
By toggling Wi-Fi off and on, you can troubleshoot and resolve common Mac Wi-Fi connection issues such as slow or dropped connections. This simple step can often refresh your connection and resolve minor issues.
If you’re experiencing persistent Wi-Fi connection issues, you may also want to try restarting your Mac, resetting your router, or checking for any available software updates for your Mac’s operating system. These additional troubleshooting steps can help address more complex Wi-Fi issues.
Restart Your Mac and Router
To troubleshoot Mac WiFi connection issues, a simple yet effective step is to restart your Mac and router. First, close any open applications and save your work. Then, click on the Apple menu in the top-left corner of your screen and select “Restart.” This will refresh your Mac’s network settings and may resolve the connectivity issue.
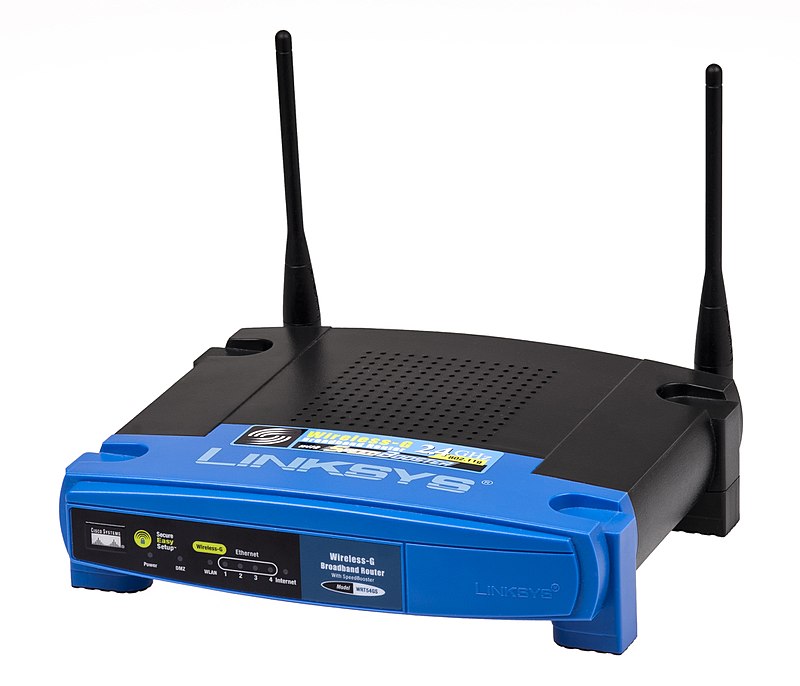
Next, locate your wireless router and unplug it from the power source. Wait for about 30 seconds, then plug it back in. This will reset the router, potentially fixing any issues that were causing the WiFi problem.
Once both your Mac and router have restarted, try connecting to your WiFi network again. If the issue persists, you may need to explore other troubleshooting options.
By restarting your Mac and router, you can quickly and easily attempt to resolve WiFi connection issues without the need for more complex troubleshooting methods.
Verify Correct Wi-Fi Network
To verify the correct Wi-Fi network on your Mac, start by clicking on the Wi-Fi icon located in the menu bar at the top of your screen. A dropdown menu will appear, showing a list of available networks.
Make sure to select the network that you want to connect to from this list. If you are not sure which network is yours, check the name of your wireless access point or router to confirm the correct network.
After selecting the correct network, enter the password if prompted and wait for your Mac to connect to the network. You can verify the connection by checking the Wi-Fi icon in the menu bar – it should display a strong signal.
If you are still experiencing issues with your Wi-Fi connection after verifying the correct network, you may need to troubleshoot further to diagnose the problem.
Utilize Wireless Diagnostics Tool
To troubleshoot Mac WiFi connection issues, utilize the Wireless Diagnostics Tool. To access this tool, hold down the Option key and click on the WiFi icon in the menu bar. Select “Open Wireless Diagnostics” from the drop-down menu.
Once the tool is open, it will automatically run a series of tests to diagnose any WiFi connection issues. It will provide detailed information about signal strength, interference, and potential network problems.
Follow the on-screen instructions to complete the diagnostic process. The tool may recommend specific actions to resolve the issues it identifies, such as changing the wireless channel or relocating the wireless access point.
After completing the diagnostic process, the tool will generate a report with recommendations for improving the WiFi connection. Use this information to address any issues and improve the overall connectivity of your Mac.
By utilizing the Wireless Diagnostics Tool, you can effectively troubleshoot and resolve Mac WiFi connection issues, ensuring a reliable and stable internet connection for your device.
Updated: September 2025
Fortect may help with your Mac’s internet connectivity issues by repairing damaged system files and faulty settings that could be causing the problem. It can also address freezing programs and missing or corrupt DLL files, which could be contributing to the issue.
However, if the problem is specific to Mac operating systems, Fortect may not be the solution.
Check Proximity to Wi-Fi Router
When troubleshooting Mac WiFi connection issues, one of the first things to check is the proximity to the Wi-Fi router. Make sure your Mac is within a reasonable distance from the router to ensure a strong and stable connection.
If you are experiencing connectivity problems, try moving closer to the router to see if the signal improves. Sometimes, simply adjusting your position in relation to the router can make a significant difference in the strength of the connection.
Additionally, be mindful of any potential obstructions or interference that may be affecting the signal. Things like walls, large appliances, and other electronic devices can interfere with the Wi-Fi signal, so try to minimize these obstacles as much as possible.
By checking the proximity to the Wi-Fi router and adjusting your position accordingly, you can potentially resolve Mac WiFi connection issues and ensure a more reliable internet connection.
Update System and Network Settings
Next, navigate to the Network icon and select your WiFi connection from the list on the left-hand side. Then, click on the Advanced button in the bottom right corner.
In the Advanced menu, you can renew your DHCP lease by clicking on the TCP/IP tab and then clicking the Renew DHCP Lease button.
You can also rearrange your preferred networks by dragging them into the desired order in the list on the WiFi tab. This can help your Mac prioritize the correct network when multiple options are available.
If you are still experiencing issues, you can reset your network settings by selecting the WiFi connection, clicking the minus (-) button to remove it, and then re-adding it by clicking the plus (+) button and selecting your network from the list.
Adjust DNS and Security Software
To troubleshoot Mac WiFi connection issues, you can start by adjusting the DNS settings and security software.
First, navigate to the Apple menu and select “System Preferences.” Then, click on “Network” and choose the WiFi network you are connected to.
Next, click on “Advanced” and go to the “DNS” tab. Here, you can add Google’s public DNS (8.8.8.8 and 8.8.4.4) by clicking the “+” button and entering the DNS addresses.
Additionally, you can try disabling any security software or firewall that may be interfering with the WiFi connection. Simply navigate to the application software for the security software and turn it off temporarily to see if it resolves the issue.
After making these adjustments, try reconnecting to the WiFi network and see if the issue has been resolved. If not, you may need to further troubleshoot the problem using other methods.
Reset NVRAM/PRAM and SMC
To troubleshoot Mac WiFi connection issues, you can try resetting the NVRAM/PRAM and SMC. To reset the NVRAM/PRAM, start by shutting down your Mac. Then, turn it back on and immediately press and hold Option + Command + P + R until you hear the startup sound for the second time.
Next, to reset the SMC on a MacBook with a non-removable battery, shut down your Mac and plug in the power adapter. Press Shift + Control + Option on the left side of the built-in keyboard, then press the power button at the same time. Release all keys and the power button, then turn on your Mac.
For a MacBook with a removable battery, shut down your Mac and remove the battery. Press and hold the power button for 5 seconds, then reinsert the battery and turn on your Mac. These steps can help resolve WiFi issues by resetting important system settings.
After resetting the NVRAM/PRAM and SMC, check if your WiFi connection has improved. If not, you may need to continue troubleshooting by checking your router, network settings, and other possible causes of the issue.
Contact Internet Service Provider
If you are experiencing WiFi connection issues on your Mac, it may be necessary to contact your Internet Service Provider for assistance. Contact your ISP’s customer support line to troubleshoot the issue. They may be able to help identify any connection problems or provide guidance on resolving the issue.
It’s important to have your IP address and any relevant account information available when contacting your ISP. Make sure to have your IP address and account details ready when reaching out for support. This will help expedite the troubleshooting process and ensure that the ISP can accurately assist you with your WiFi connection problems.
If your ISP is unable to resolve the issue, consider reaching out to Apple Support for further assistance. If your ISP is unable to resolve the issue, consider contacting Apple Support for further troubleshooting steps. They may be able to provide additional guidance specific to your Mac’s operating system and hardware.
In some cases, a technician may need to visit your location to assess and resolve the WiFi connection issue. Be prepared for the possibility that a technician may need to visit your location to assess and resolve the WiFi connection issue. This may involve checking your router, modem, and other networking equipment to ensure everything is functioning properly.
Example Message
?
If your Mac won’t connect to the internet, try restarting your router and checking for any software updates on your computer. If the issue persists, contact your internet service provider for further assistance. Download this tool to run a scan