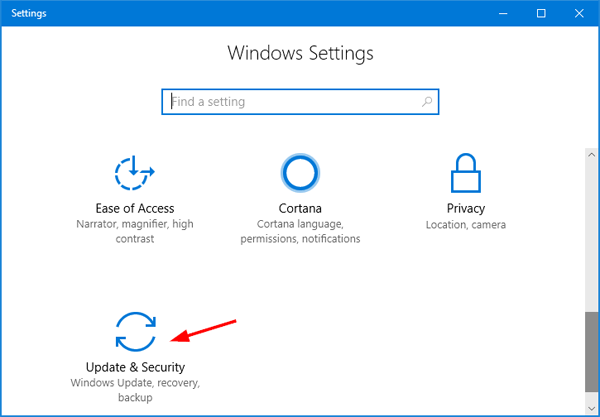
In this article, we will explore the safest mode for Windows 10 and how to enable it.
May 2024: Enhance your computer’s performance and eliminate errors with this cutting-edge optimization software. Download it at this link
- Click here to download and install the optimization software.
- Initiate a comprehensive system scan.
- Allow the software to automatically fix and repair your system.
Starting Windows 10 in Safe Mode
To start Windows 10 in Safe Mode, follow these steps:
1. Click on the Start menu and then click on the Power icon.
2. Hold down the Shift key and click on Restart.
3. When the computer restarts, you will see the Choose an option screen.
4. Click on Troubleshoot, then Advanced options, then Startup Settings.
5. Click Restart.
6. When the computer restarts, you will see a list of startup options.
7. Press the F4 key to start Windows 10 in Safe Mode or press F5 to start in Safe Mode with Networking.
Safe Mode is useful for troubleshooting problems with your PC, such as issues with drivers or software. It starts Windows with a minimal set of drivers and services, which can help you isolate the cause of the problem. Remember to restart your computer normally after you are finished troubleshooting to return it to its normal state.
Troubleshooting Windows 10 Boot Issues
- Check for loose cables or connections:
- Make sure all cables and connections are securely plugged in.
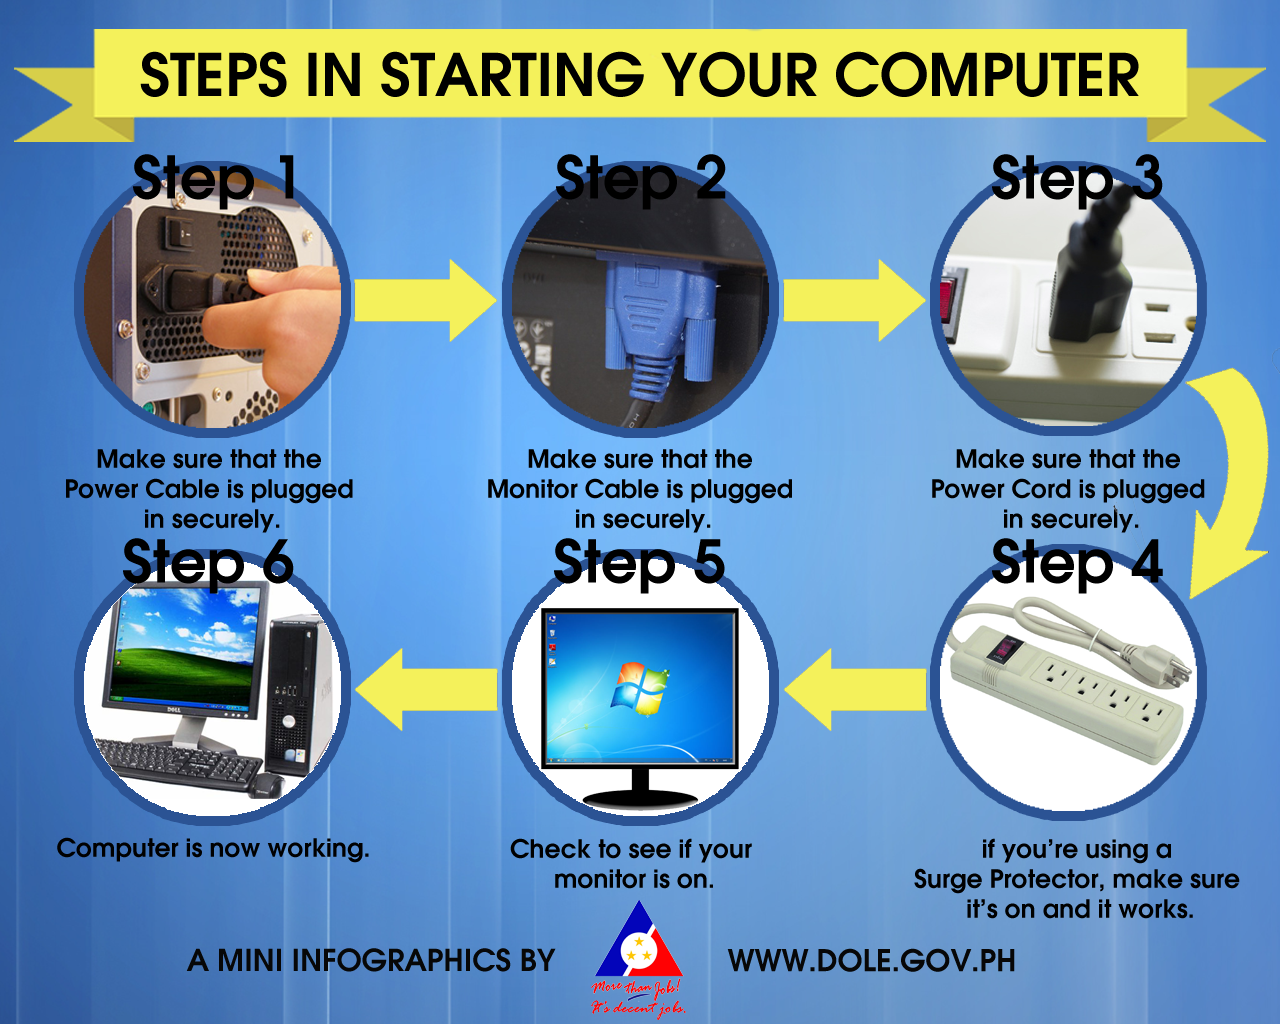
- If using a laptop, make sure the battery is charged and connected properly.
- Perform a power cycle:
- Turn off the computer and unplug it from the power source.
- Press and hold the power button for 30 seconds.

- Plug the computer back in and turn it on.
- Boot into Safe Mode:
- Restart the computer and continuously press the F8 key until the Advanced Boot Options menu appears.
- Select Safe Mode and press Enter.

- If the computer successfully boots into Safe Mode, try to identify and fix any issues, such as driver conflicts or malware.
- Run Startup Repair:
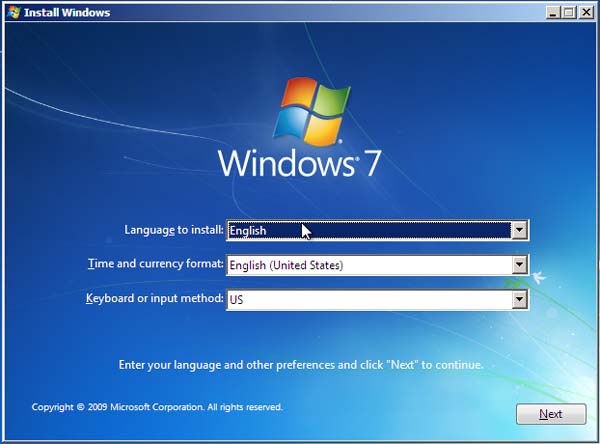
- Insert the Windows 10 installation disc or USB and restart the computer.
- Press any key to boot from the disc or USB.
- Select your language preferences and click Next.
- Click Repair your computer and select Troubleshoot.
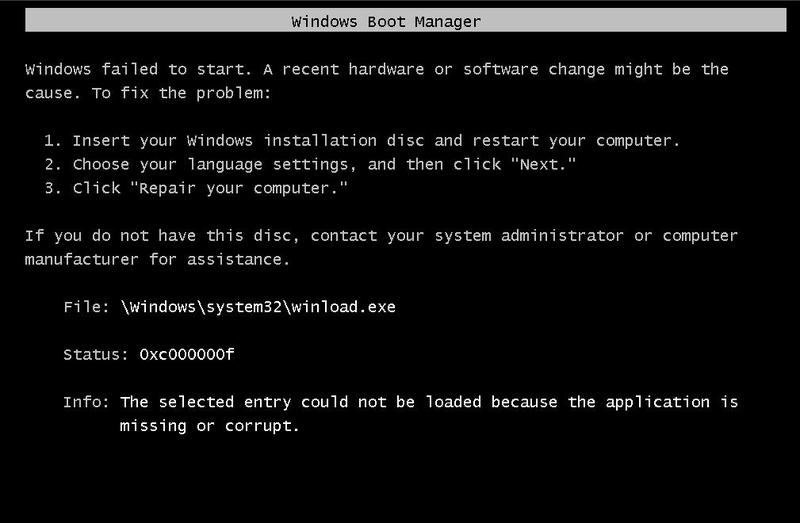
- Select Advanced options and click Startup Repair.
- Follow the prompts to complete the repair process.

- Reset Windows 10:
- Insert the Windows 10 installation disc or USB and restart the computer.
- Press any key to boot from the disc or USB.
- Select your language preferences and click Next.
- Click Install now and accept the license terms.
- Select the Custom installation option.
- Select the drive where Windows 10 is installed and click Next.
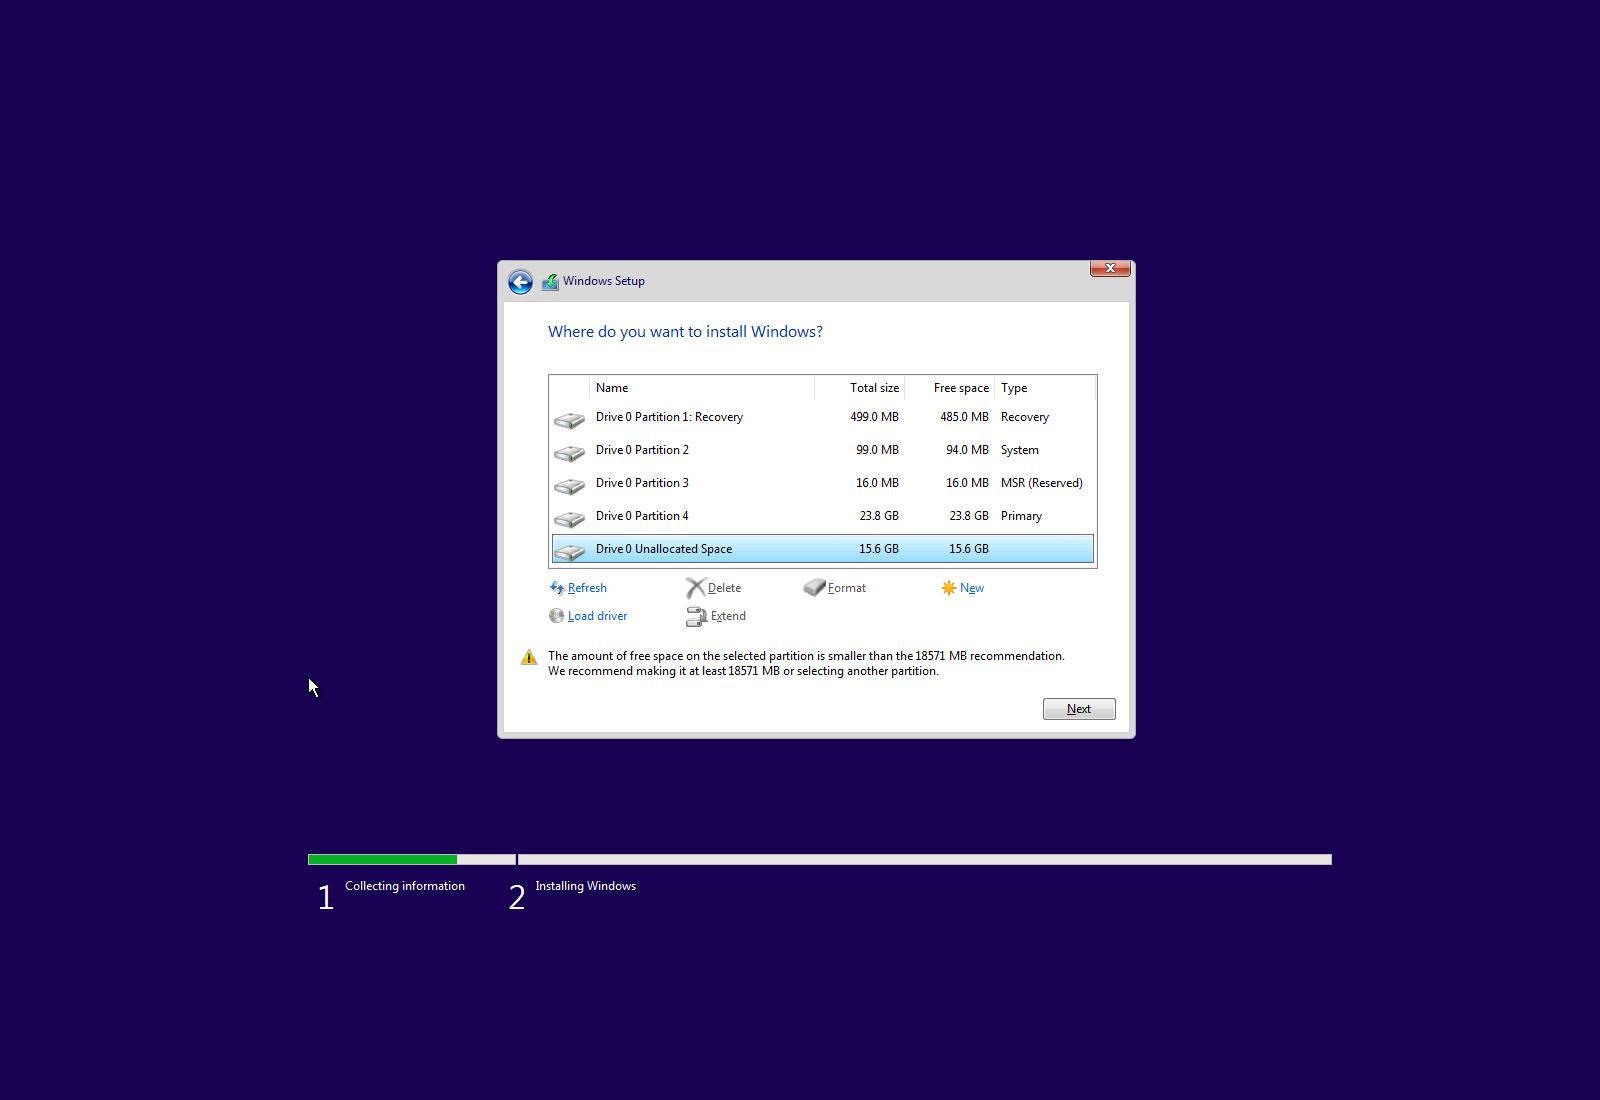
- Click Reset and follow the prompts to complete the reset process.
Fortect can also identify and repair the causes of the Blue Screen of Death (BSoD), such as incompatible DLLs, drivers, and Windows bugs. It can even compare the current operating system with a healthy version and restore vital system files for OS recovery without affecting user data.

How to Start Windows 10 in Safe Mode with Networking
To start Windows 10 in Safe Mode with Networking, follow these steps:
1. Click on the Start menu and then click on the Power icon while holding the Shift key.
2. Click on the “Restart” option.
3. Your PC will now restart and you will see the “Choose an Option” screen.
4. Click on “Troubleshoot” and then “Advanced options”.
5. Select “Startup Settings” and click on “Restart”.
6. Once your PC restarts, you will see a list of startup settings.
7. Press F5 to start Windows 10 in Safe Mode with Networking.
Safe Mode with Networking is useful when you need to troubleshoot network-related issues or when you need to download and install drivers or updates. It starts Windows with only the basic drivers and services needed to run, so you can diagnose and fix problems with your PC.
Resolving Windows 10 Safe Mode Not Starting Issues
If you’re having issues with Windows 10 Safe Mode not starting, there are a few things you can try. First, try accessing Safe Mode through the Advanced Options menu by pressing the F8 key or selecting “Choose an option” on the Windows logon screen. If that doesn’t work, you can try starting in Safe Mode with networking by selecting “Safe Mode with Networking” from the Advanced Options menu. You can also try disabling secure boot or changing the boot order in your BIOS settings. If you’re still having trouble, try running a system restore or updating your drivers. Remember to always be cautious when making changes to your system and back up important files before making any changes.
Frequently Asked Questions about Windows 10 Safe Mode
| Question | Answer |
|---|---|
| What is Safe Mode in Windows 10? | Safe Mode is a diagnostic mode in Windows 10 that starts the operating system with a limited set of drivers and services. It is used to troubleshoot and fix problems that may be preventing the operating system from starting normally. |
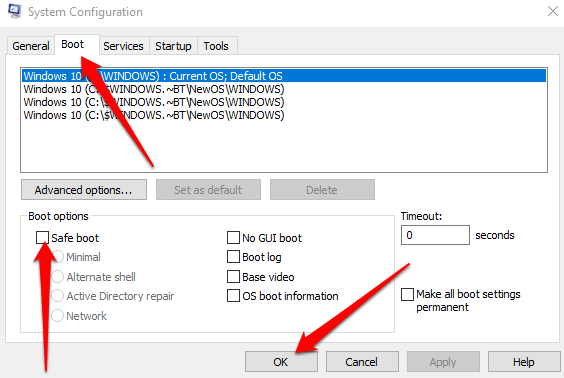
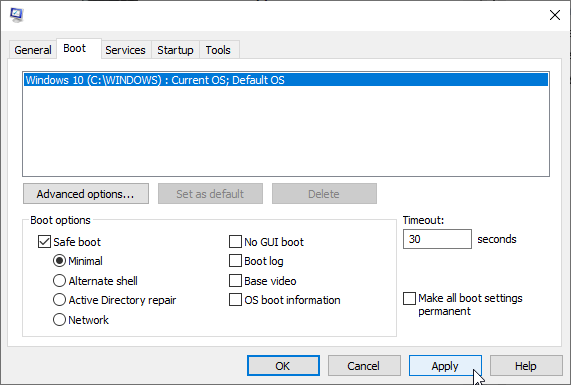
| How do I start Windows 10 in Safe Mode? | You can start Windows 10 in Safe Mode by pressing the F8 key during startup or by using the System Configuration tool to enable Safe Mode. However, in Windows 10, the F8 key method has been disabled by default, so you need to use the System Configuration tool. |
| How do I use System Configuration to start Windows 10 in Safe Mode? | To start Windows 10 in Safe Mode using System Configuration, follow these steps:
|
| What are the different types of Safe Mode in Windows 10? | There are three types of Safe Mode in Windows 10:
|
| Can I access the Internet in Safe Mode? | Yes, you can access the Internet in Safe Mode if you start Windows 10 in Network Safe Mode. This mode loads the basic drivers and services needed to access the Internet or other computers on the network. |
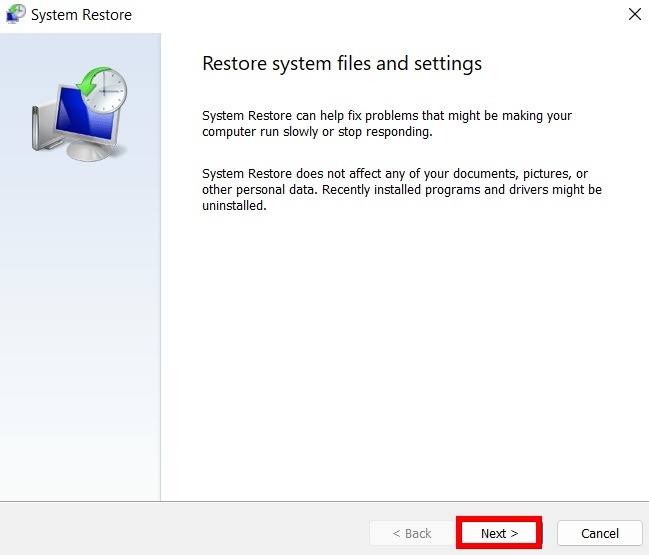
| What should I do if Windows 10 won’t start in Safe Mode? | If Windows 10 won’t start in Safe Mode, you can try using the System File Checker tool to repair any corrupted system files. You can also try using the Startup Repair tool or restoring your computer to a previous restore point. |
Si Windows 10 solo inicia en modo seguro, es posible que haya un problema con los controladores o el software, por lo que es recomendable realizar una restauración del sistema o buscar ayuda técnica para solucionar el problema. Download this tool to run a scan